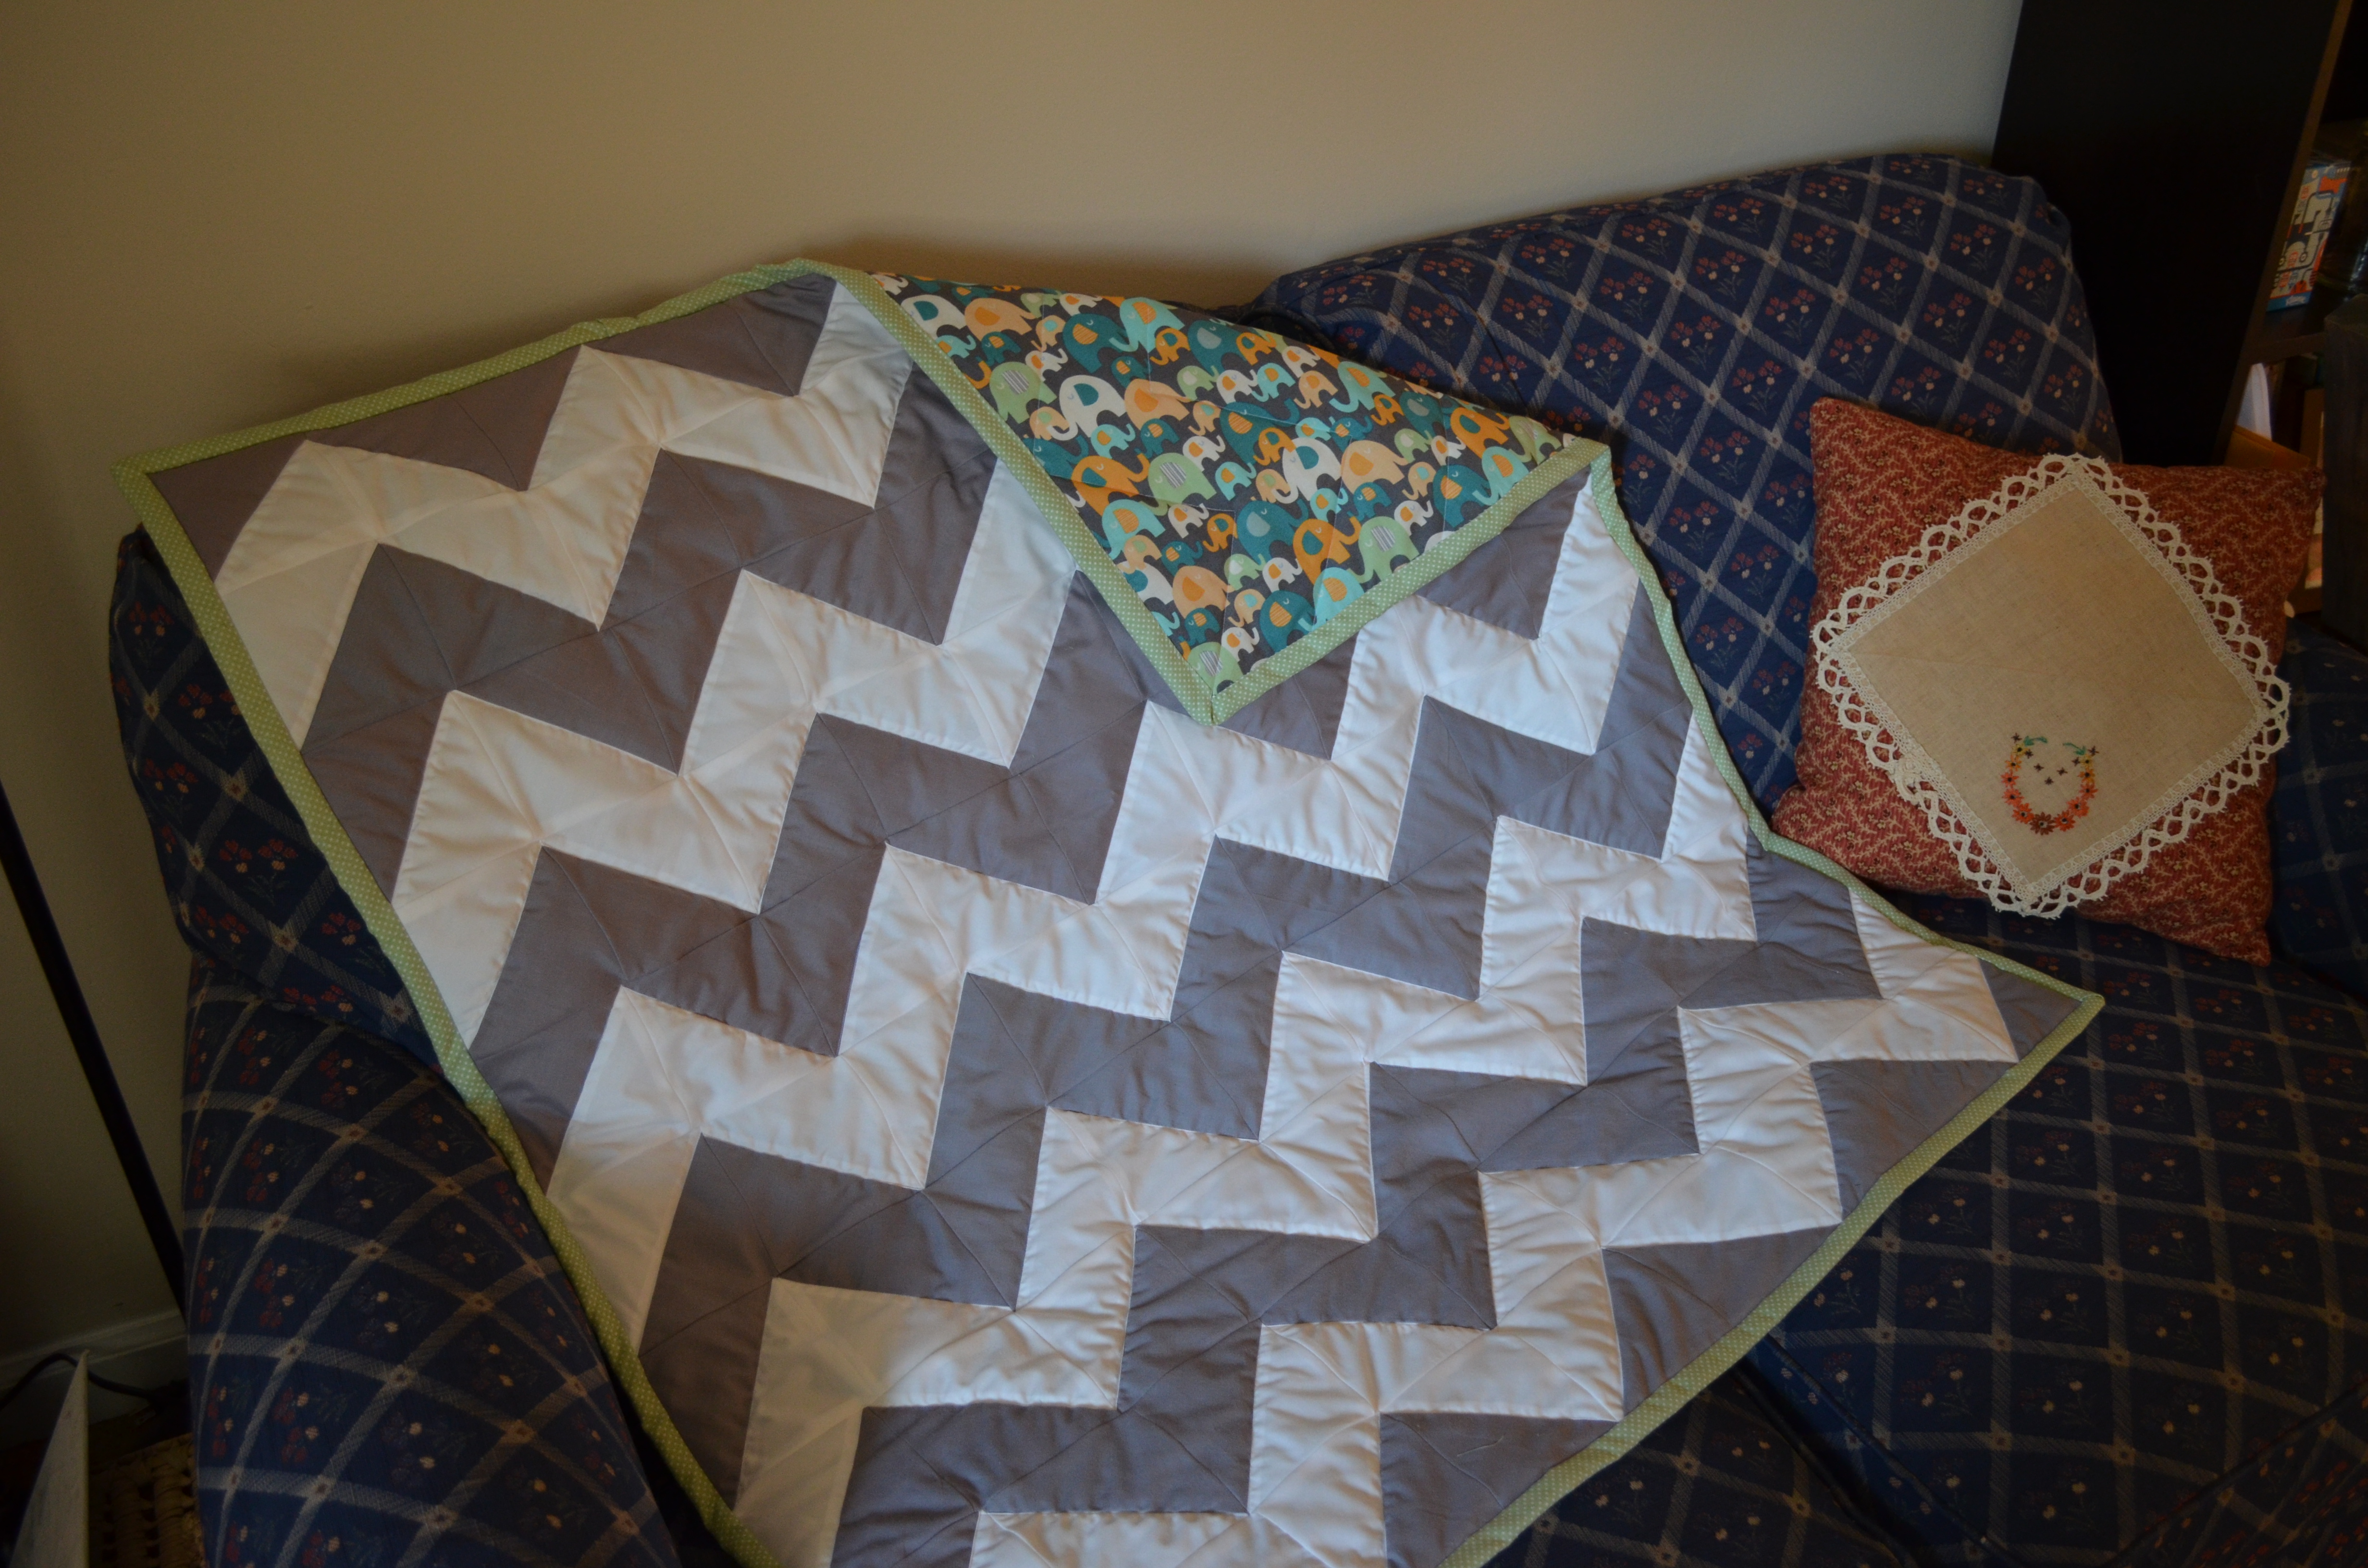
Several months ago, I pinned a chevon quilt on Pinterest with the intent of making it. But as the months past, the idea never came to fruition. That is, until I started to think about what I wanted to make for a friend whose baby is due at the beginning of October. I knew it was a design she would adore, and I am excited to say, it’s a design that is super easy to make.

The entire quilt is made of these squares. For my quilt that was 36 inches x 40 inches, I used 90 of them.
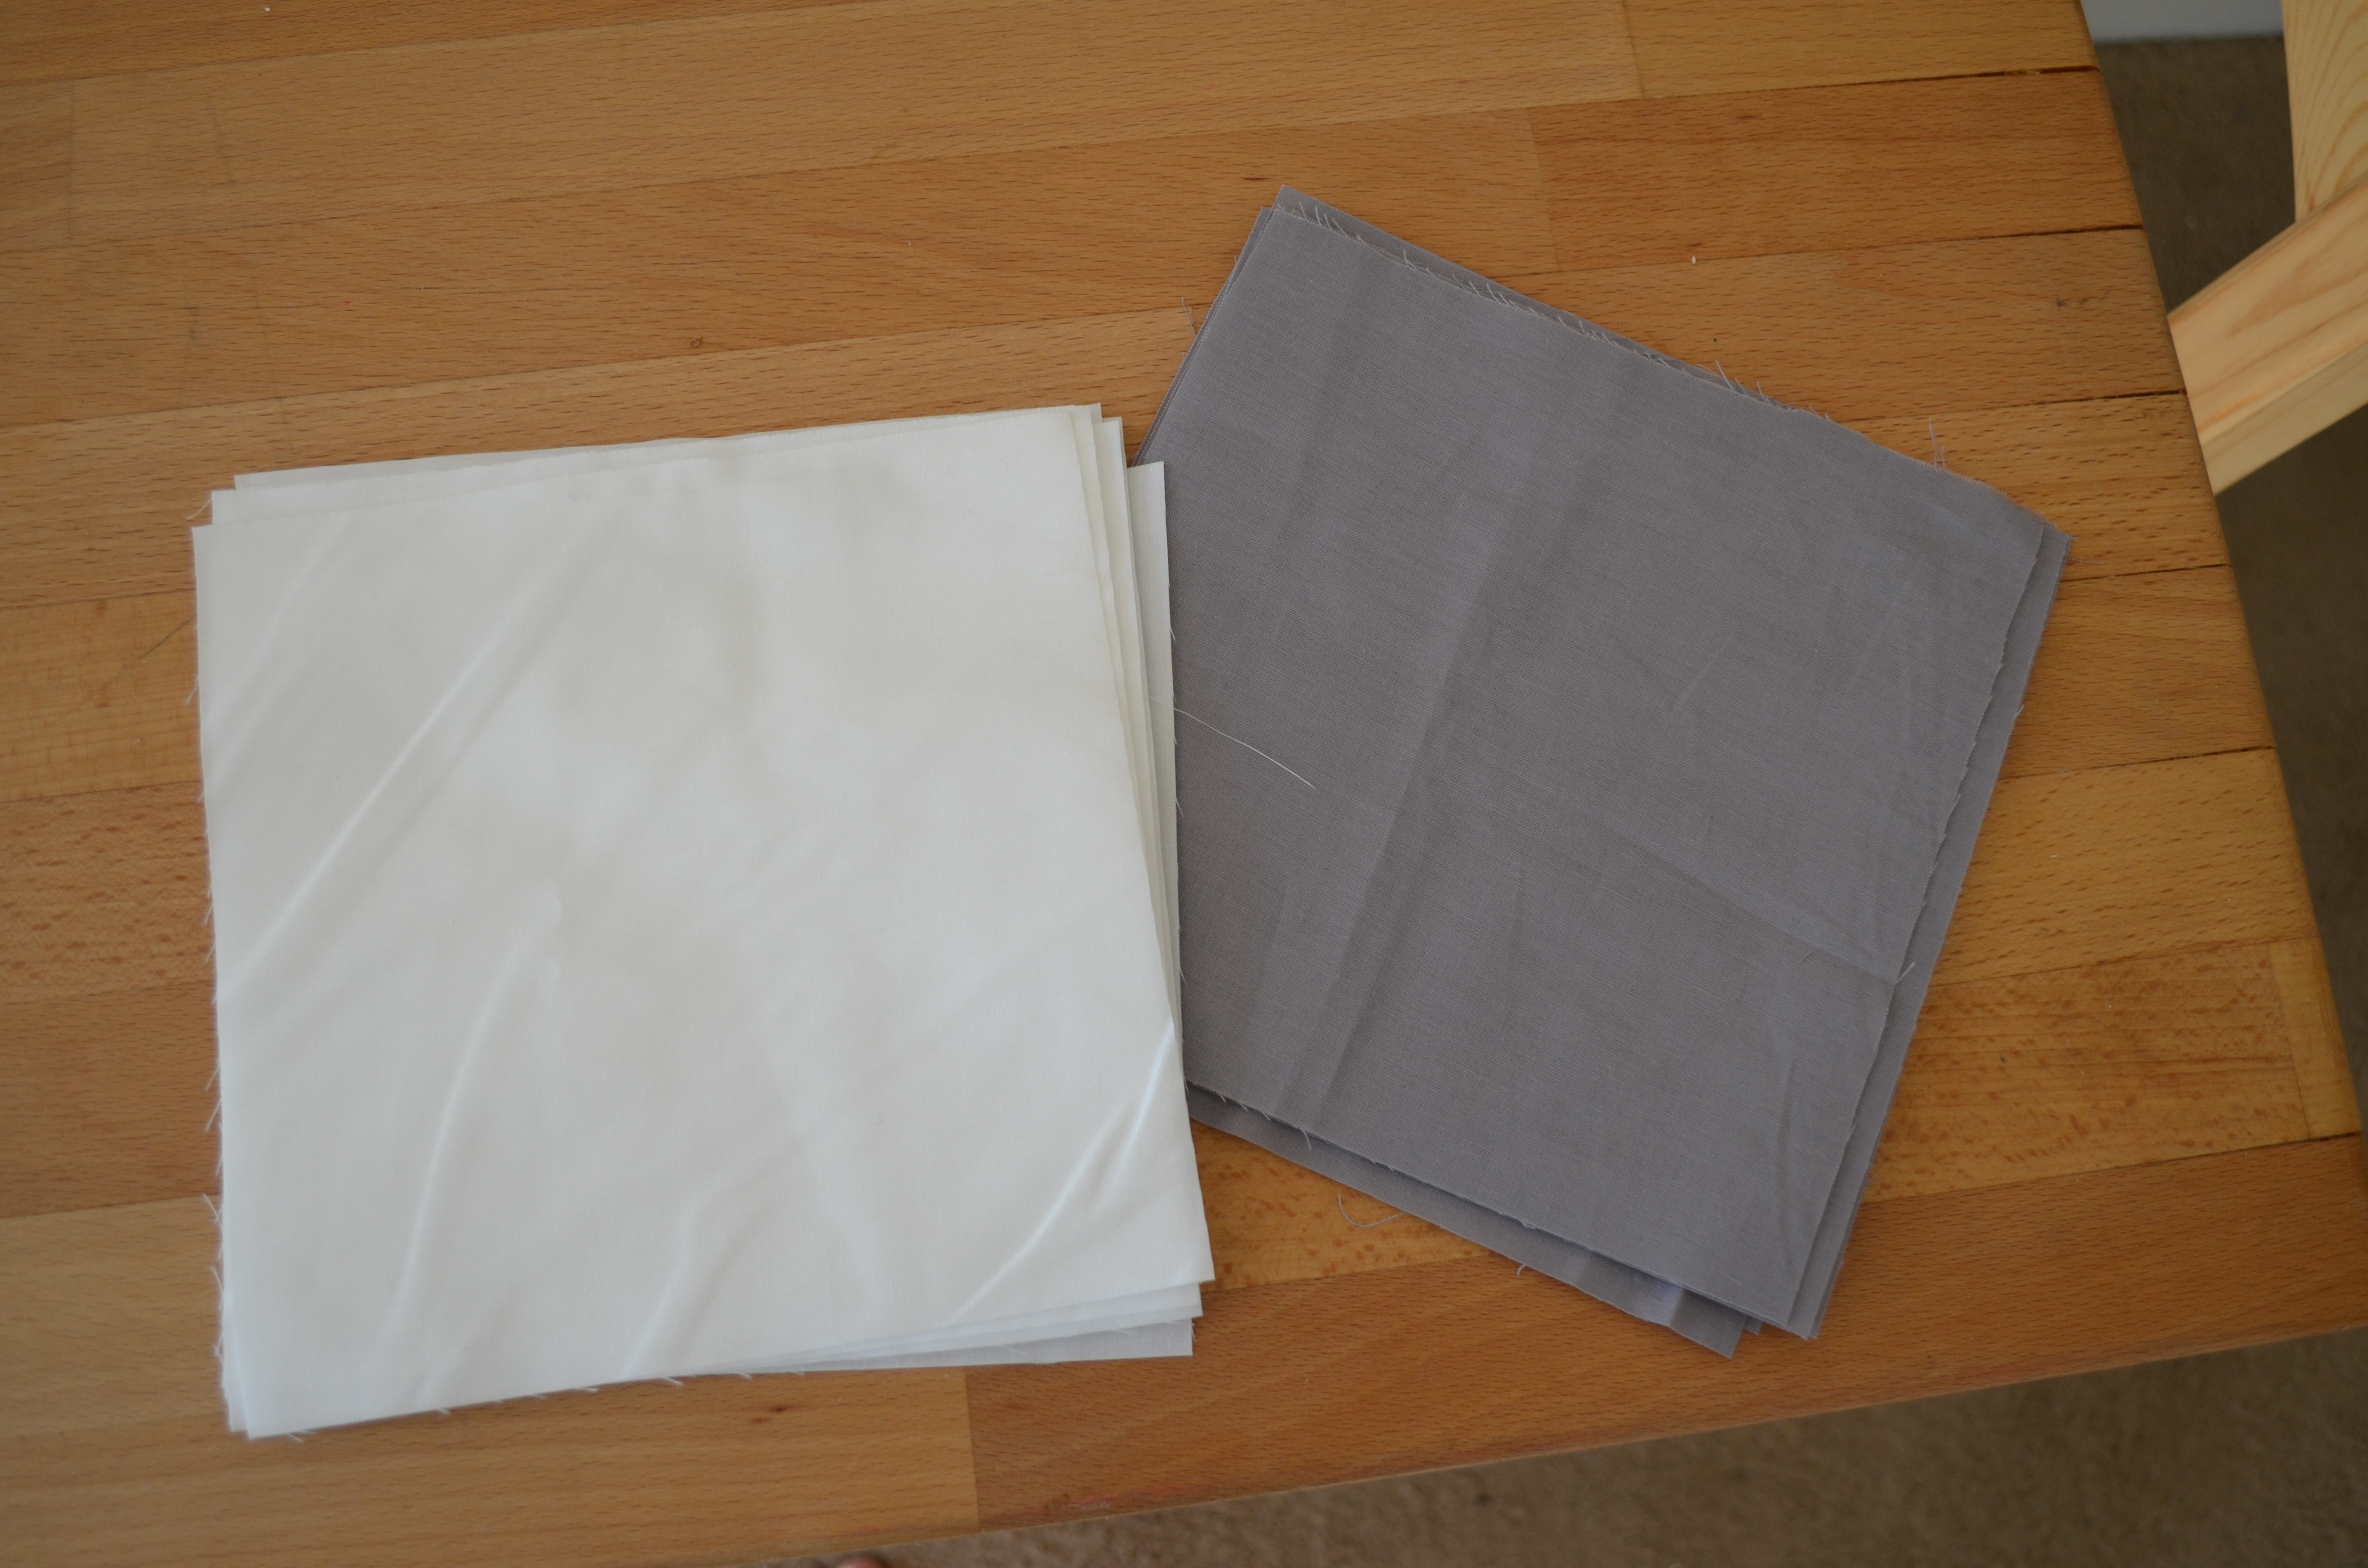
The process of making these squares is a trick that all beginning quilters should learn. Once made, these squares can be arranged in several different patterns, including a pinwheel. The first step is cutting out 7×7-inch squares of both the white and grey fabric.
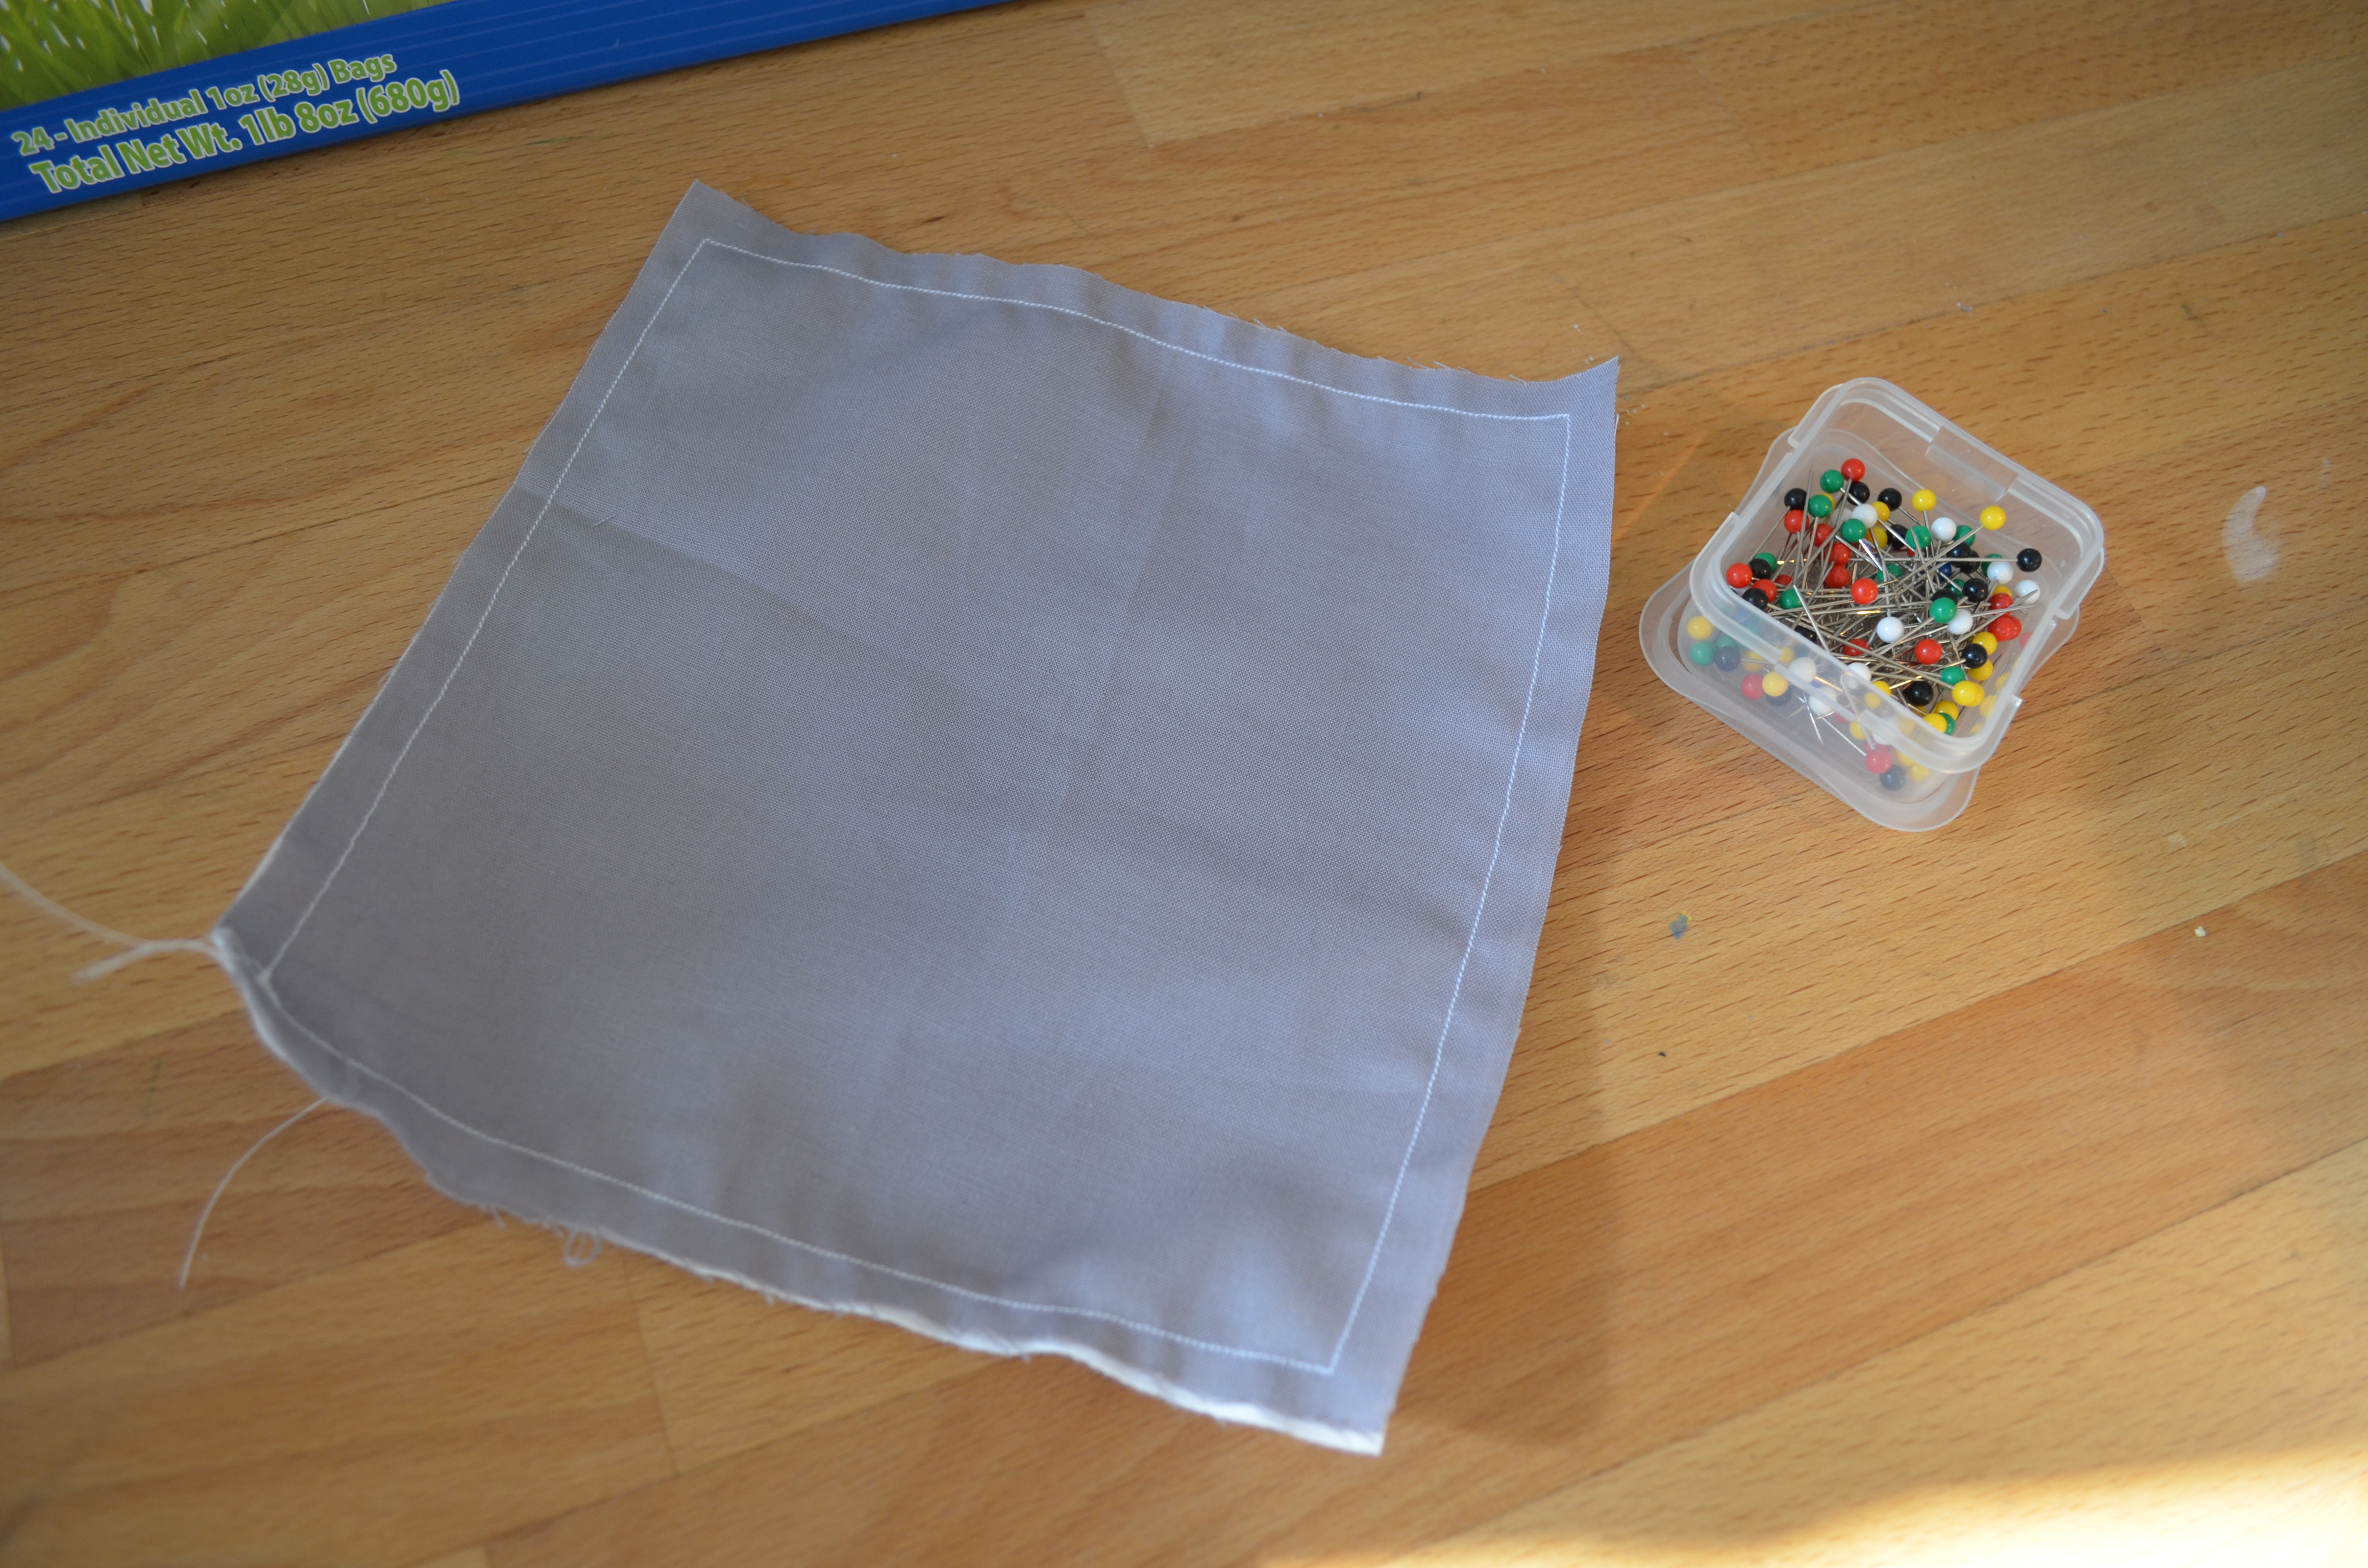
Next, I layer a square of the grey fabric on top of one of the white and sew a border, using a 1/4 inch seam allowance.
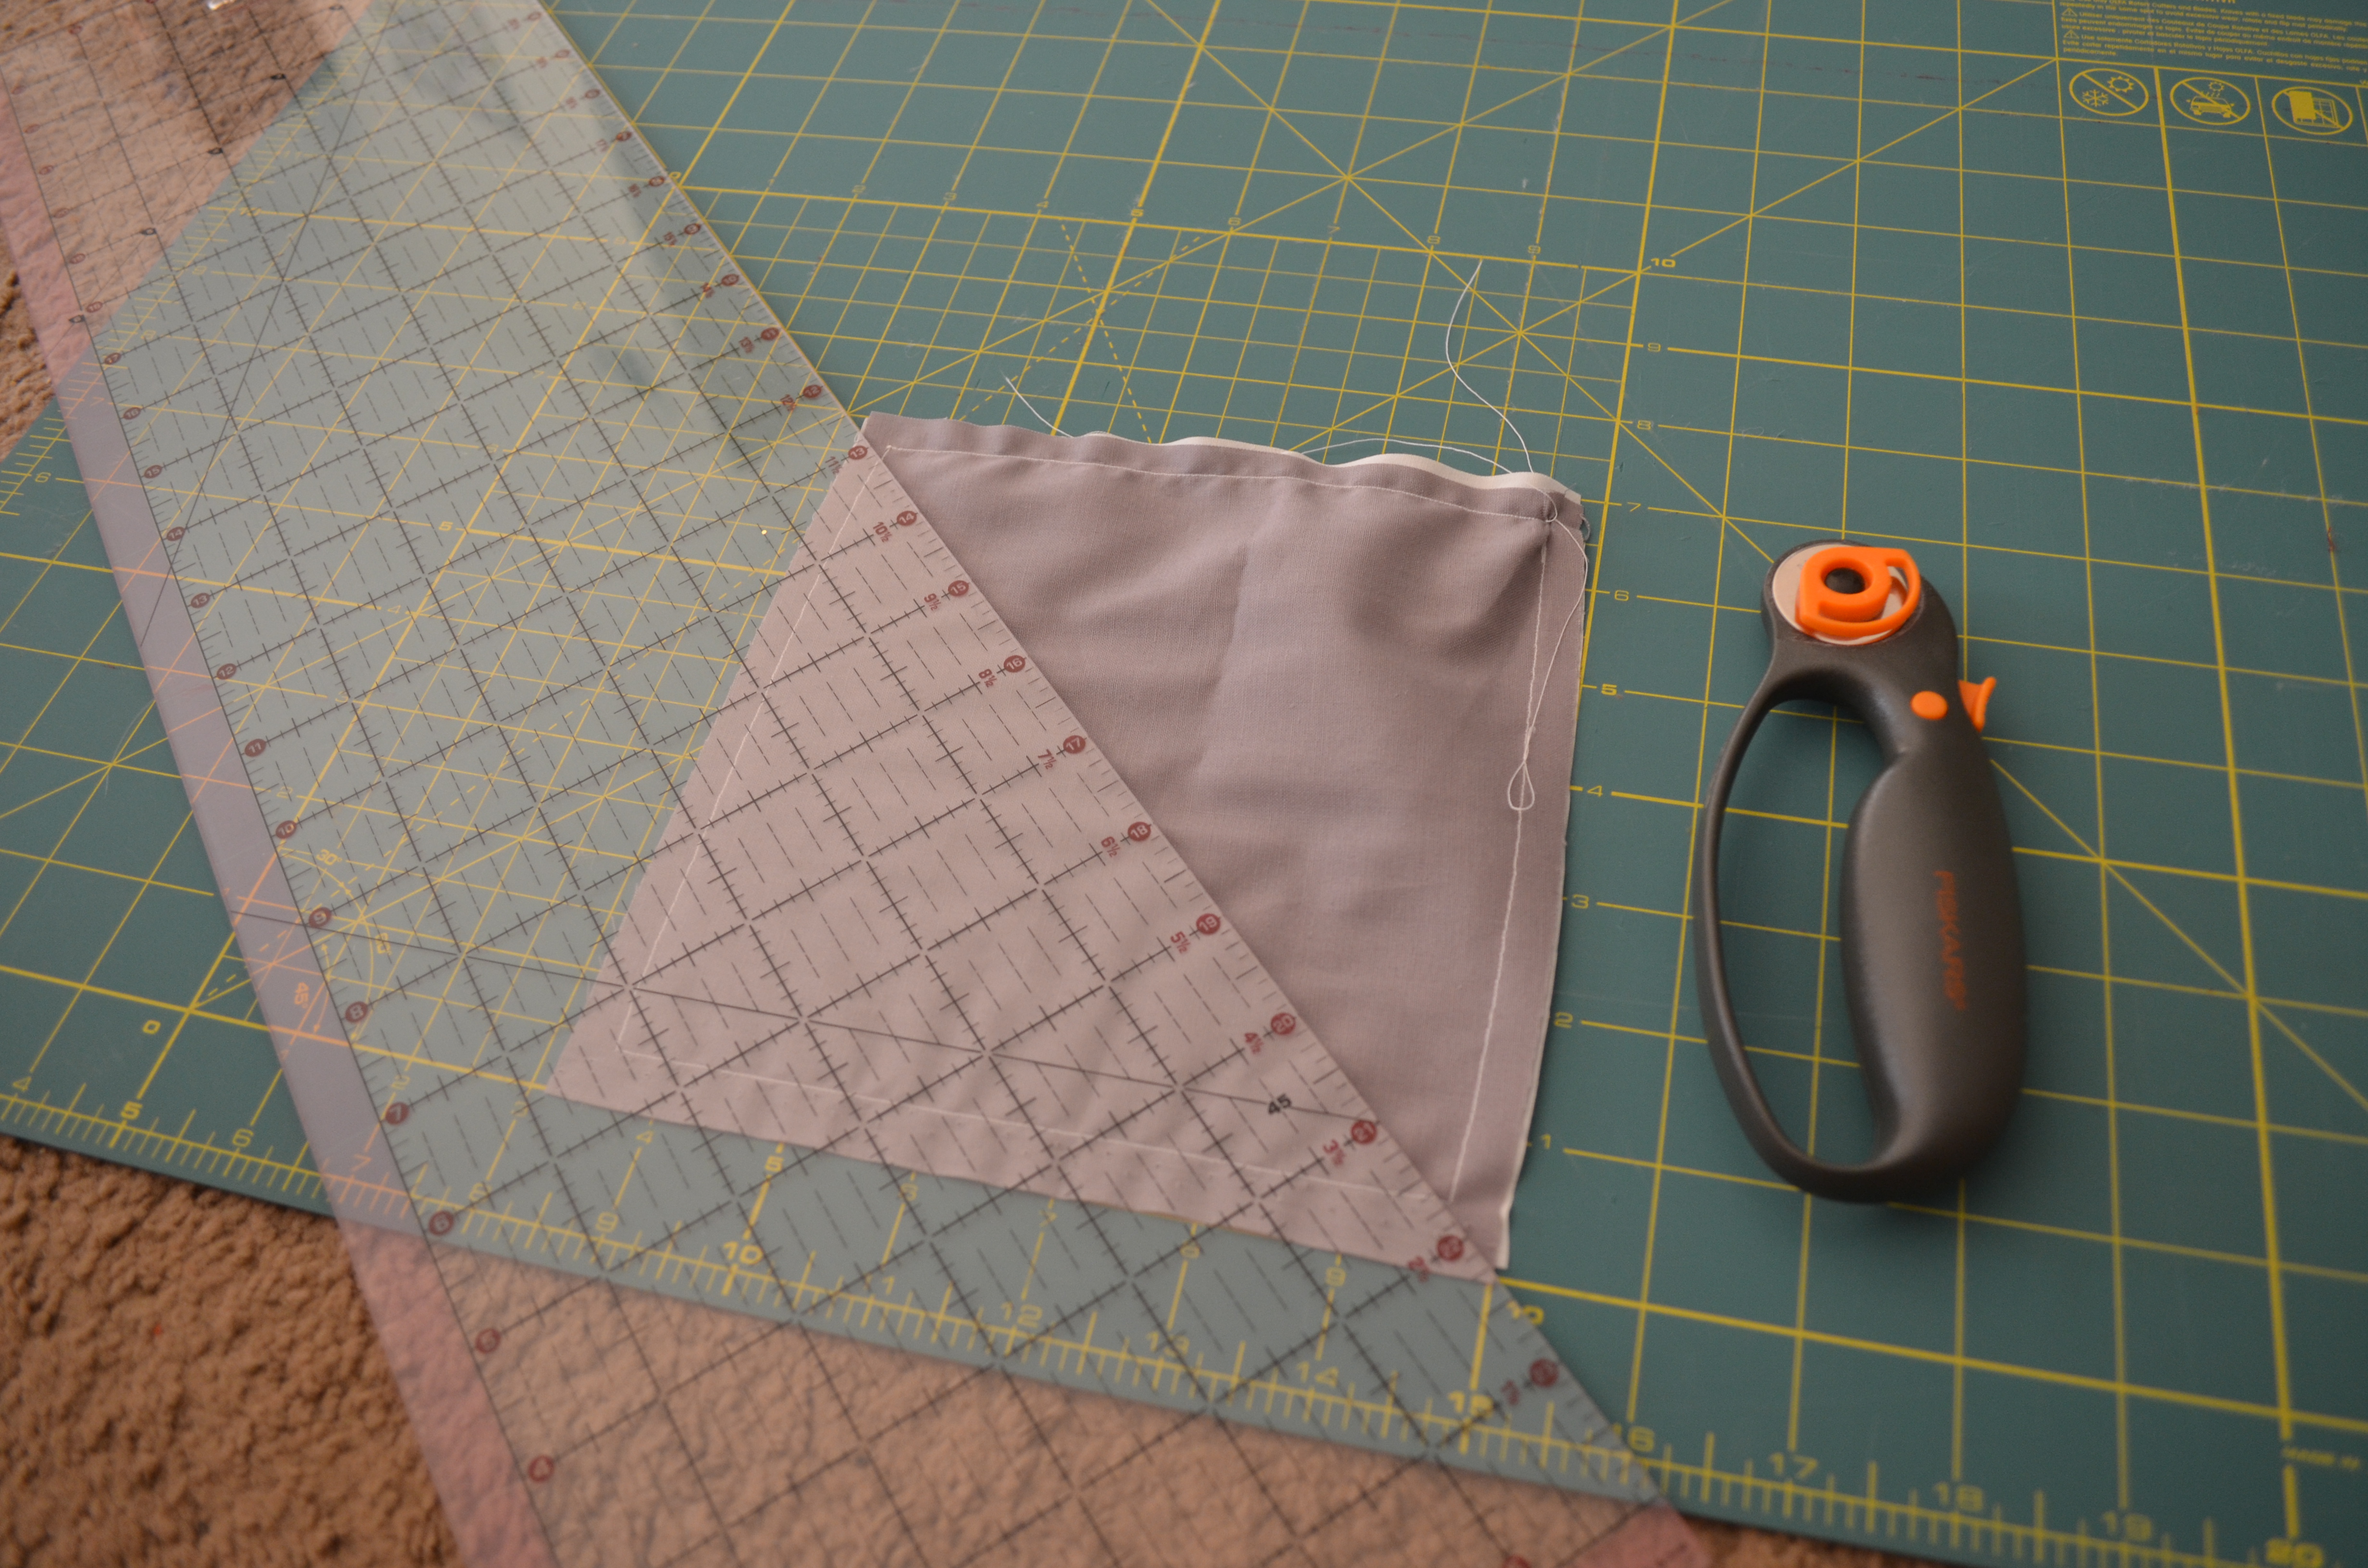
I then cut the square in half, diagonally. I repeat this step with the two triangles I just created.

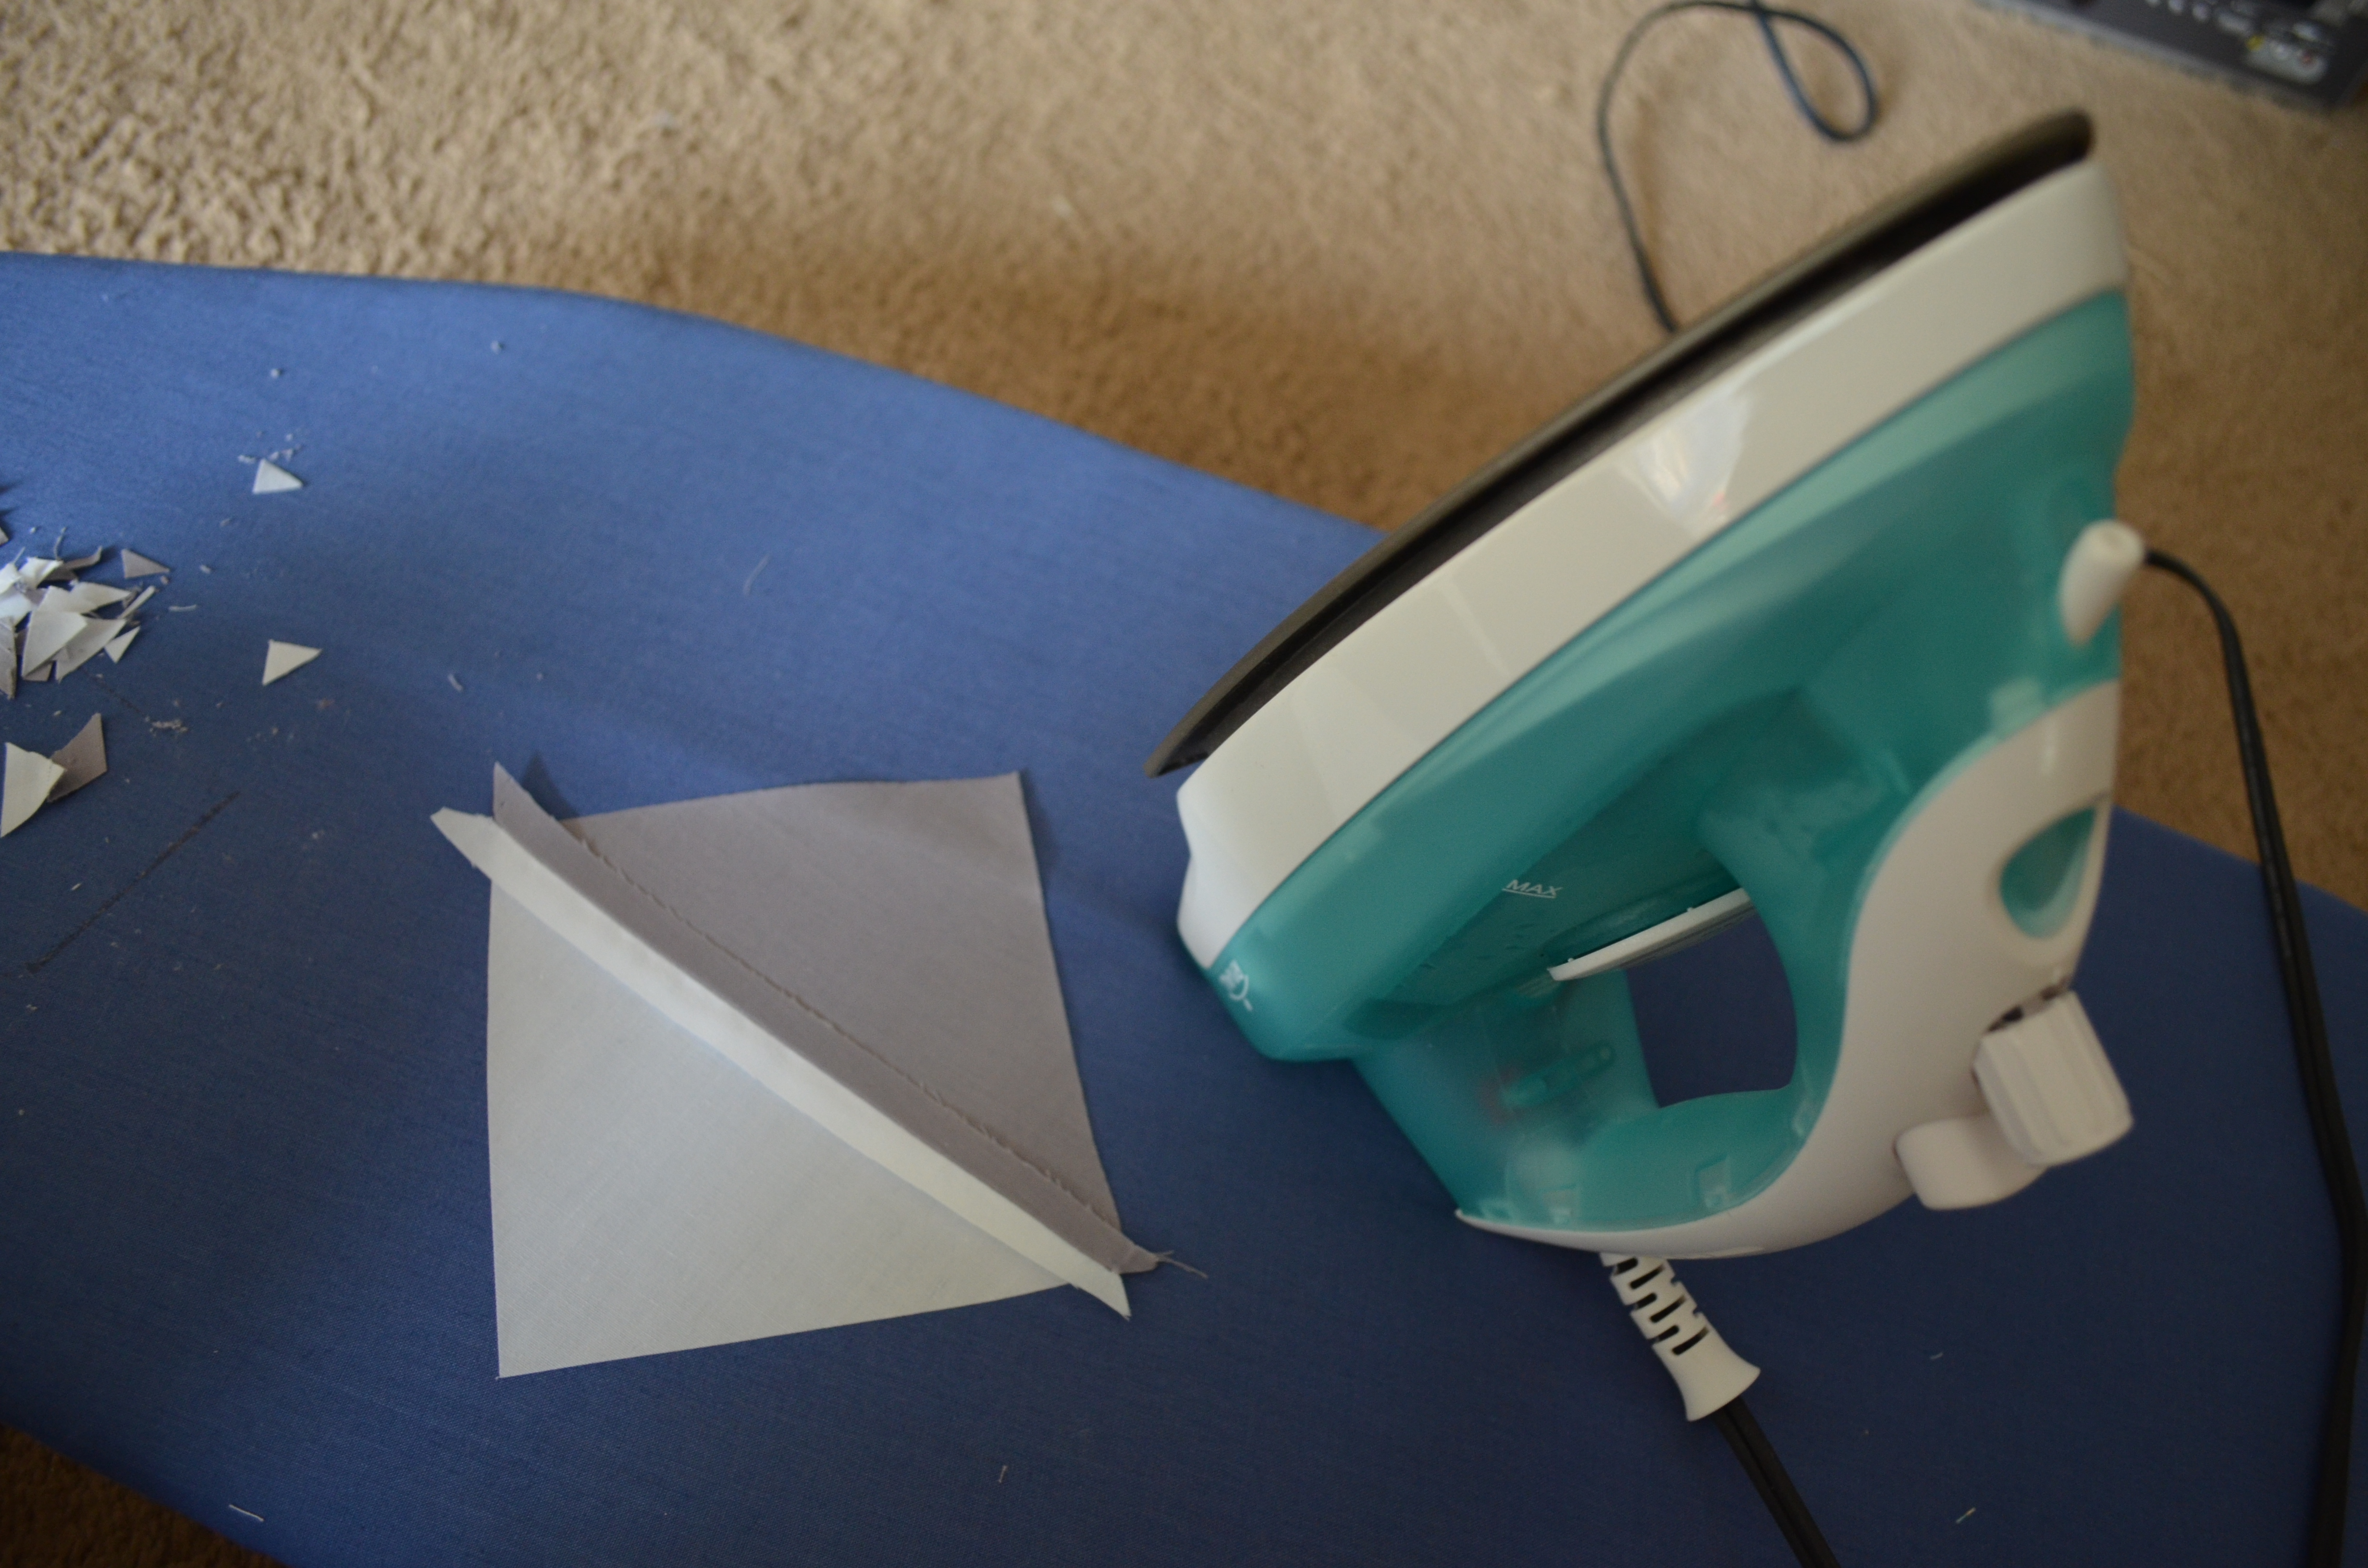
To finish, I unfolded the triangles and ironed the seams. I also cut off the extra fabric at the corners. As you can see, one 7-inch square quickly creates 4 smaller squares. Once you get the hang of it, you’ll find you have 90 squares before you know it.

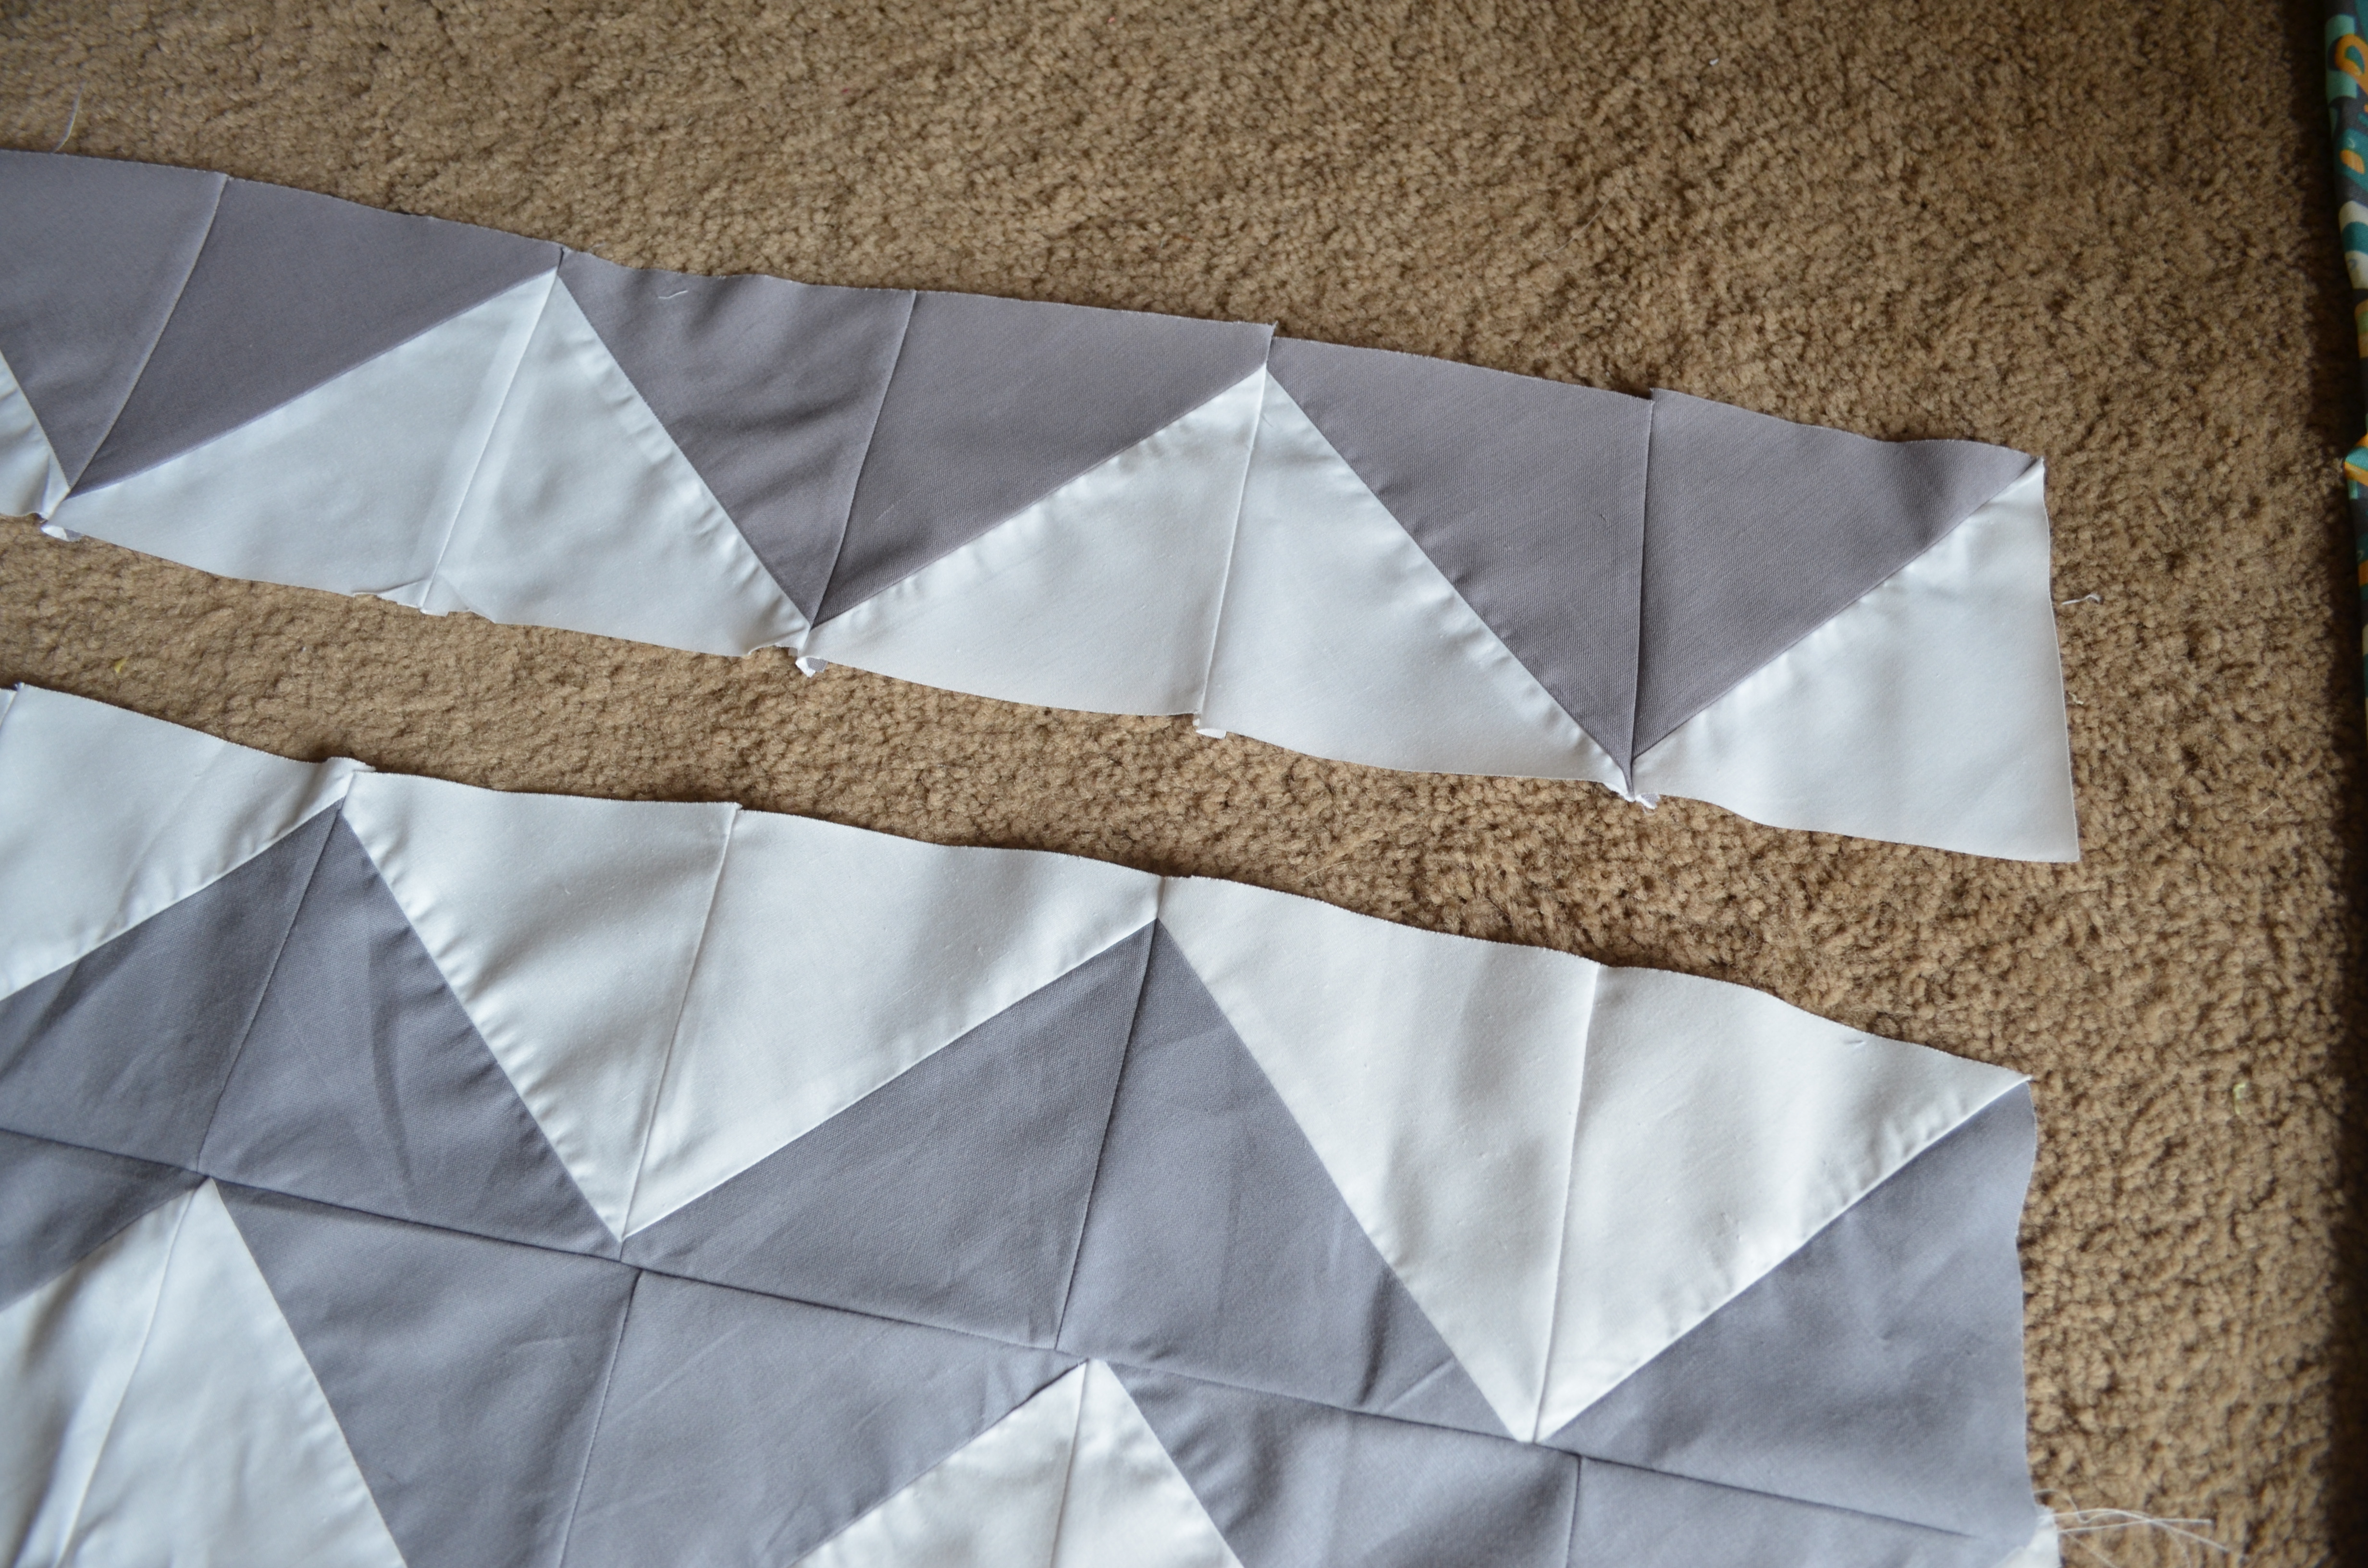
Once you have made all of the squares, you simple have to sew them together. My quilt was 10 rows of 9 squares each. You arrange the squares so the same colors are always touching.

Since we’re dealing with squares, it means we’re exclusively dealing with straight lines. So once you create the rows of 9 squares, all you have to do is sew the rows together.
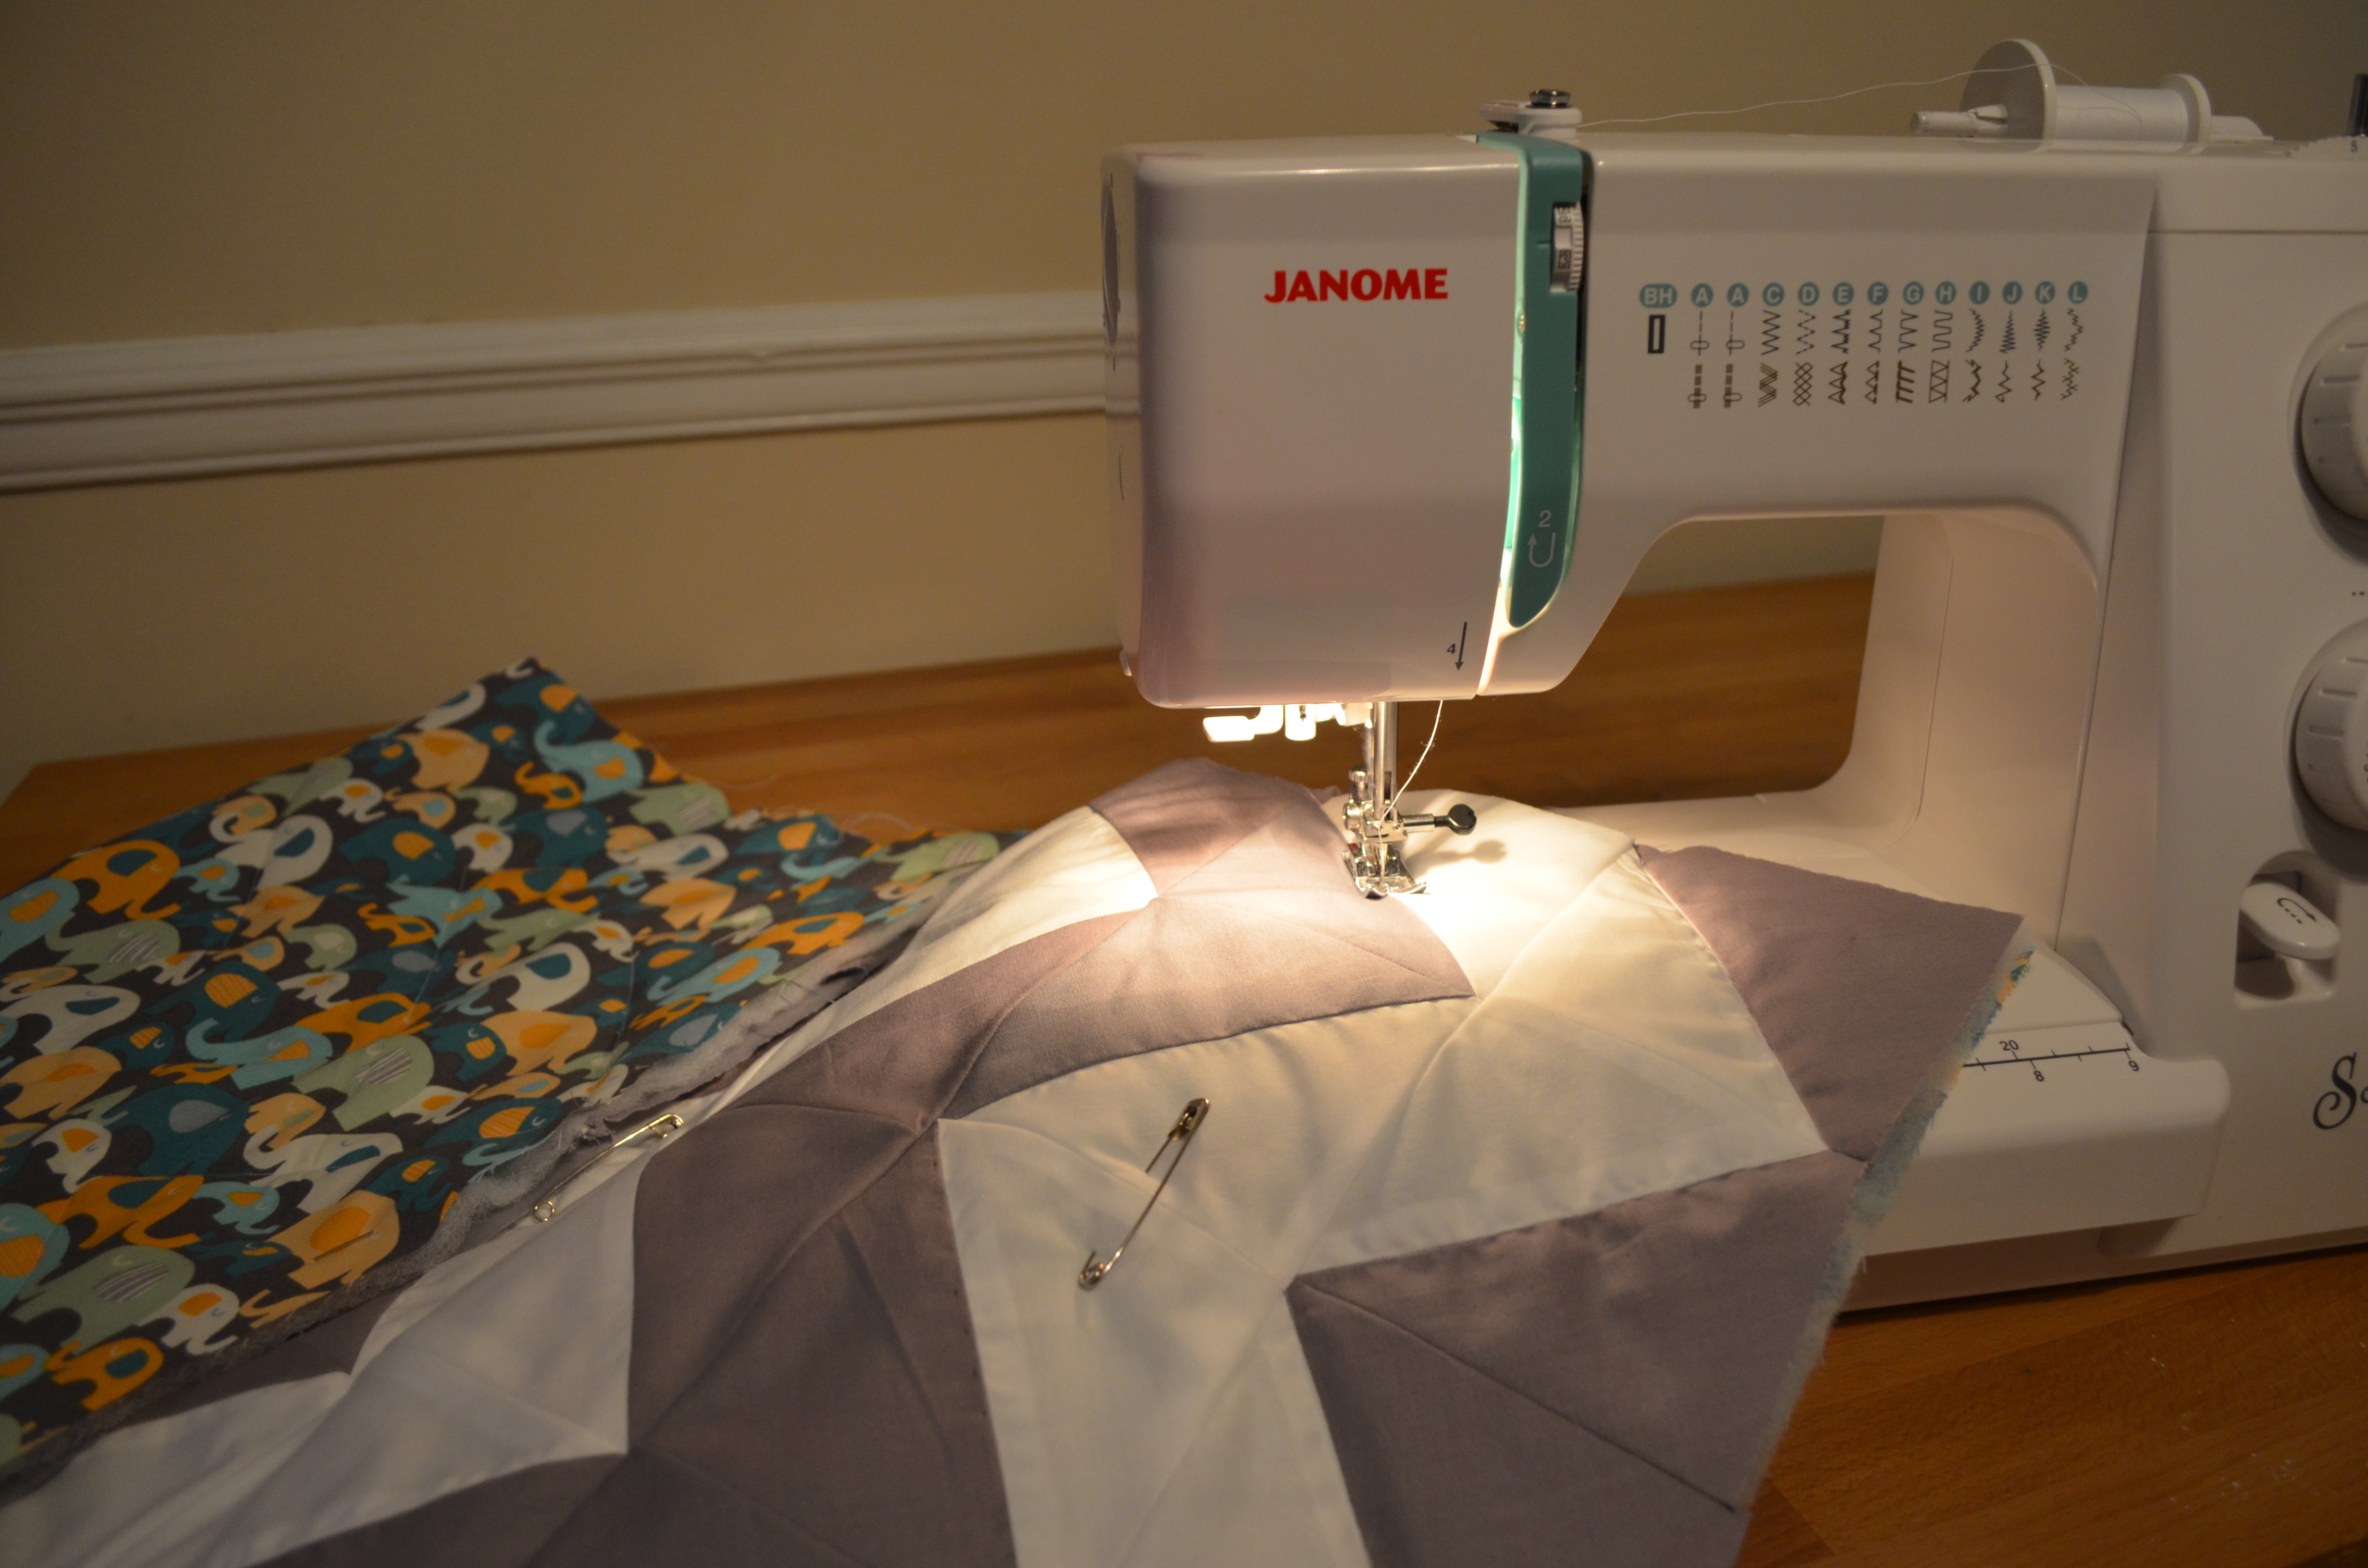
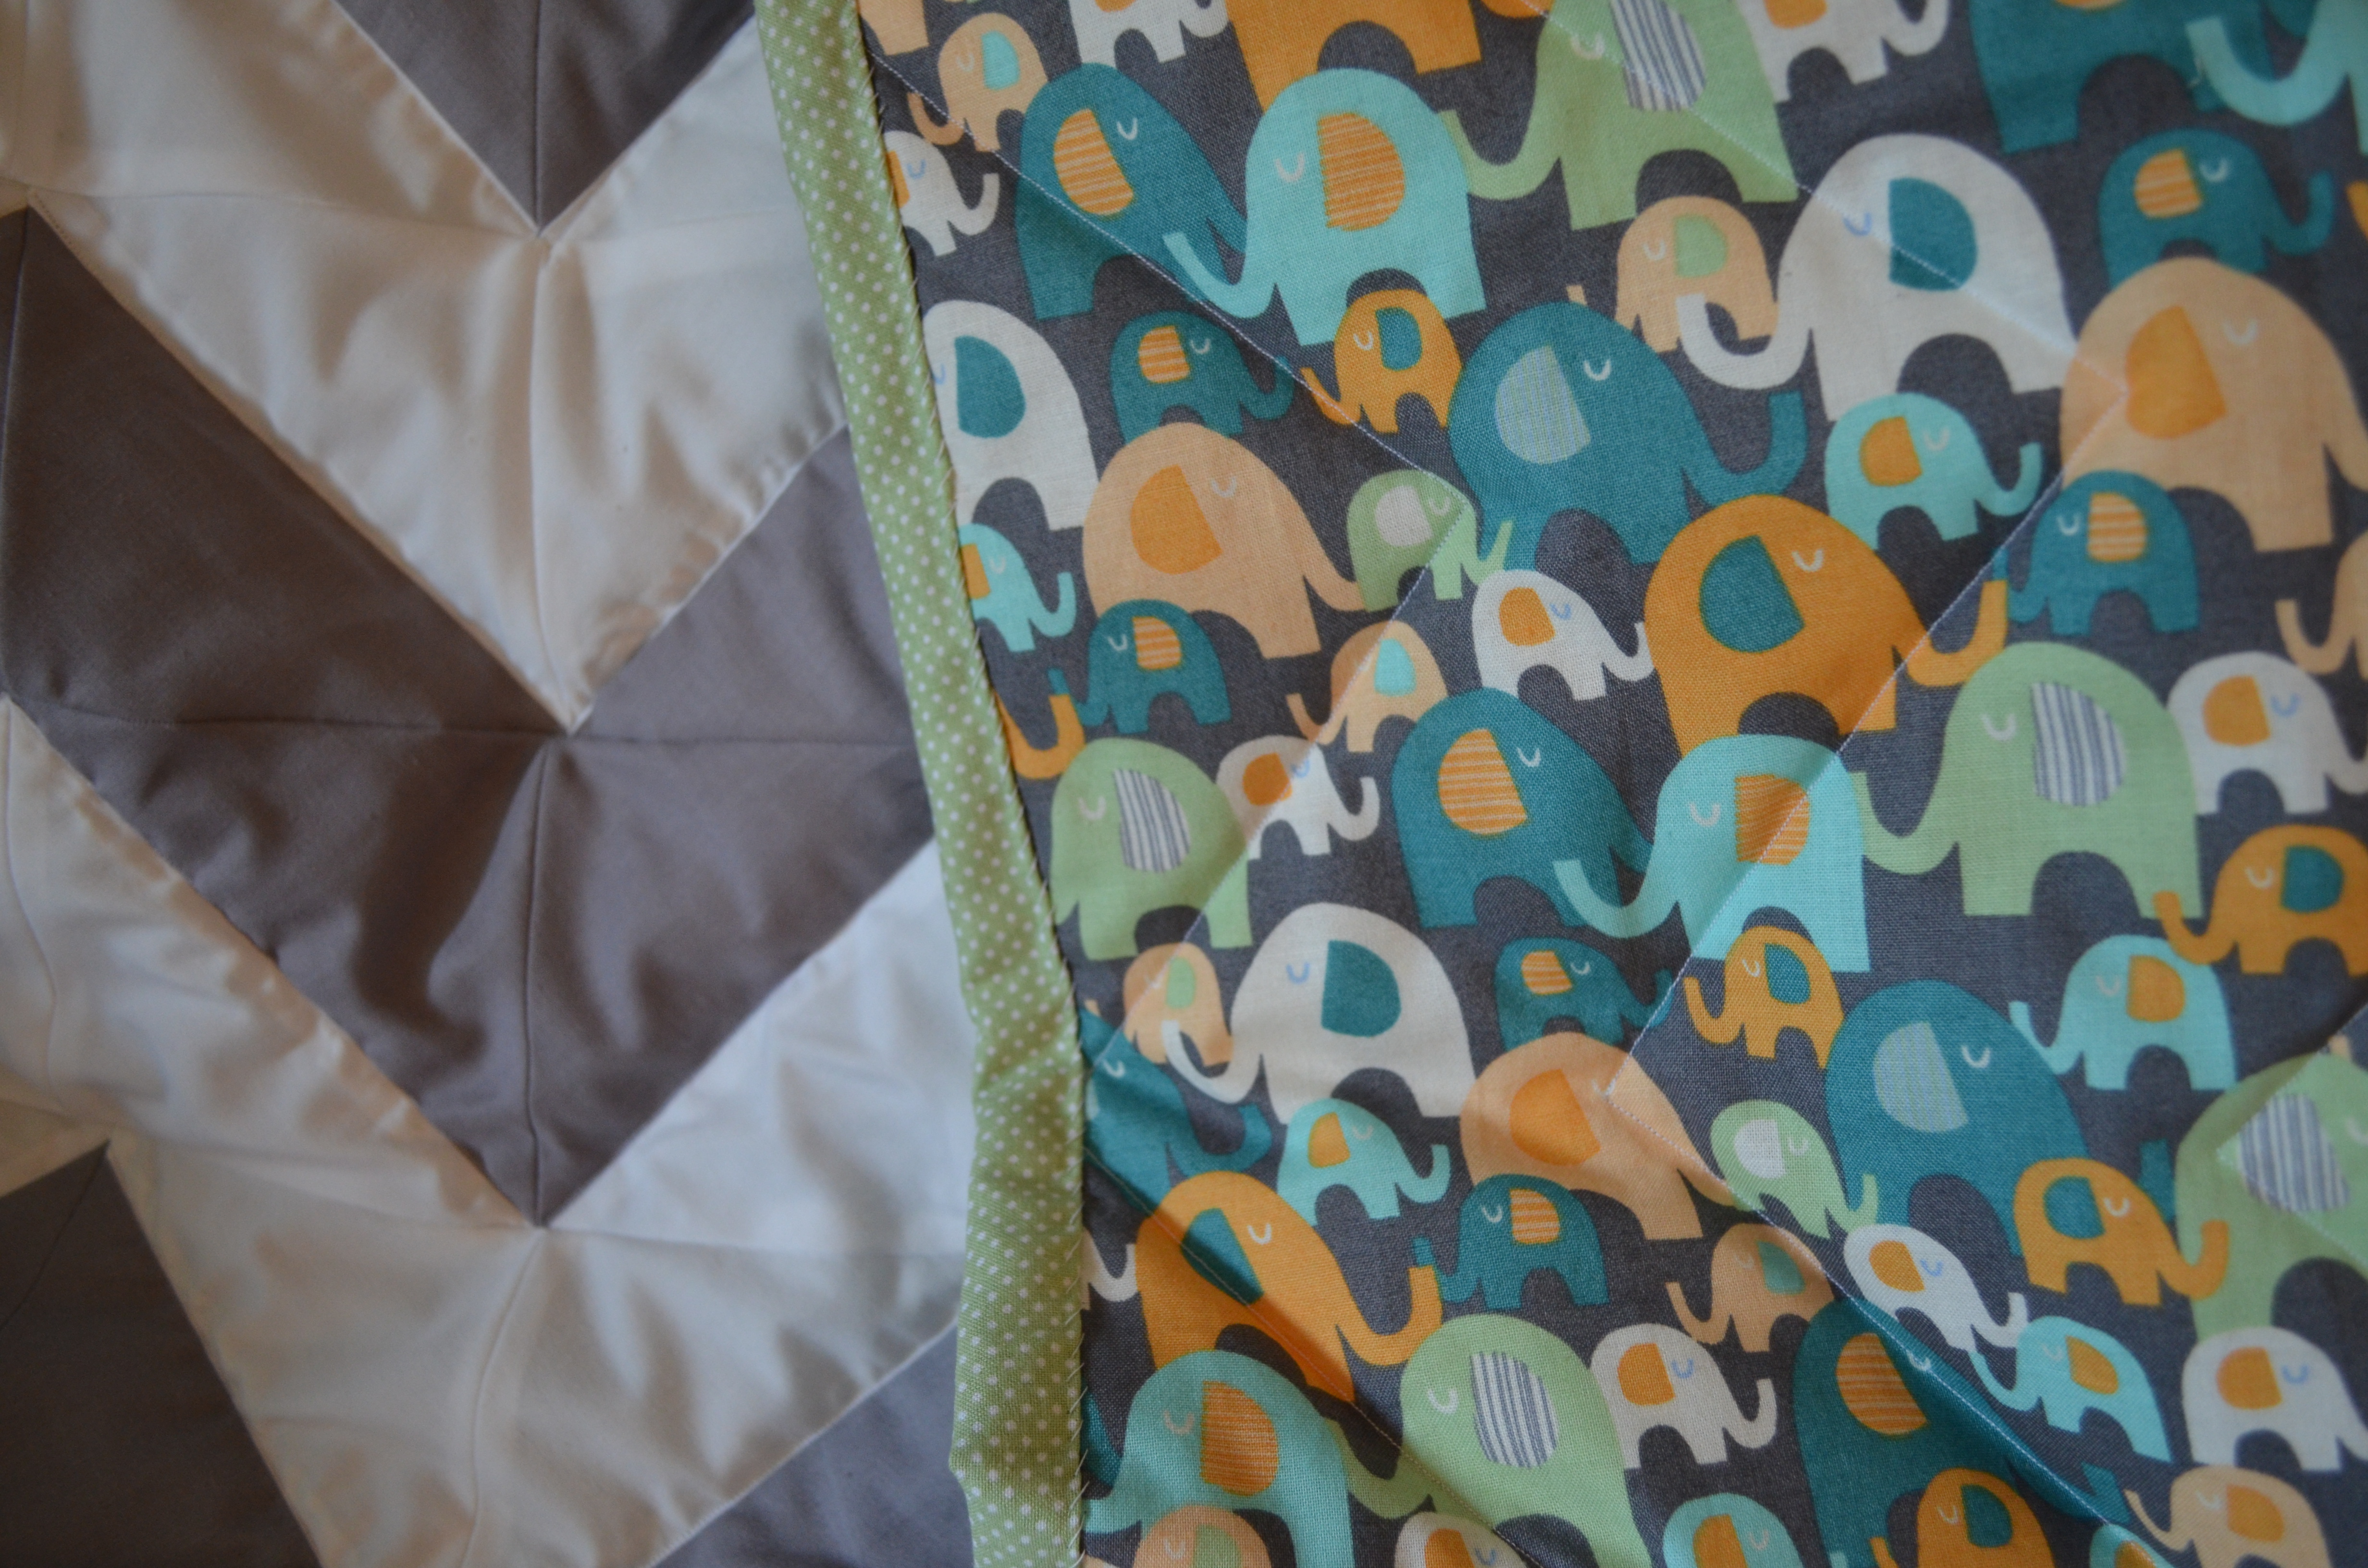
To accompany the chevon design on the front of the quilt, I used a yard of an adorable elephant pattern for the back that matches perfectly (if I do say so myself).

Once I basted both sides of the fabric to the polyester batting I purchased, I simply quilted along the chevron pattern.
For the binding, I chose a green fabric that matches one of the elephants on the back. I cut the fabric into 2.5 inch stripes, sewing them together to have enough to fit the diameter of the quilt. I next ironed down a half inch of one side of the fabric.

I sewed the binding to the quilt, using a 0.5 inch seam, using my short cut you can read about here for the corners.

Now that I have made a handful of quilts, I wanted to create a tag that would start to mark them as mine. But for this quilt, I didn’t want to use my initials since I am making the quilt for a friend, so I decided to use the year – the year her baby would be born.

I couldn’t be more happy with the final result. Of course, the quilt contains a few mistakes (if you look closely, you’ll notice I accidentally purchased two different colors of grey fabric). But with such an easy first-time experience, I know I will make another chevron quilt in the near future. And coincidentally, when I gave the quilt to my friend, I found out the chevron and the elephants match her nursery perfect. I guess you could just say I am very on top of the current trends!


[…] it be called the flower or floral plate.) The idea has been floating around in my head ever since I finished my last quilt (as my Pinterest board can attest.) Finally, I bit the bullet (a year ago) and purchased the […]