Felt Spider-Man Masks

My cousin and I saw Spider-Man: No Way Home in theaters the night before it was officially released. I didn’t release this was an option, but, I guess, gone are the midnight showings of my youth. I truly enjoyed every minute of the movie, and it was magical to watch it spoiler-free. I’ve always said that Spiderman was my favorite superhero, but this latest movie has sealed the deal.

This Christmas, I knew I wanted to make a felt gifts for the kids of several of my friends. Back in 2018, I made a handful of felt animal masks for my niece and nephews, so the thought struck me: felt superhero masks. Of course, Spiderman was my first instinct, and I love how they turned out. The red felt and back thread were materials I already had, and I was amazed at how cutting out the eyes made the mask instantly recognizable.

Quilting with 1canoe2 Fabric

IMG_1965.jpeg

My friends Lyndsay and Eric recently welcomed their first child, and in the months leading up to the due date, my group of friends hosted the sweetest baby shower. I wasn’t a part of the party planning, so I decided to use the time to create a baby quilt. And luckily, when this idea came to me, 1canoe2 announced a sale on its fabric.

IMG_1945.jpeg

I am a big fan of 1canoe2. For several months, I participated in its greeting card subscription, and I’m pretty much obsessed with its new collection of fabric bags. But with this quilt, it was the first time I purchased 1canoe2 fabric.

IMG_1948

IMG_1947


Because its simple and easy, I decided to make the quilt using half triangles. I love this pattern because there are so many ways that you can arrange the different fabrics.

IMG_1946.jpeg

It’s funny. Now that I am looking back through the pictures, I actually prefer the option abovewith the light blue in the center. But I must have known deep down that they were going to have a girl. (The gender was surprise.) The final version has the link pink fabric in the center.

IMG_1967.jpeg

I love it when you find the perfect fabric for the back of the quilt, and I feel like I hit the jackpot with this teal moth pattern.

Dried Fruit Wreath for Christmas

IMG_3253It’s a known fact about me: I loving giving gifts. And each Christmas, it brings me a lot of joy to make presents for my family and friends. My mom calls it my “Christmas ambition.” Starting around October, I make a list of the things I want to make during the Christmas season. I have yet to complete this list, but I strive each year to cross off as many items as I can. This year, the list had a bit of a theme, embracing dried fruit and cinnamon sticks.

IMG_3231.jpegI’ll confess, the idea to make a small wreath using dried orange slices, apple slices, bay leaves and cinnamon sticks is not an original idea. I saw it in an Advent devotional book someone gave me in November. But the craft is so simple that you really don’t need step-by-step instructions. It can be done in a number of ways.

But first, you have to dry the fruit. I do not have a dehydrator, so what I did was place the orange and apple slices on cookie sheets and left them in a 200 degree oven for 5-6 hours, flipping them every 2-3 hours. I made my best batch at night, turning the oven off before I went to bed and leaving the fruit in the oven while I slept.

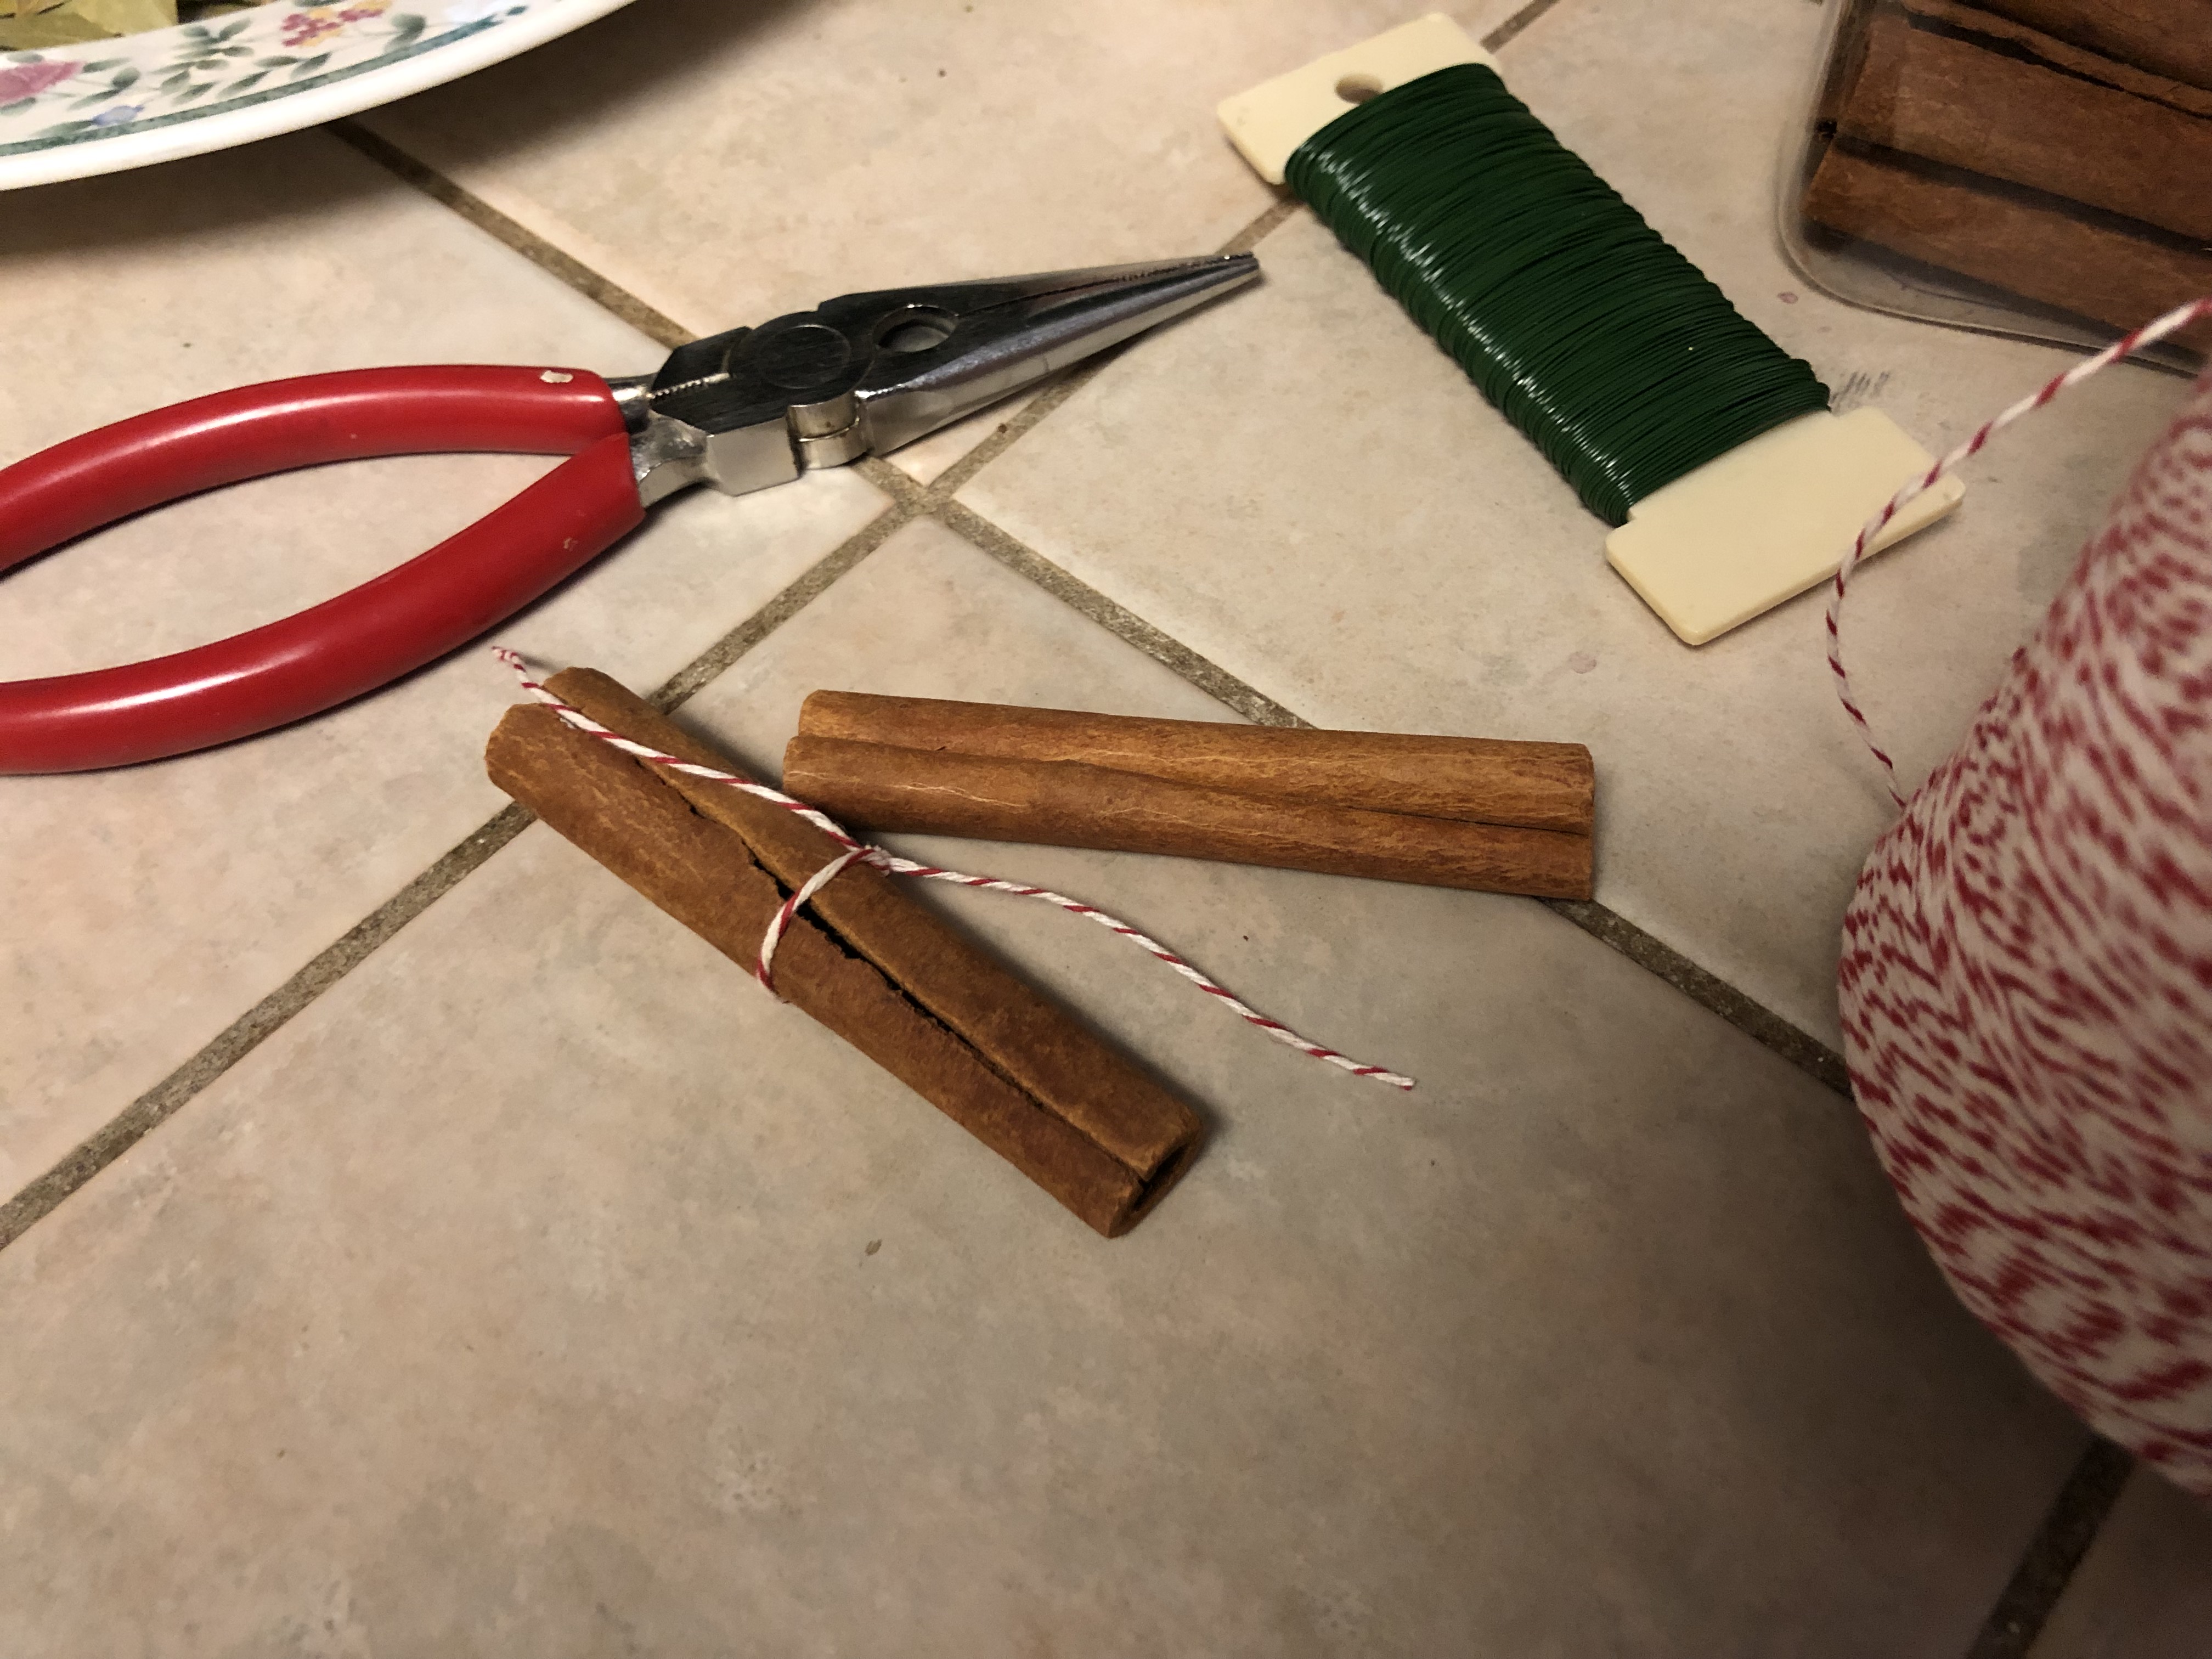
IMG_3235.jpegWith the fruit dried, it simply becomes an assembly process. I used floral wire as my “base,” stringing the fruit, bay leaves and cinnamon sticks in an alternating pattern.

For the cinnamon sticks, you could drill a hole in the stick and string it like normal, but I was a little lazy. Instead, I tied red and white baking string around the stick and then tied it to the wire. I liked the look of the extra string hanging down.

IMG_3239.jpeg

IMG_3243.jpegOnce I strung enough fruit, bay leaves and cinnamon sticks, I use pliers to twist the two ends of wire together. In my first few wreaths, I left a small hole in the center (to look like a traditional wreath), but in the final ones that I made, I pulled the wire tight, making the wreath appear more like a ball. I thought this version looks so much better!

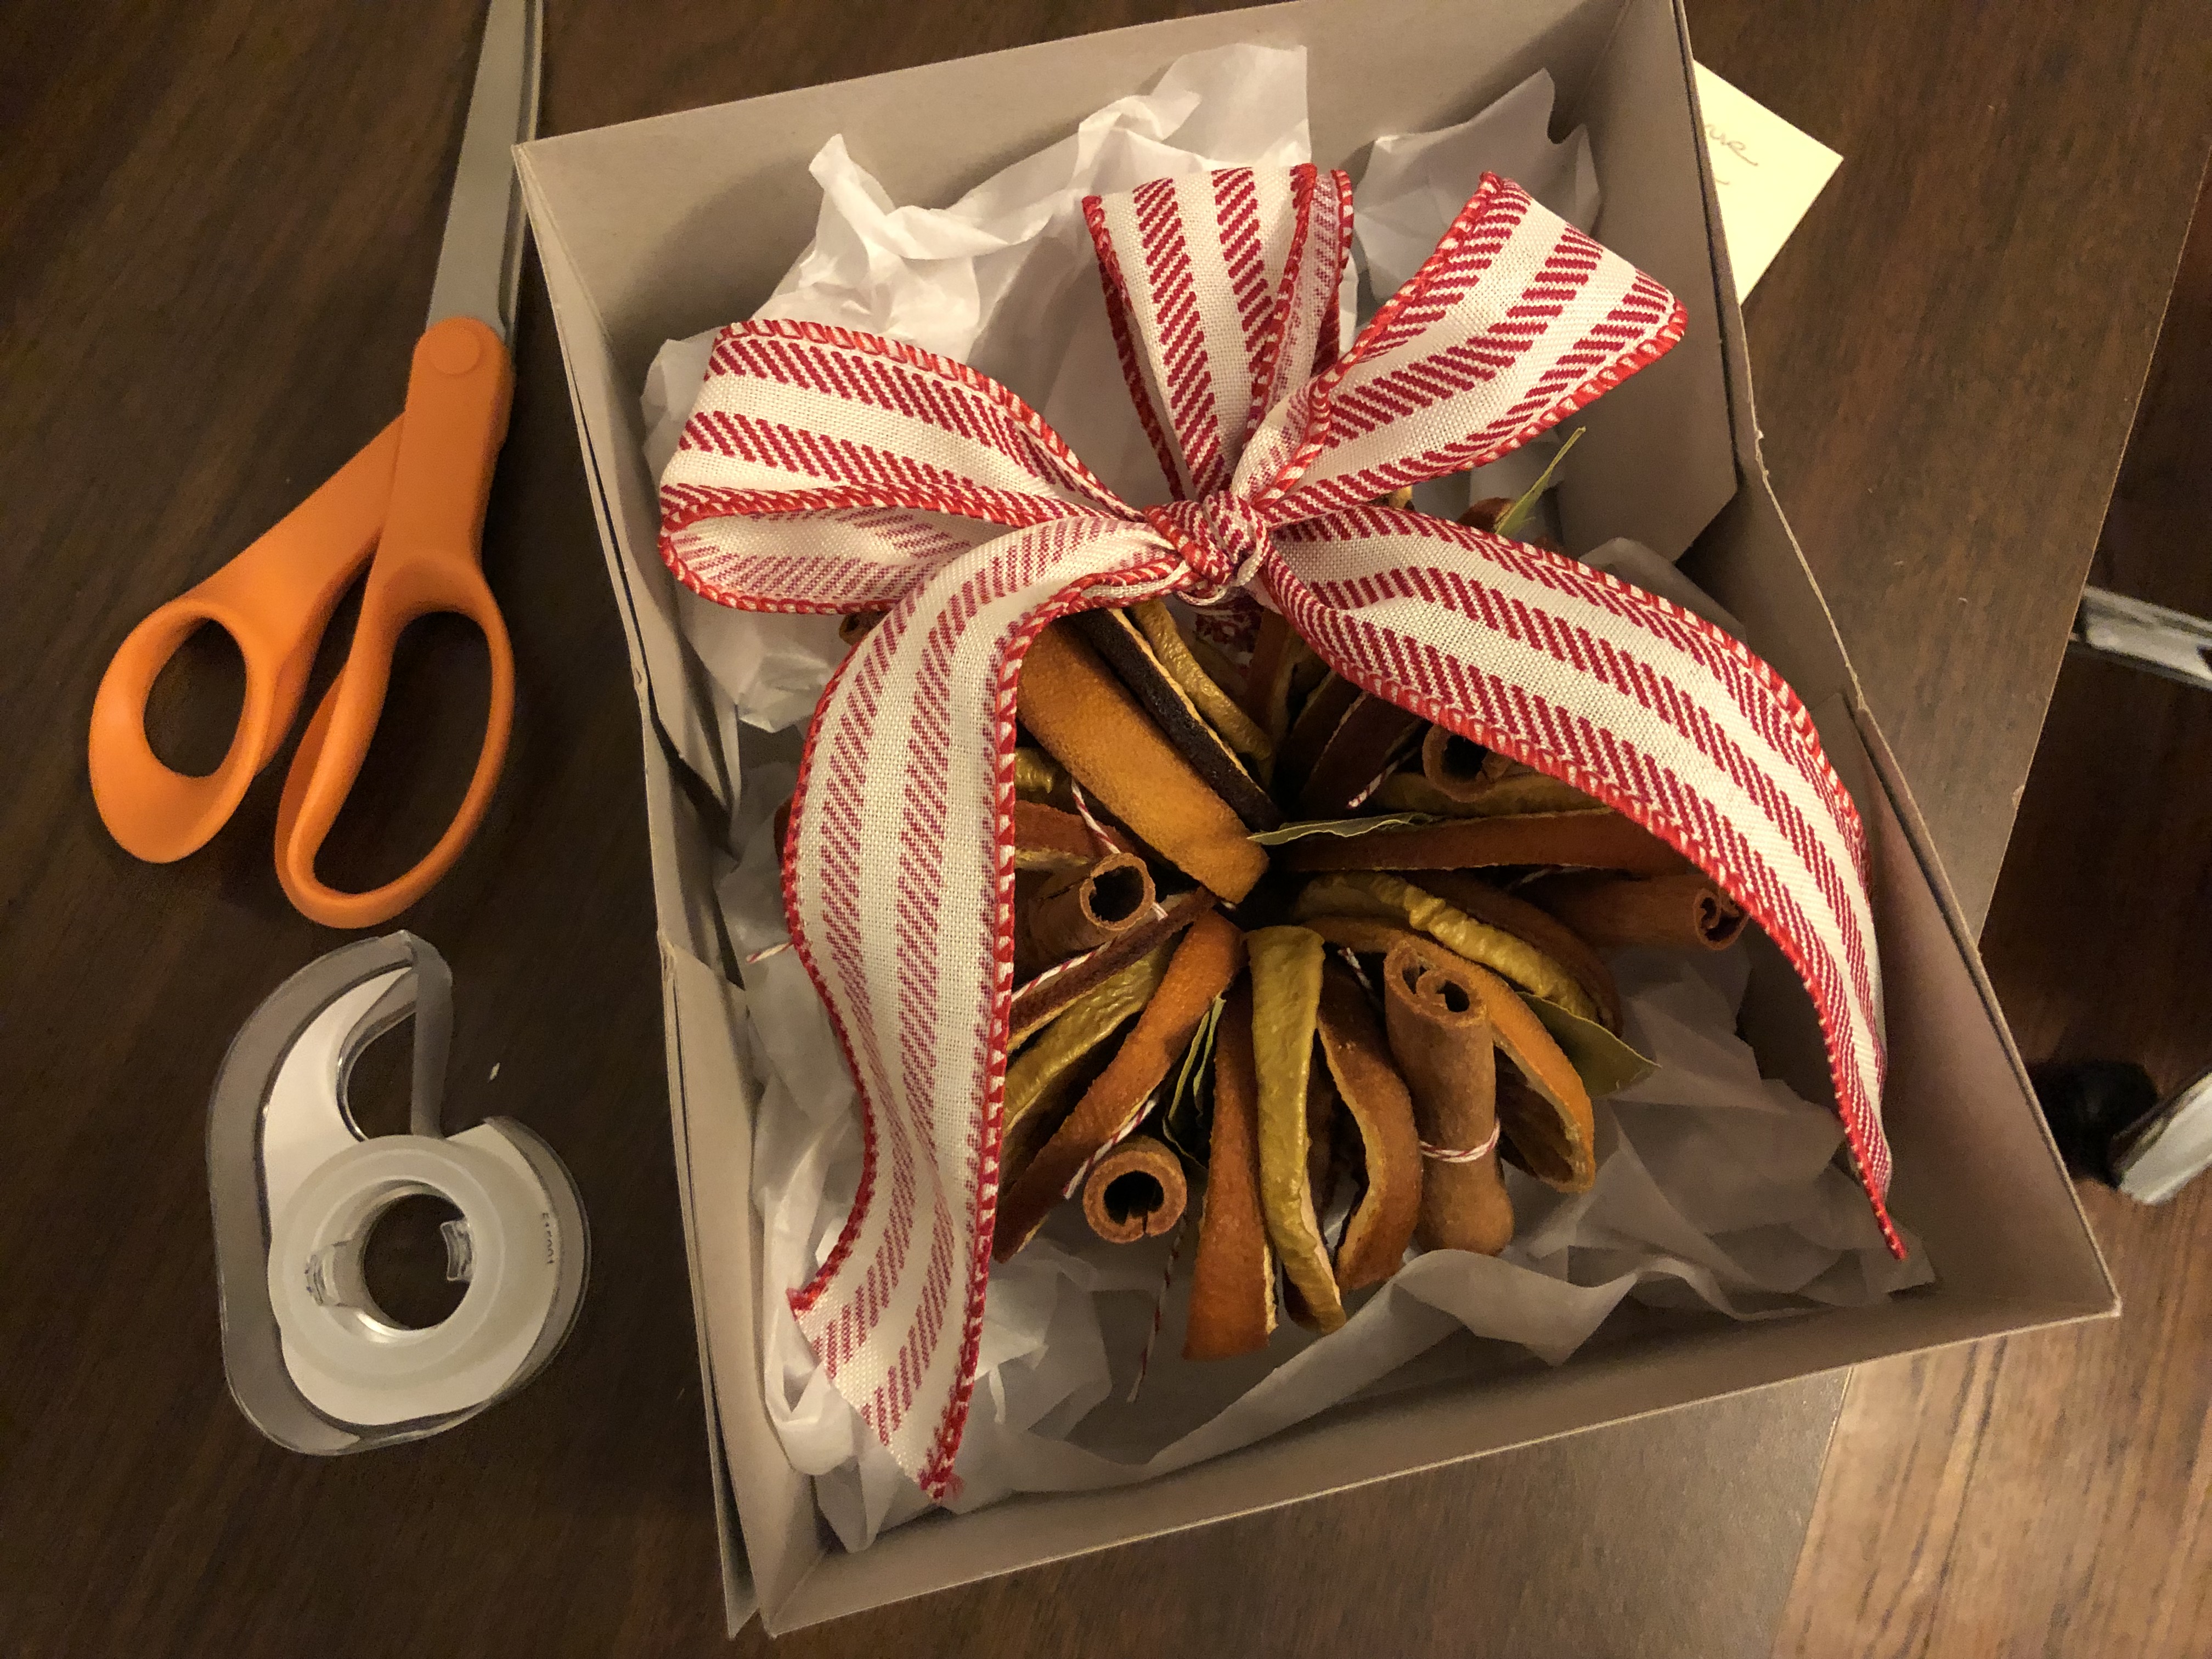
IMG_3247.jpegThe final element was adding a touch of ribbon. I played with wide and narrow ribbon options, and in my opinion, I liked the narrow ribbon the best. But both options were fun to wrap up and give away. The beautiful smell of the wreath will hit the recipient’s nose as soon as he or she removes the lid from the box. Enjoy!

Something New

IMG_9059.jpg

While graduate school has consumed much of the spare time that I used to spend on my Etsy store, the fact is, there is still a lot of felt fabric left in my house. And several times a year, I have the great desire to pull it all out and make something new.

This time, it was to make felt crowns.

The idea was inspired by a birthday party. I live in an affluent neighborhood of Birmingham, Alabama, and over the past year, I’ve been blowed away by the elaborate birthday parties my neighbors and friends host for their young children.

After looking at a Facebook post from a friend, the idea came to me: What if you made felt decorations that could be used at children’s birthday parties (replacing its paper equivalent). I thought about decorations, like banners, but I quickly fell in love with idea of felt crowns and hats.

So I pulled out all of the felt and started to play. The first crown I made used pink felt and purple pompoms, and while I continued to make other crowns using other themes (like a pirate crown, butterfly crown, birthday crown, etc.), this first version remained my favorite.

IMG_9060IMG_9085


IMG_9096    IMG_9085

With one more year to go on my graduate program, I don’t think I’ll be reopening my Etsy shop anytime soon. But I will always appreciate a free Saturday afternoon when you can just let you mind wander.

A Charleston Birthday Soiree

Yesterday, I arrived home from the most amazing weekend on Kiawah Island, about 40 minutes from Charleston, South Carolina. My family gathered together to celebrate my aunt’s 50th birthday in one of the most beautiful homes I’ve ever had the opportunity to stay in. We kayaked on the marsh, enjoyed time on the beach, and on Saturday night, threw a proper birthday dinner for my aunt. Naturally, I asked if I could be in charge of decorations.

IMG_1744.jpg

Since the setting was naturally beautiful, I kept the decorations simple and easy. I used the theme of magnolias and pineapples (because we’re in Charleston, of course). For the tables, I ordered a blue “painted check” paper table runner online at Hester & Cook, and we purchased three pineapples with good tops. My mother already had gold candle votives that she brought from home, and she also cut a few magnolia branches from her neighbor’s yard.

IMG_1748.jpg

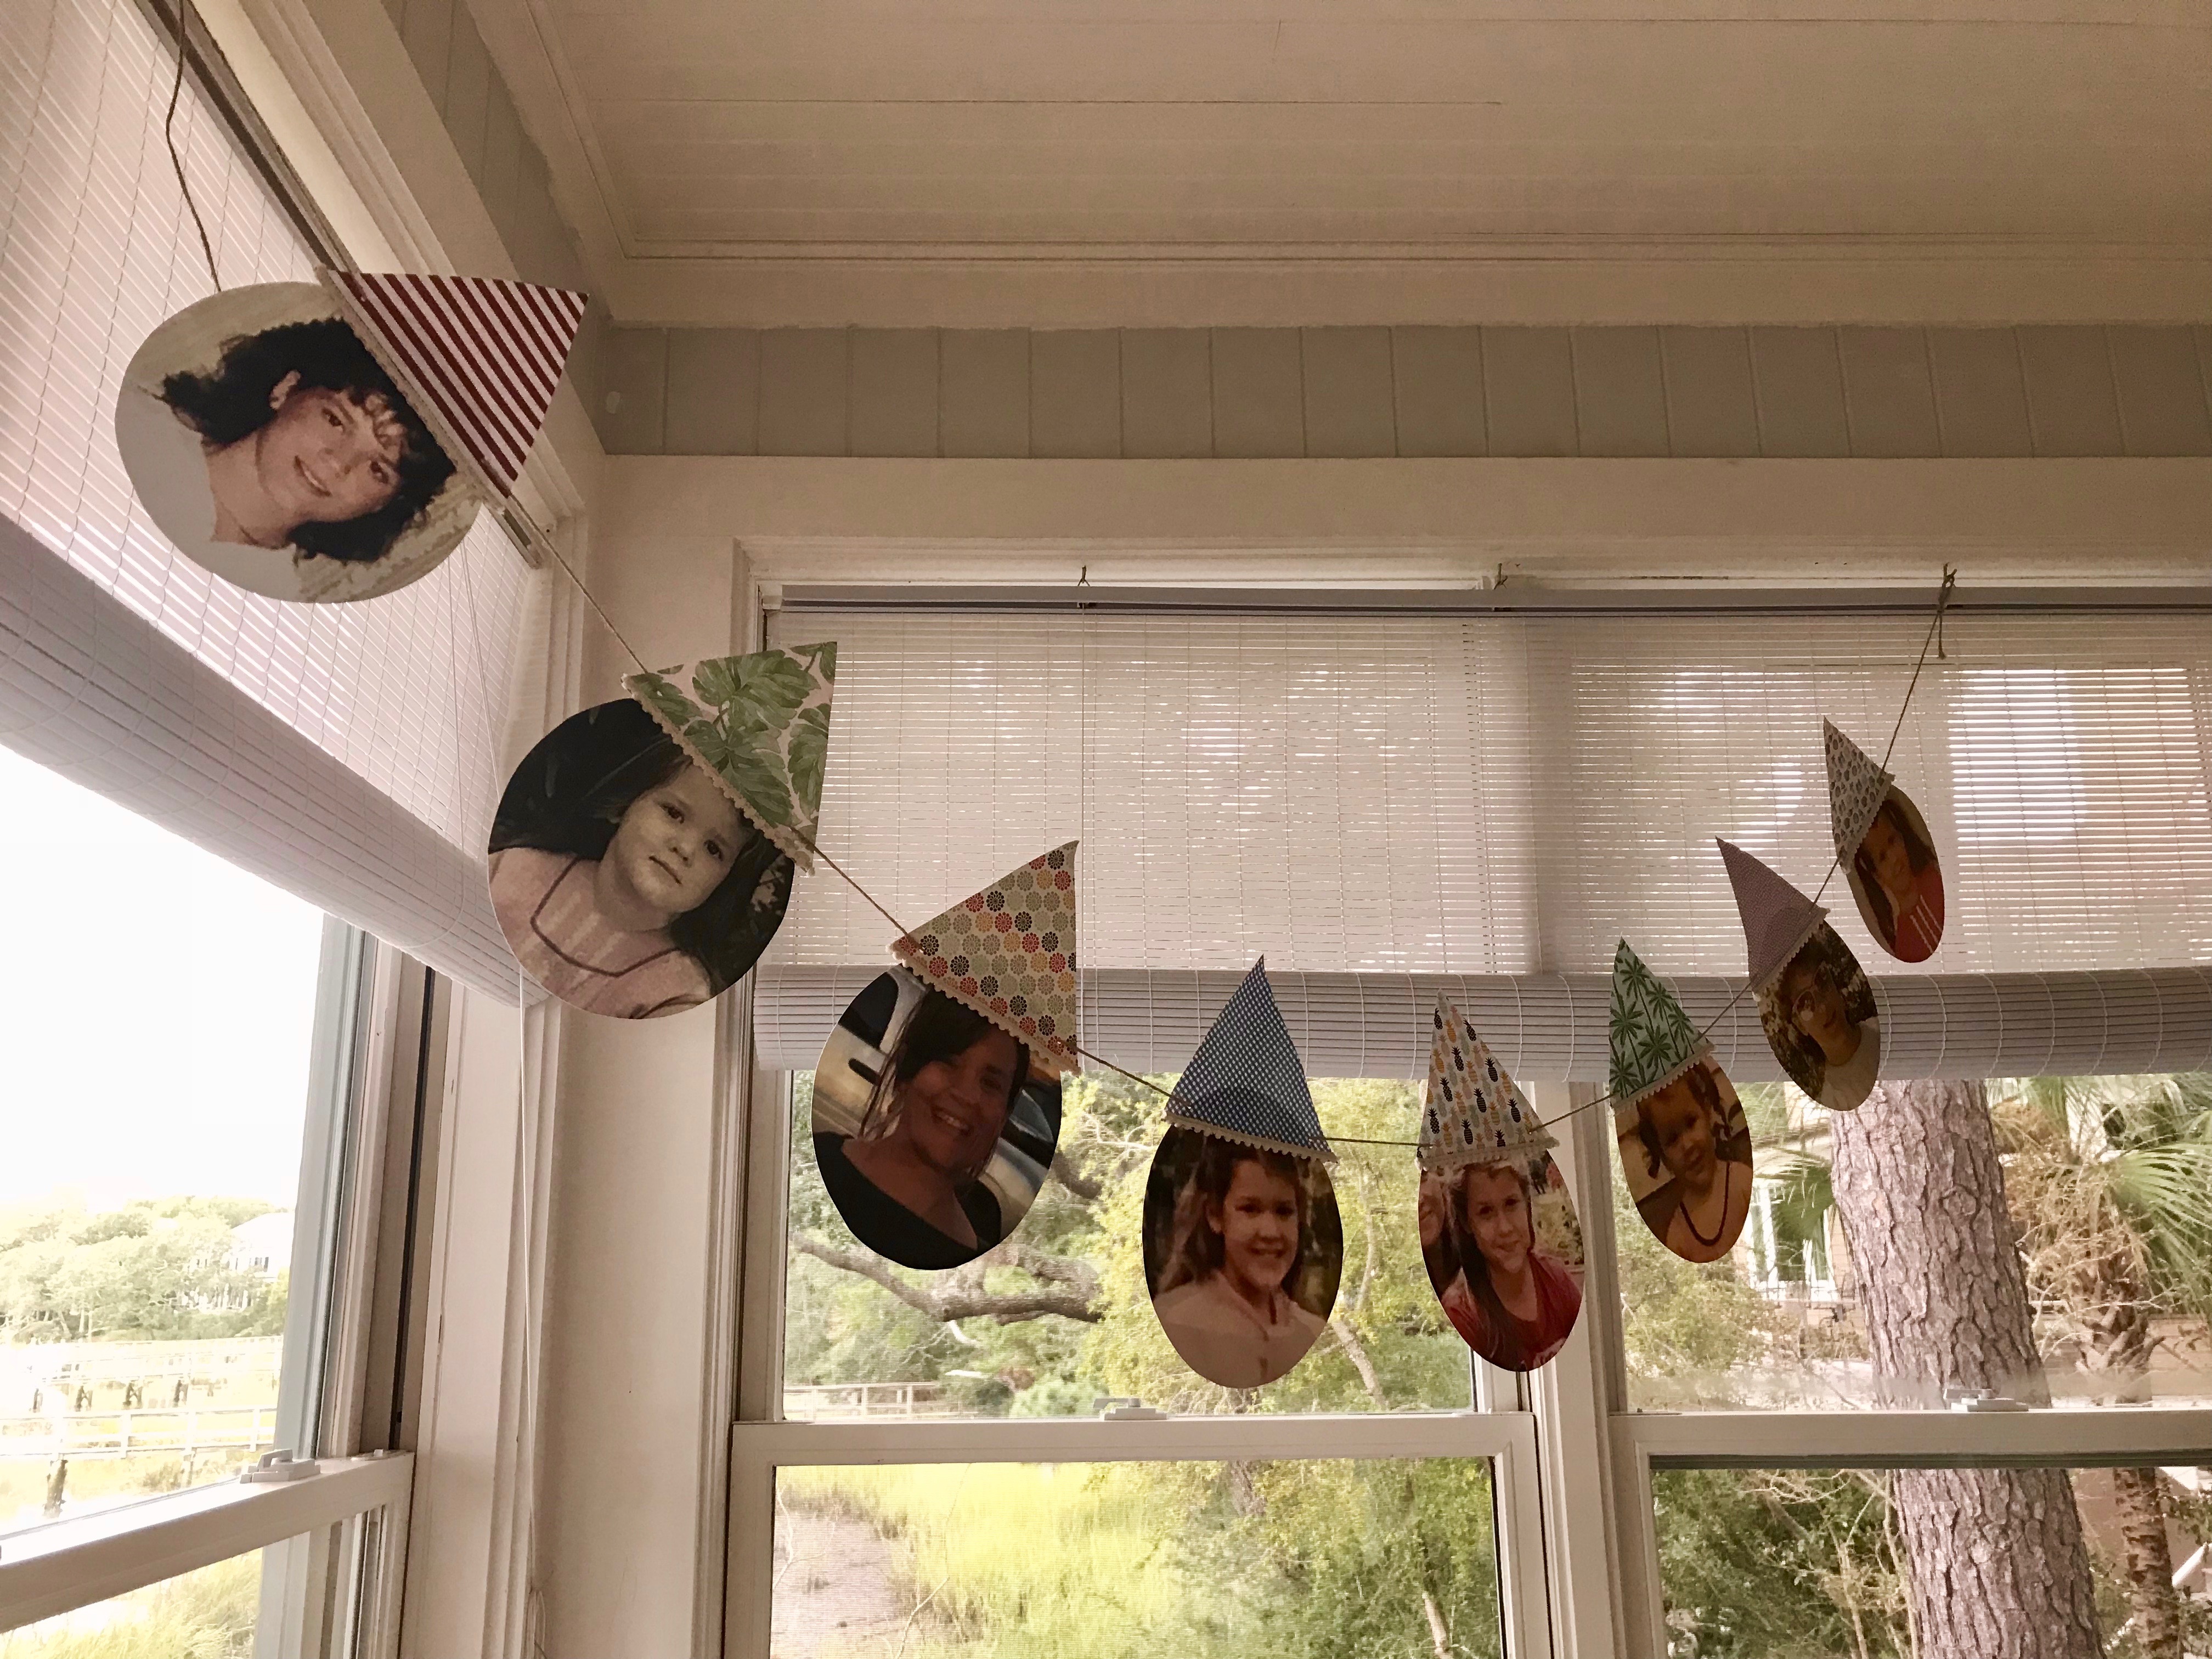
To add a personal touch, I created this banner with pictures of my aunt over the years. I saw the idea of adding paper hats on Pinterest. (I mean, it does make it really cute.) And I added a line of rick rack for an extra touch.

IMG_1755.jpg

By keeping the table simple, it was so easy and quick to set up, and by using a paper runner, it made it extra easy to take it down. (Plus, you can cut up the pineapple and have it for breakfast the next day.)

IMG_1758.jpg

Because every birthday party needs a good “Happy Birthday” banner, I made this one with pineapples to really drive home the theme. I simply used yellow and green card stock. I also used a ruler and a gold paint pen to create the criss-cross detail.

IMG_1757.jpg

As a final detail, I set out a tray of pictures that people could pick up and flipped through when they were grabbing a drink. My grandmother helped collect them together, even finding a picture of my aunt at her first birthday… which I framed for the occasion.

IMG_1764.jpg

The party was a grand success! But let’s face it, when you are in such a beautiful place like Kiawah Island, South Carolina, it would have been hard to not have a wonderful time.

IMG_0501.jpg

Felt Animal Masks for Kids

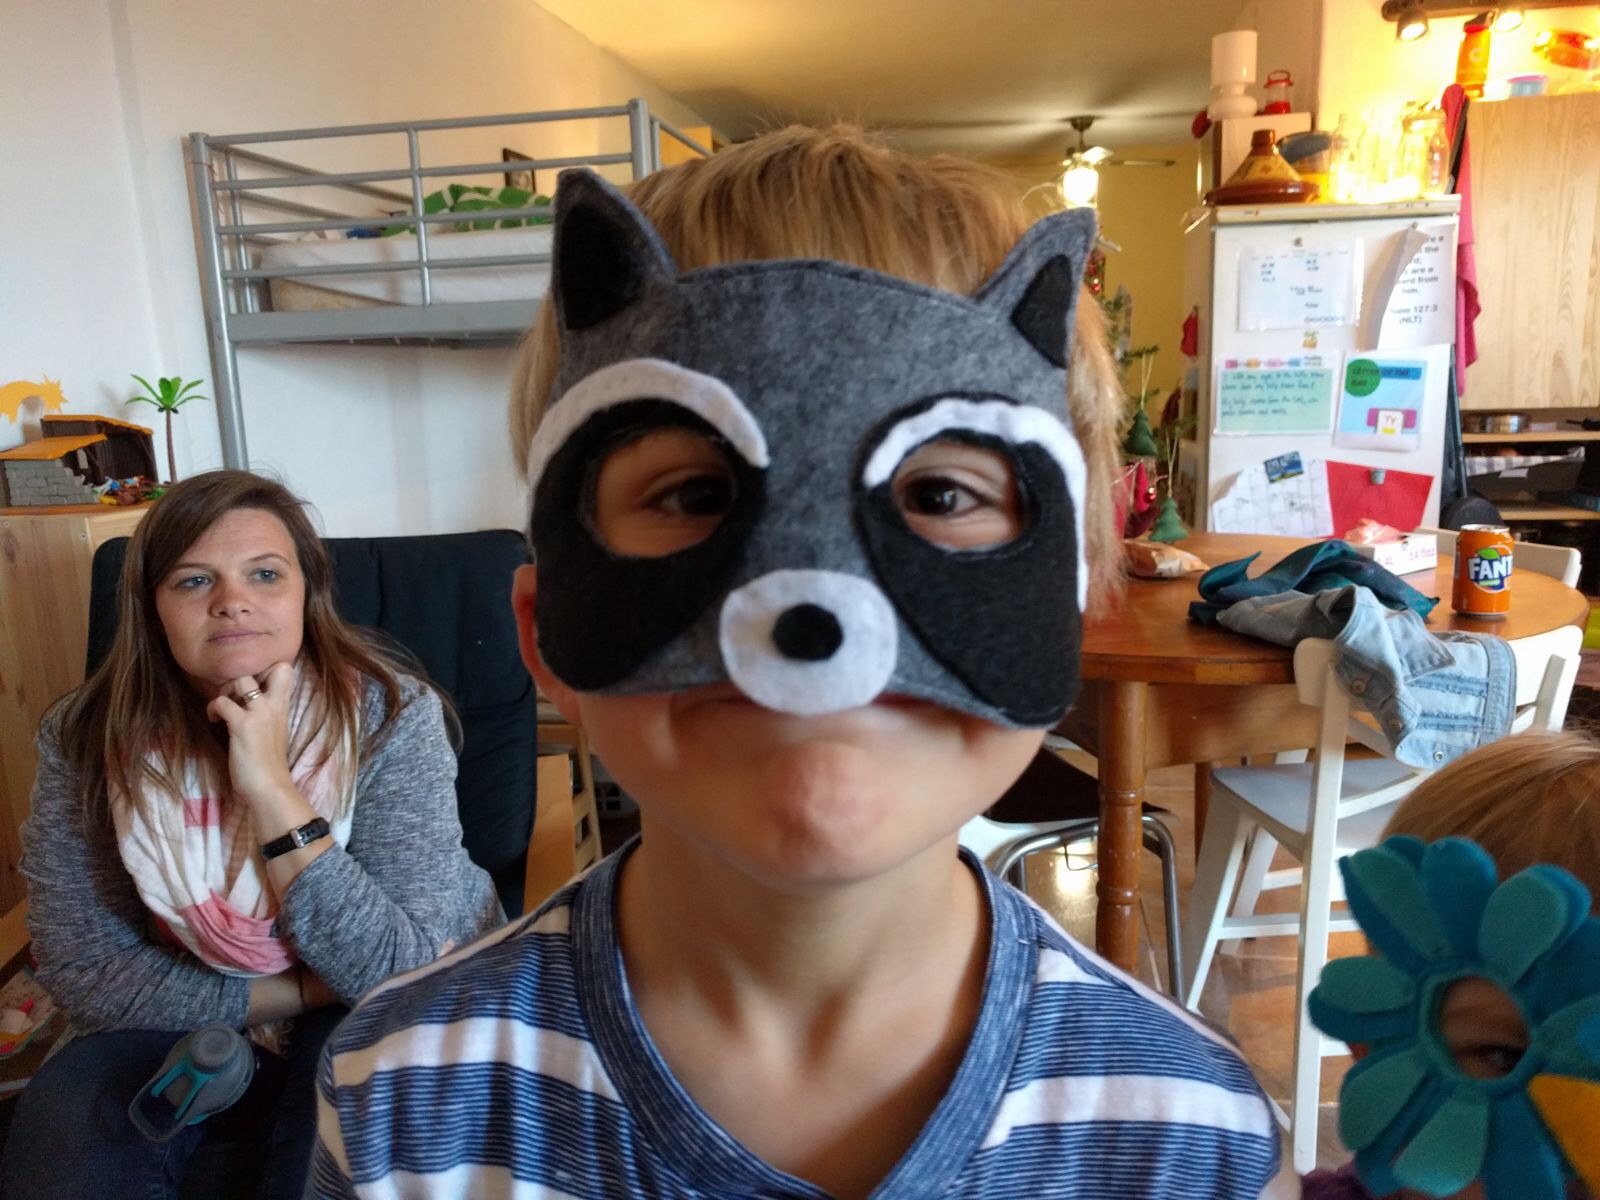
Lately, I have a new obsession with felt masks for kids. It all started when a friend asked me if I could help her with her baby’s Halloween costume. She was dressing her baby as a bald eagle. (Get it? Because she’s bald.) I helped by creating a mask out of felt that the baby would wear more like a headband. I don’t want to post a picture of my friend’s baby without her permission, so you’ll just have to trust me, it was adorable!

And as things can go for me, I quickly became obsessed with the idea of creating felt masks for kids, and the Internet has so many ideas to share with me!

My niece and nephew live abroad, and typically when I want to buy them presents, I shop through Amazon because, at the end of the day, the shipping is cheaper. But I think what spurred my obsession was the thought: Felt masks are going weigh nothing! They are going to be so cheap to ship overseas!

IMG_8413.JPG

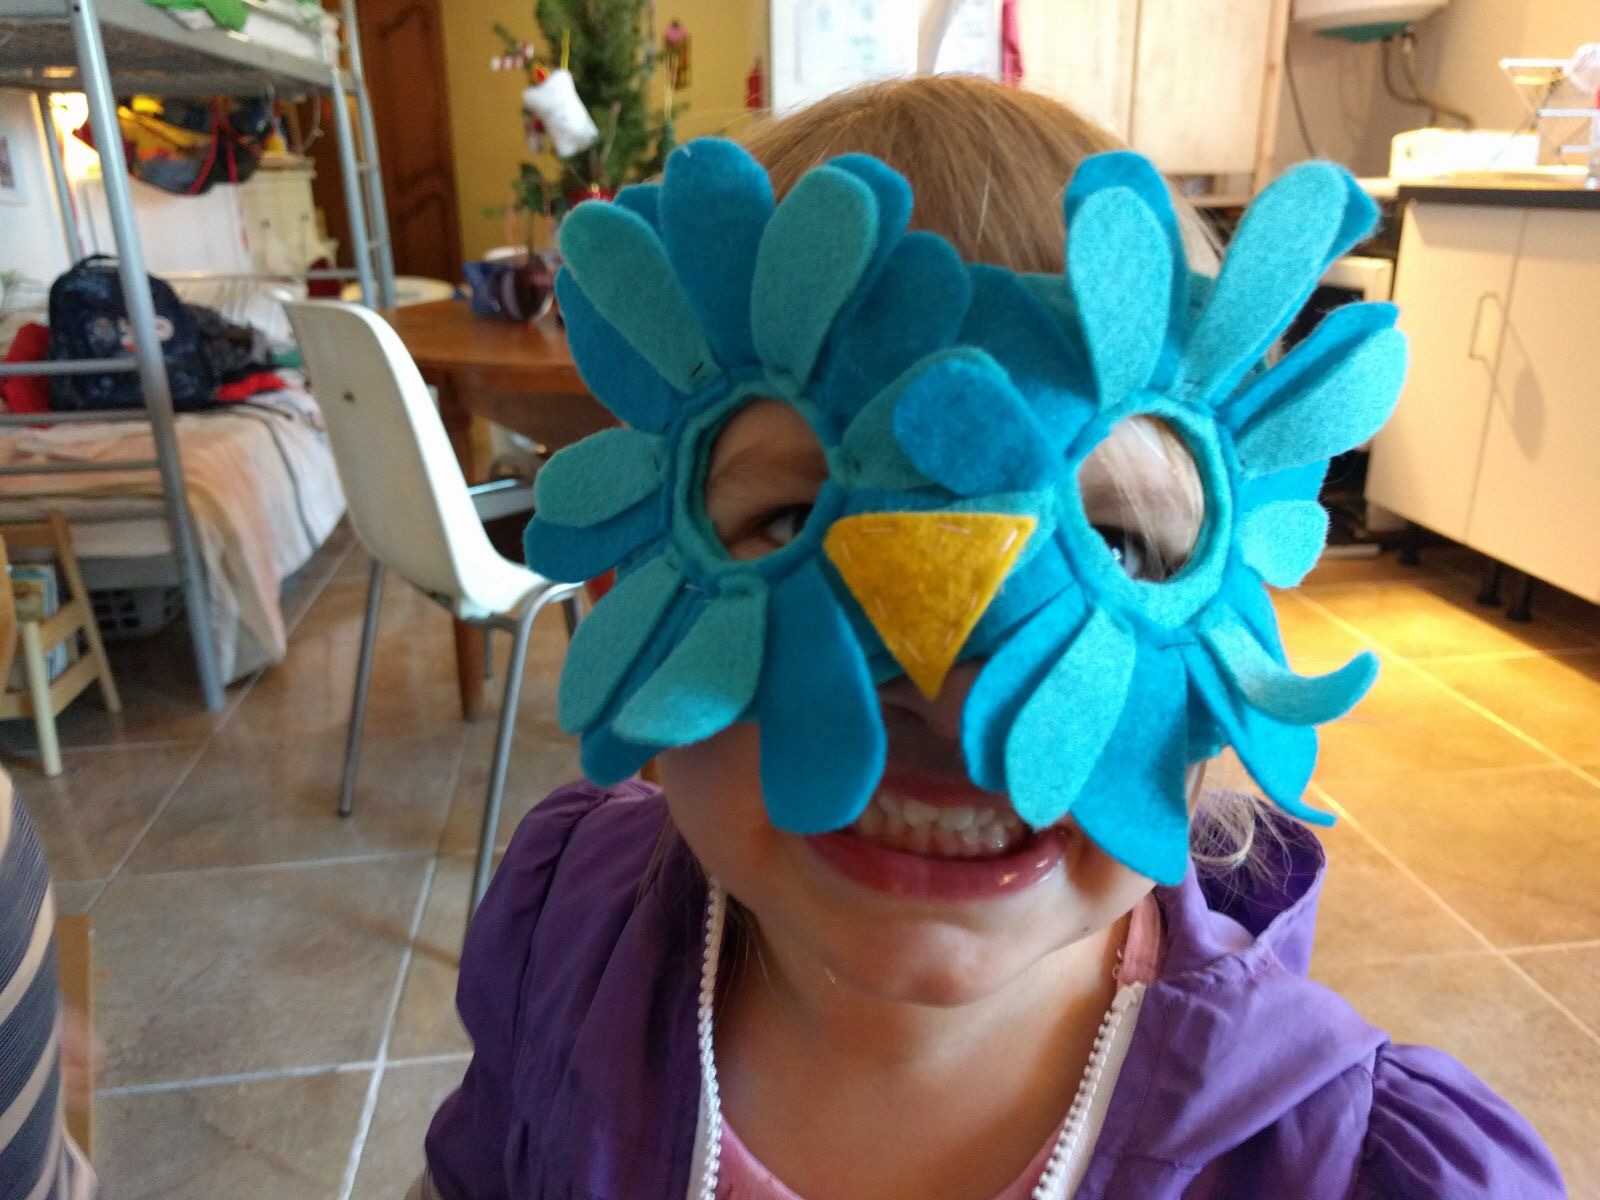
So one Saturday, I sat down and created six felt masks—three for both my niece and nephew. For the most part, I found some sort of inspiration online and then freehanded the whole thing. The blue bird was my most abstract mask, but it turned out to be my favorite.

IMG_8414.JPG

Sure enough, once wrapped and packages in a mail bag, the total weight was less than a pound. It was the cheapest present I’ve ever sent to Europe. My intention was to send them as Christmas presents, but one day in mid-December, I got a text from my sister-in-law with a few pictures and the caption, “I’m so sorry, but we just couldn’t wait!”

IMG_8645.JPGIMG_8644.JPG

I may just have a new business venture in the making!

Felt Daily Activity Schedule

IMG_3145

This visual activity schedule for kids was a custom order for a friend of a friend, and looking back over these images, I realize that the person who purchased this got quite the deal. (Aka I charged way too little… which is the story of my business life.)

I am beyond proud of this project. I love how it’s colorful. I love that it’s made out a felt. And I love that I took the extra time to make this banner sturdy—with the hopes that it not only survive one child but could possibly be passed down for the use of a second or a third.

img_2833

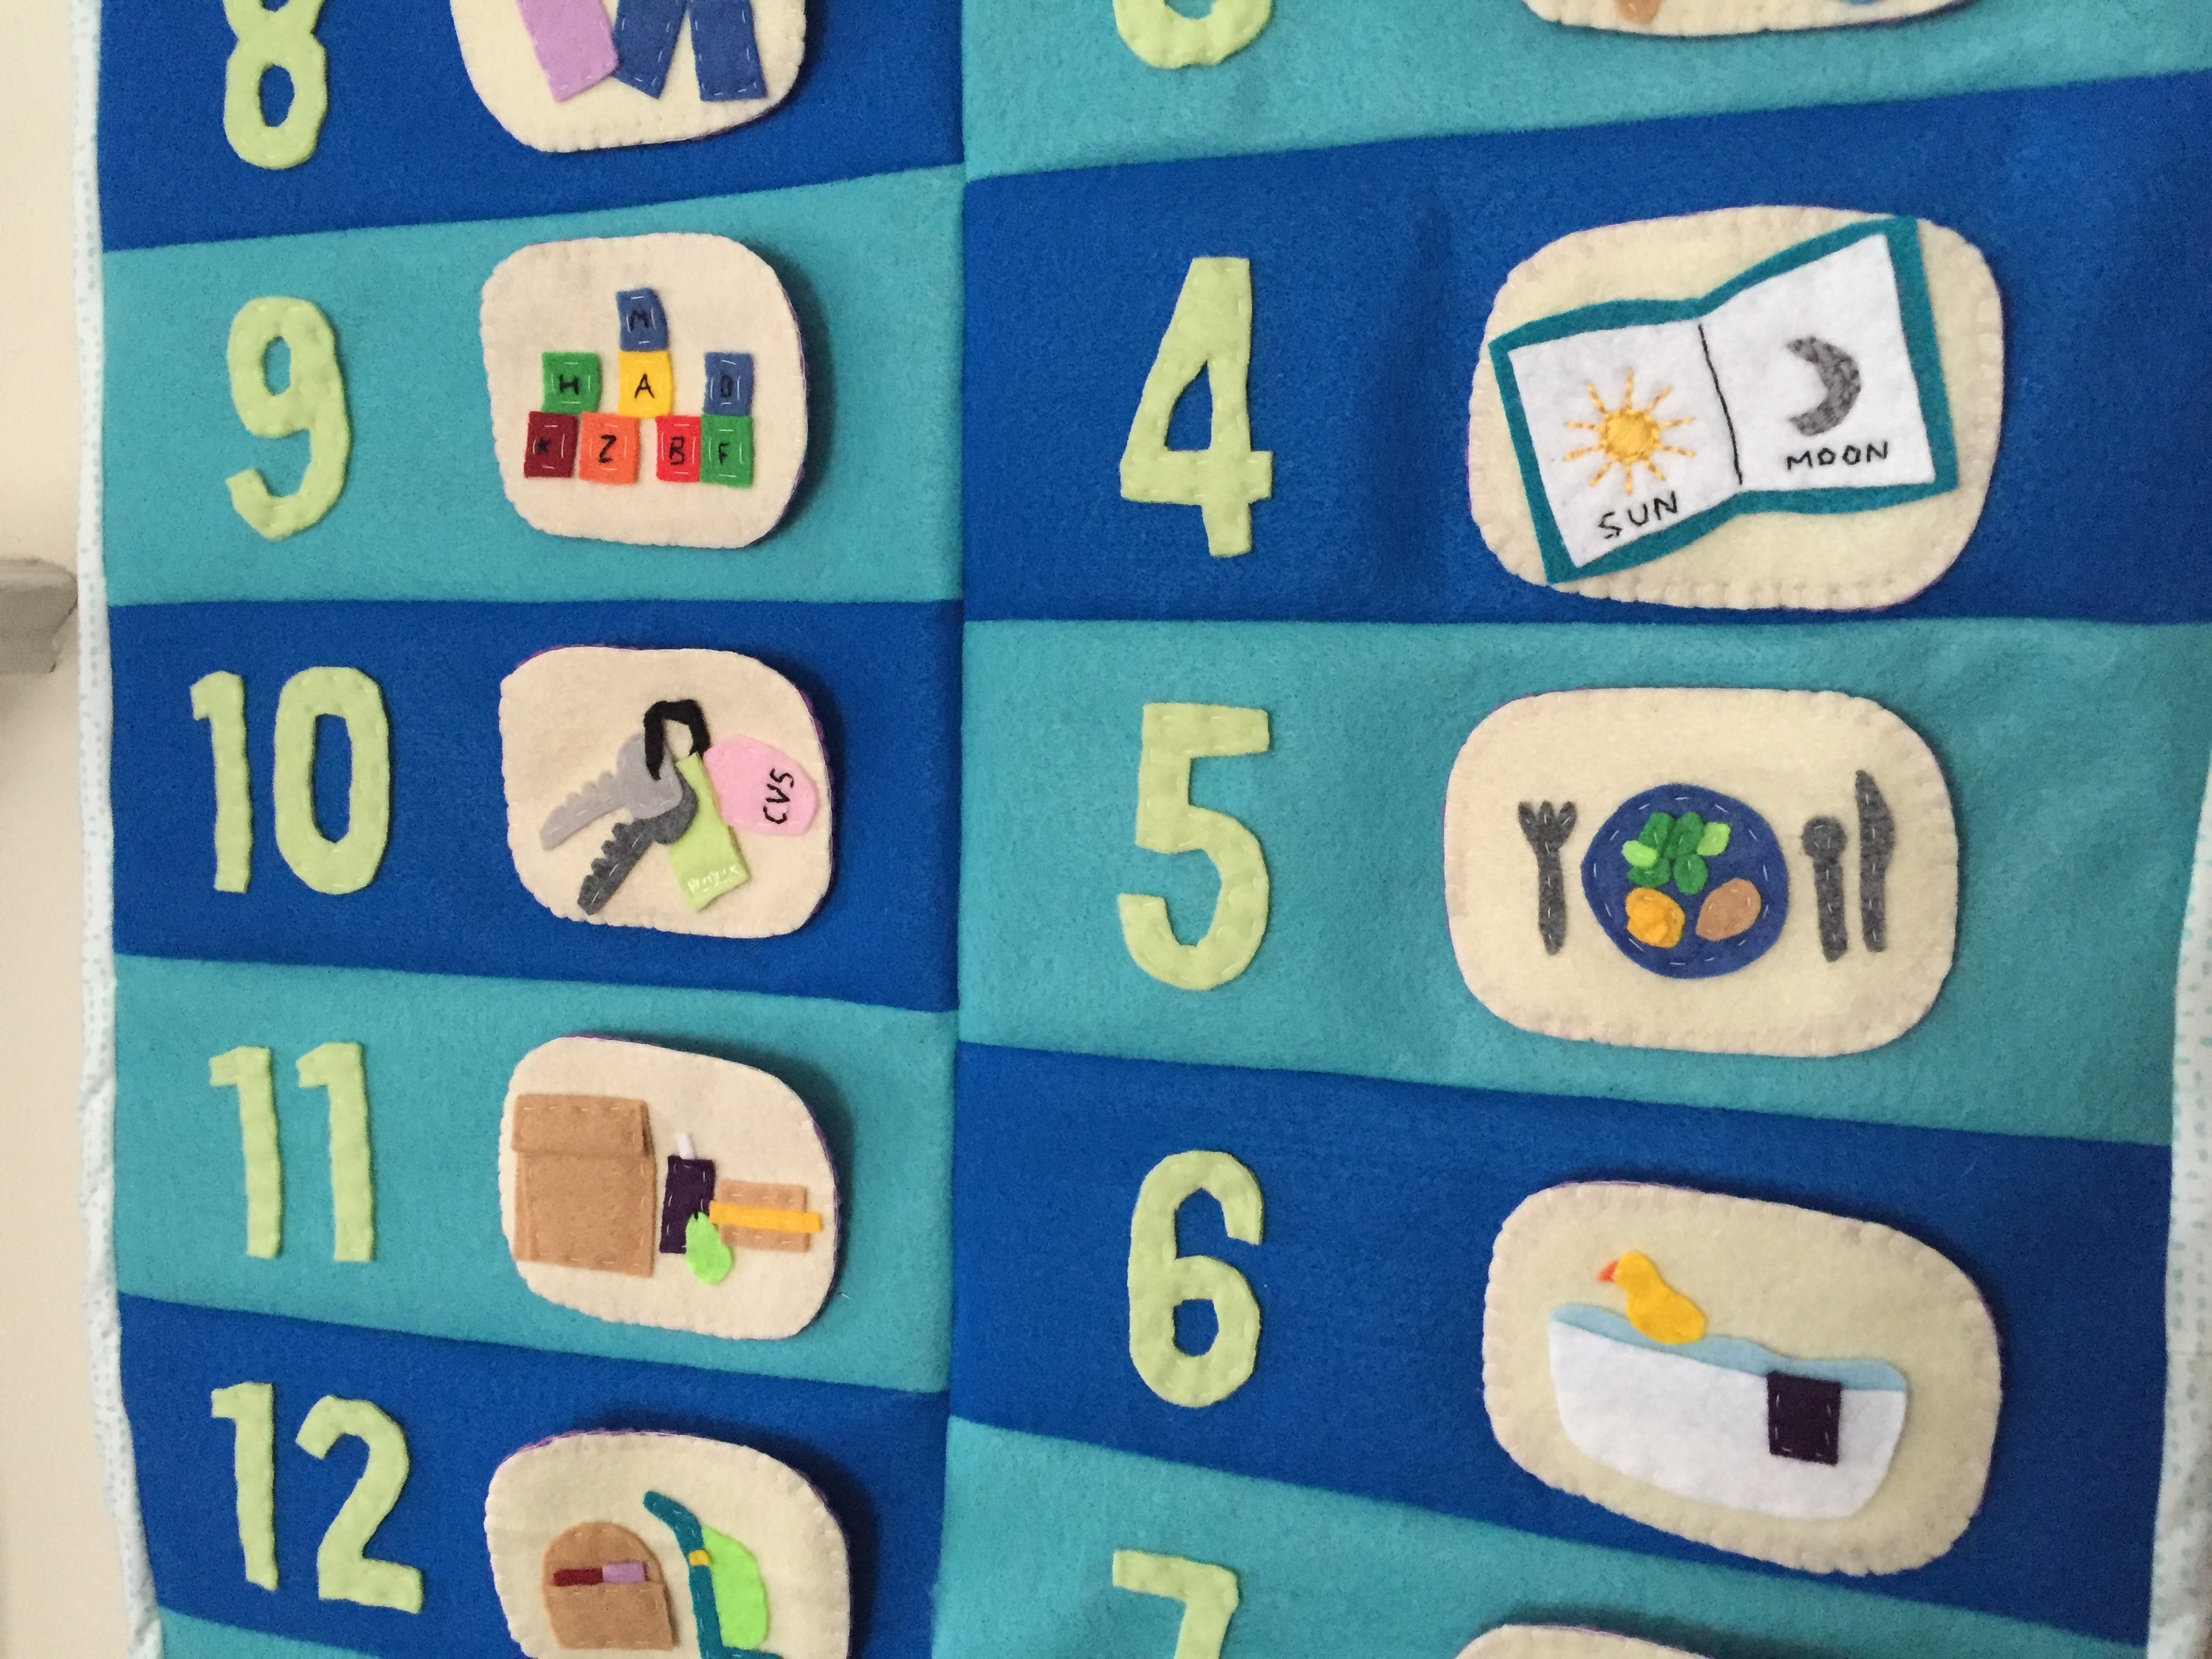
The idea was provided by the customer. Her son thrived under a routine, and she found that their days progressed better when he understood, to a point, what to expect. She provided the individual prompts—signs for lunch, playtime, bedtime, snack, etc. We made sure there were enough signs to make it through the hours of the days, plus extras… because obviously, you need some variation within the week.

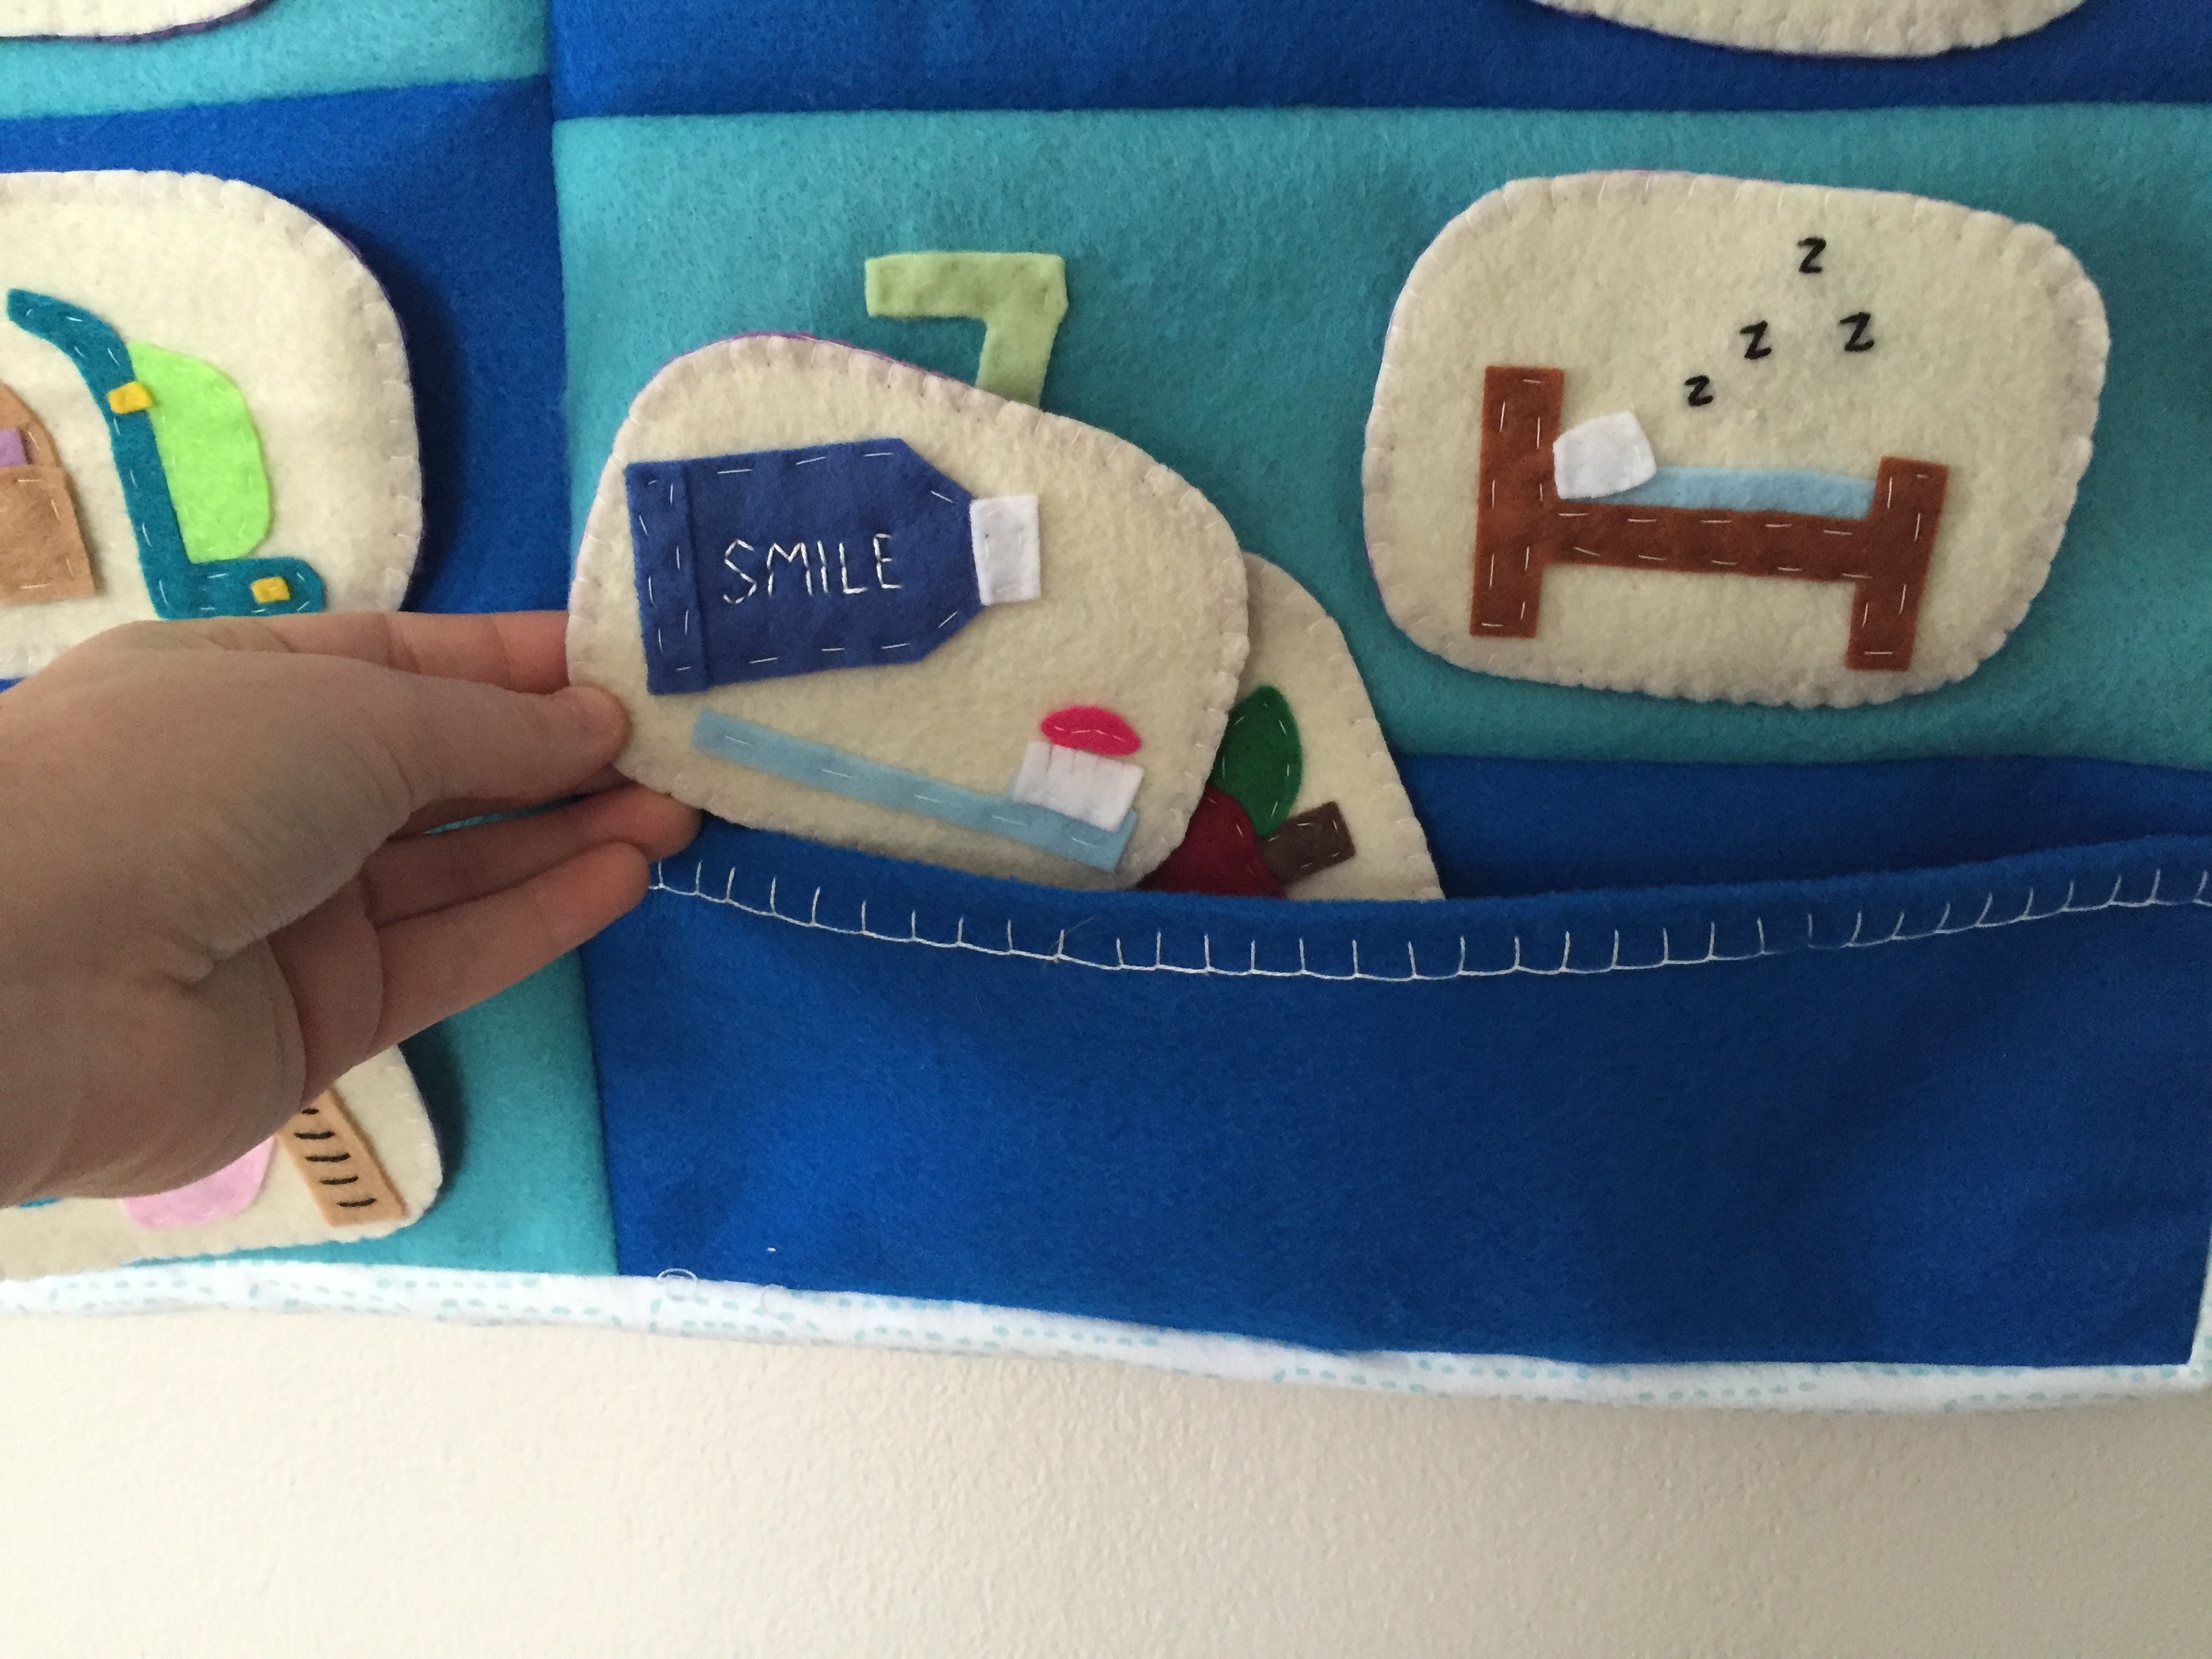
She asked for the day to start at 7 and end at 7, and then I came up with the rest from there. The trick was trying to figure out how to visualize 13 hours on a banner without making it enormous. Though the problem quickly resolved itself when I realized I would need to create some sort of pocket to store the little signs. I created two columns with seven panels each.

img_3096

Before finishing the banner—using quilting techniques like binding—I attached magnet snaps to the banner along with the signs. Since felt is a soft fabric, I worried that the act of pulling the signs off the banner each day would quickly wear on the fabric, so I made sure each magnet had a backing of thick cardboard.

IMG_3162

I designed the banner so it could be hung on the wall and easily used by a child. Plus, I just wanted it to look good. Knowing it was for a boy, I used lots of blues and greens. But you could easily use different color palettes, like purple and blue, yellow and navy, pink and more pink!

IMG_3155

All of the signs were hand sewn, but I did use a sewing machine for the banner.

… Yeah, I definitely should have sold this for four times the price I charged. Oh well.

IMG_3157

Embroidered Treasure Map

IMG_4149

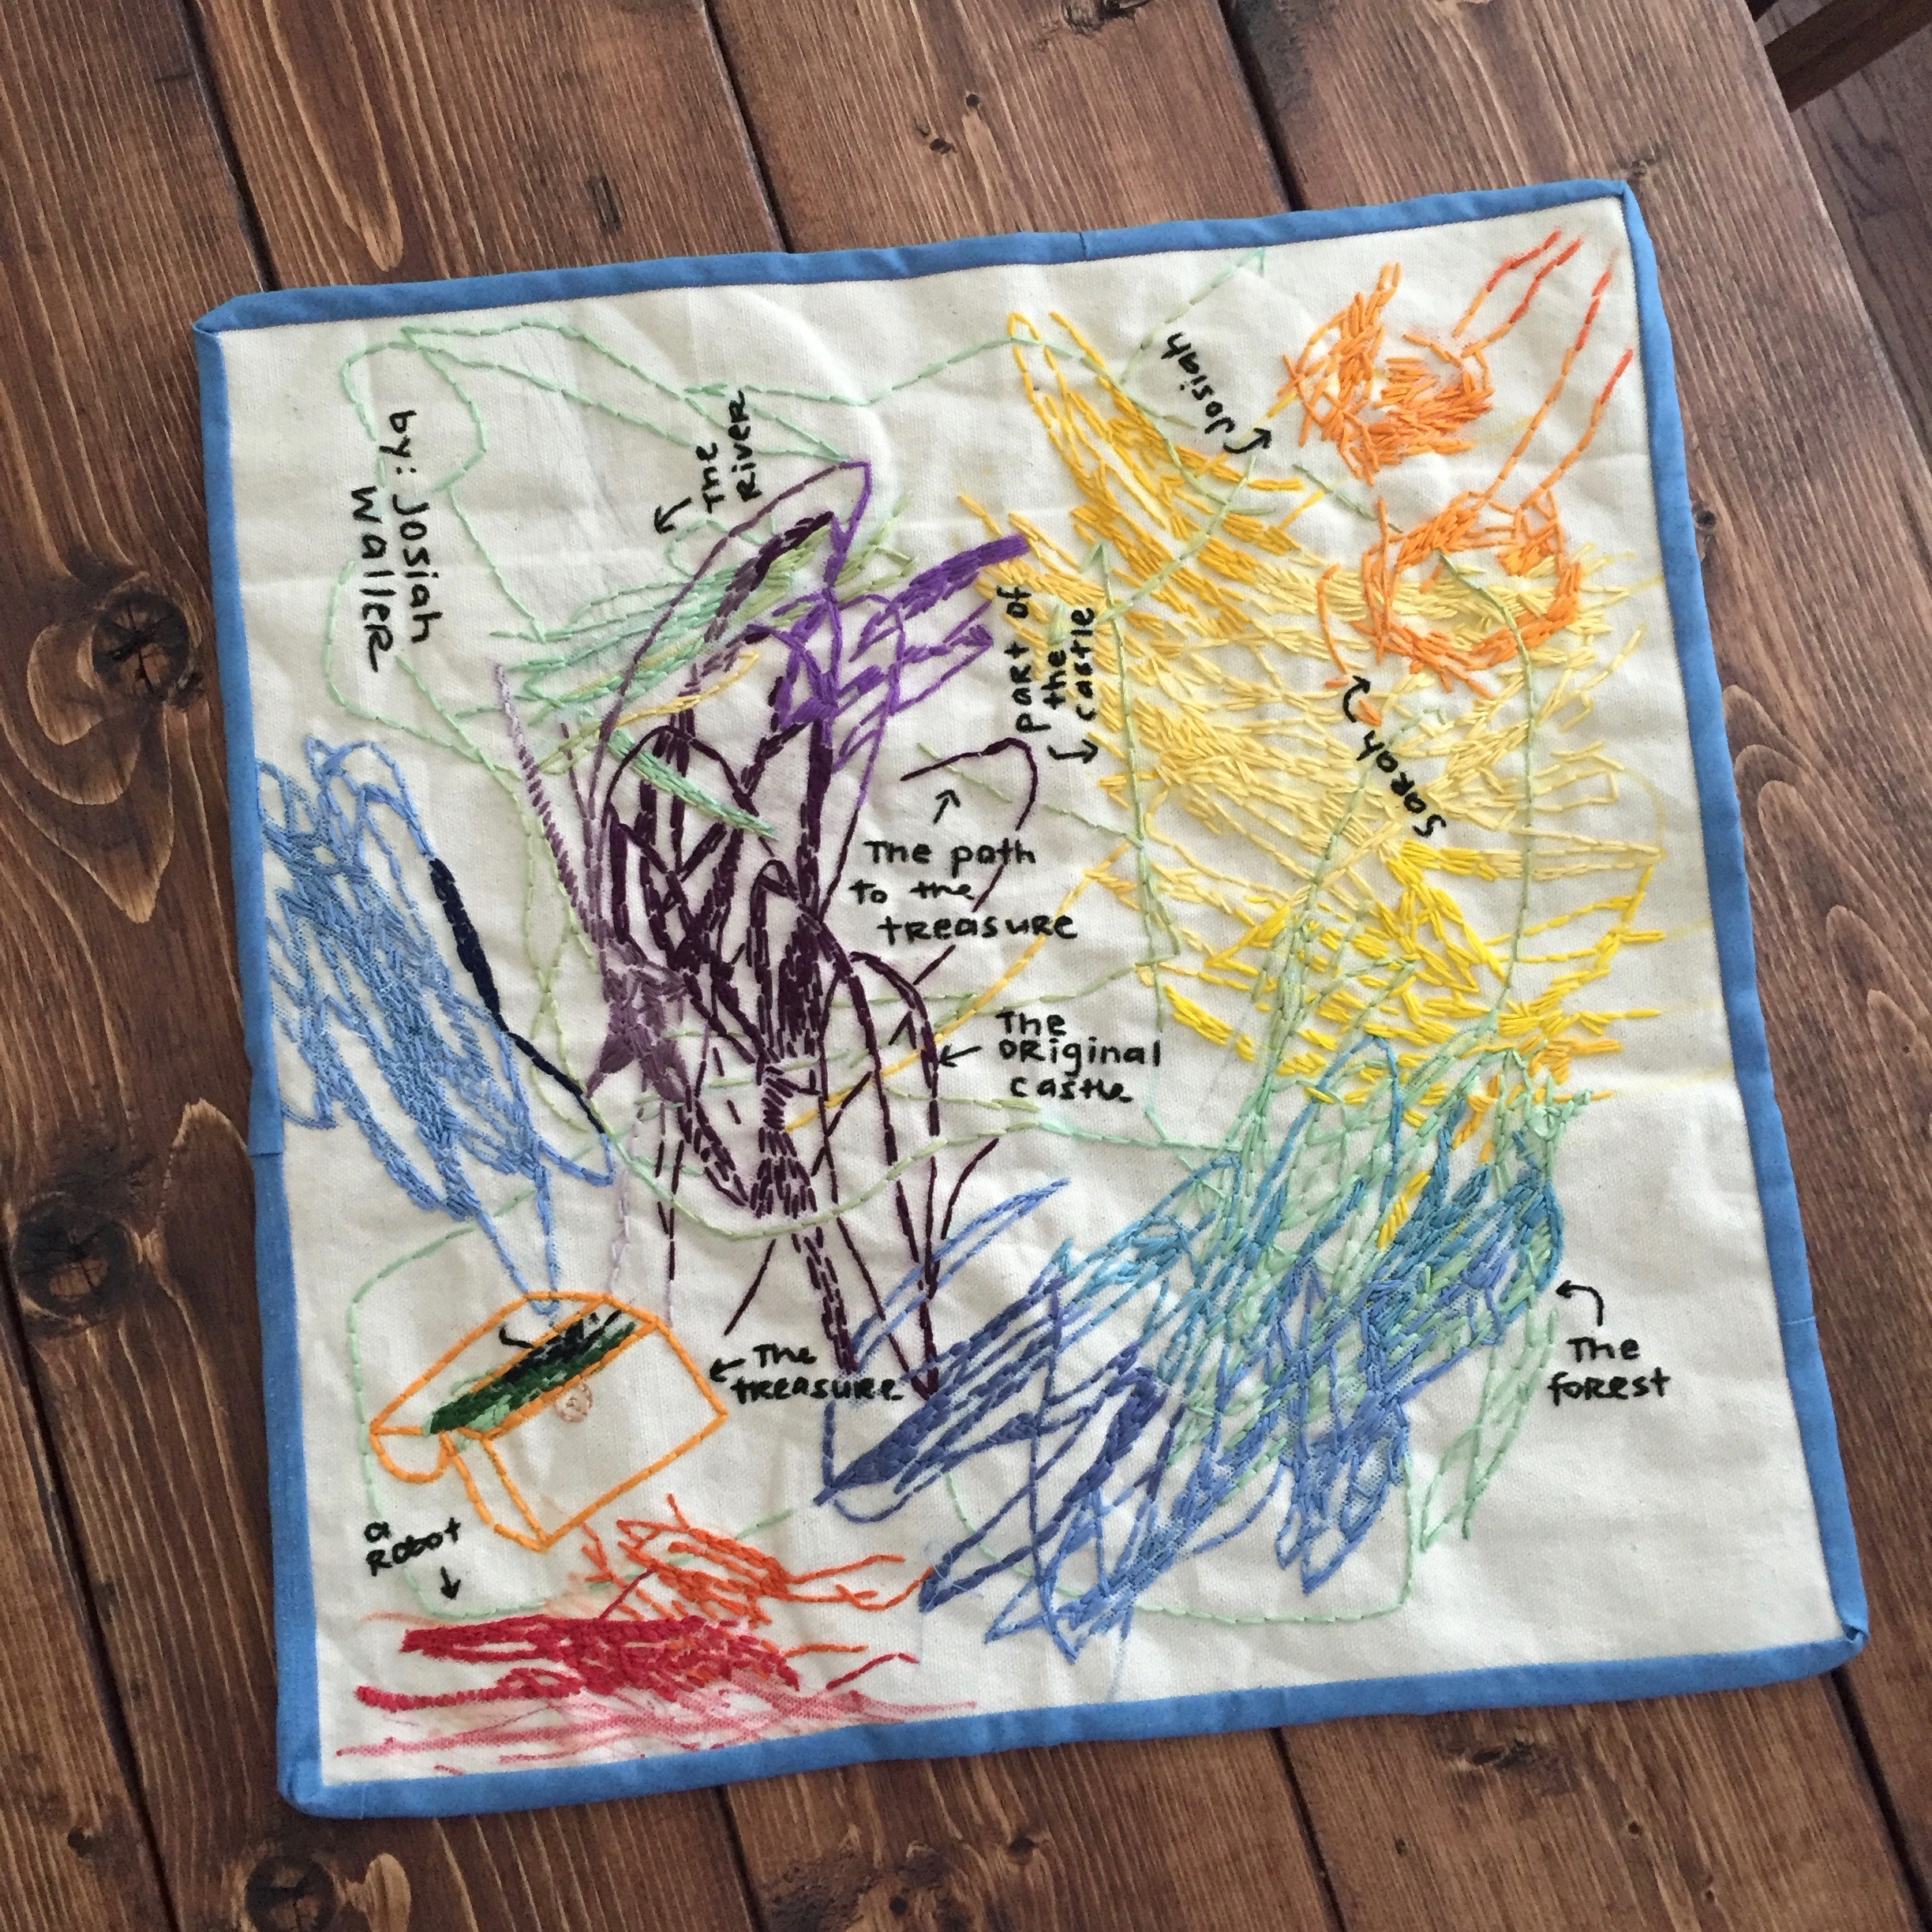
My nephew Josiah is just the coolest kid because he has the most amazing imagination. When he was like three or four years old, I really wanted to create a podcast where it would be just me and him talking about stuff. At the time, you could bring up any topic and he would have an opinion about it—despite knowing nothing about it. His imagination would just run wild.

One day the idea came to me—I would ask Josiah to draw a treasure map on a square piece of canvas fabric, and in the weeks that followed, I would embroider over the lines, making his map a permanent, one-of-kind piece.

IMG_4151

Together we sat down at my parents’ dining room table. I started by drawing the treasure chest, and I let Josiah take it from there. Though I didn’t want to be too influential in his drawing—as I wanted it to truly capture Josiah’s imagination at the time—I did encourage him to change colors every once in a while. (Selfishly I had envisioned this being a colorful piece.)

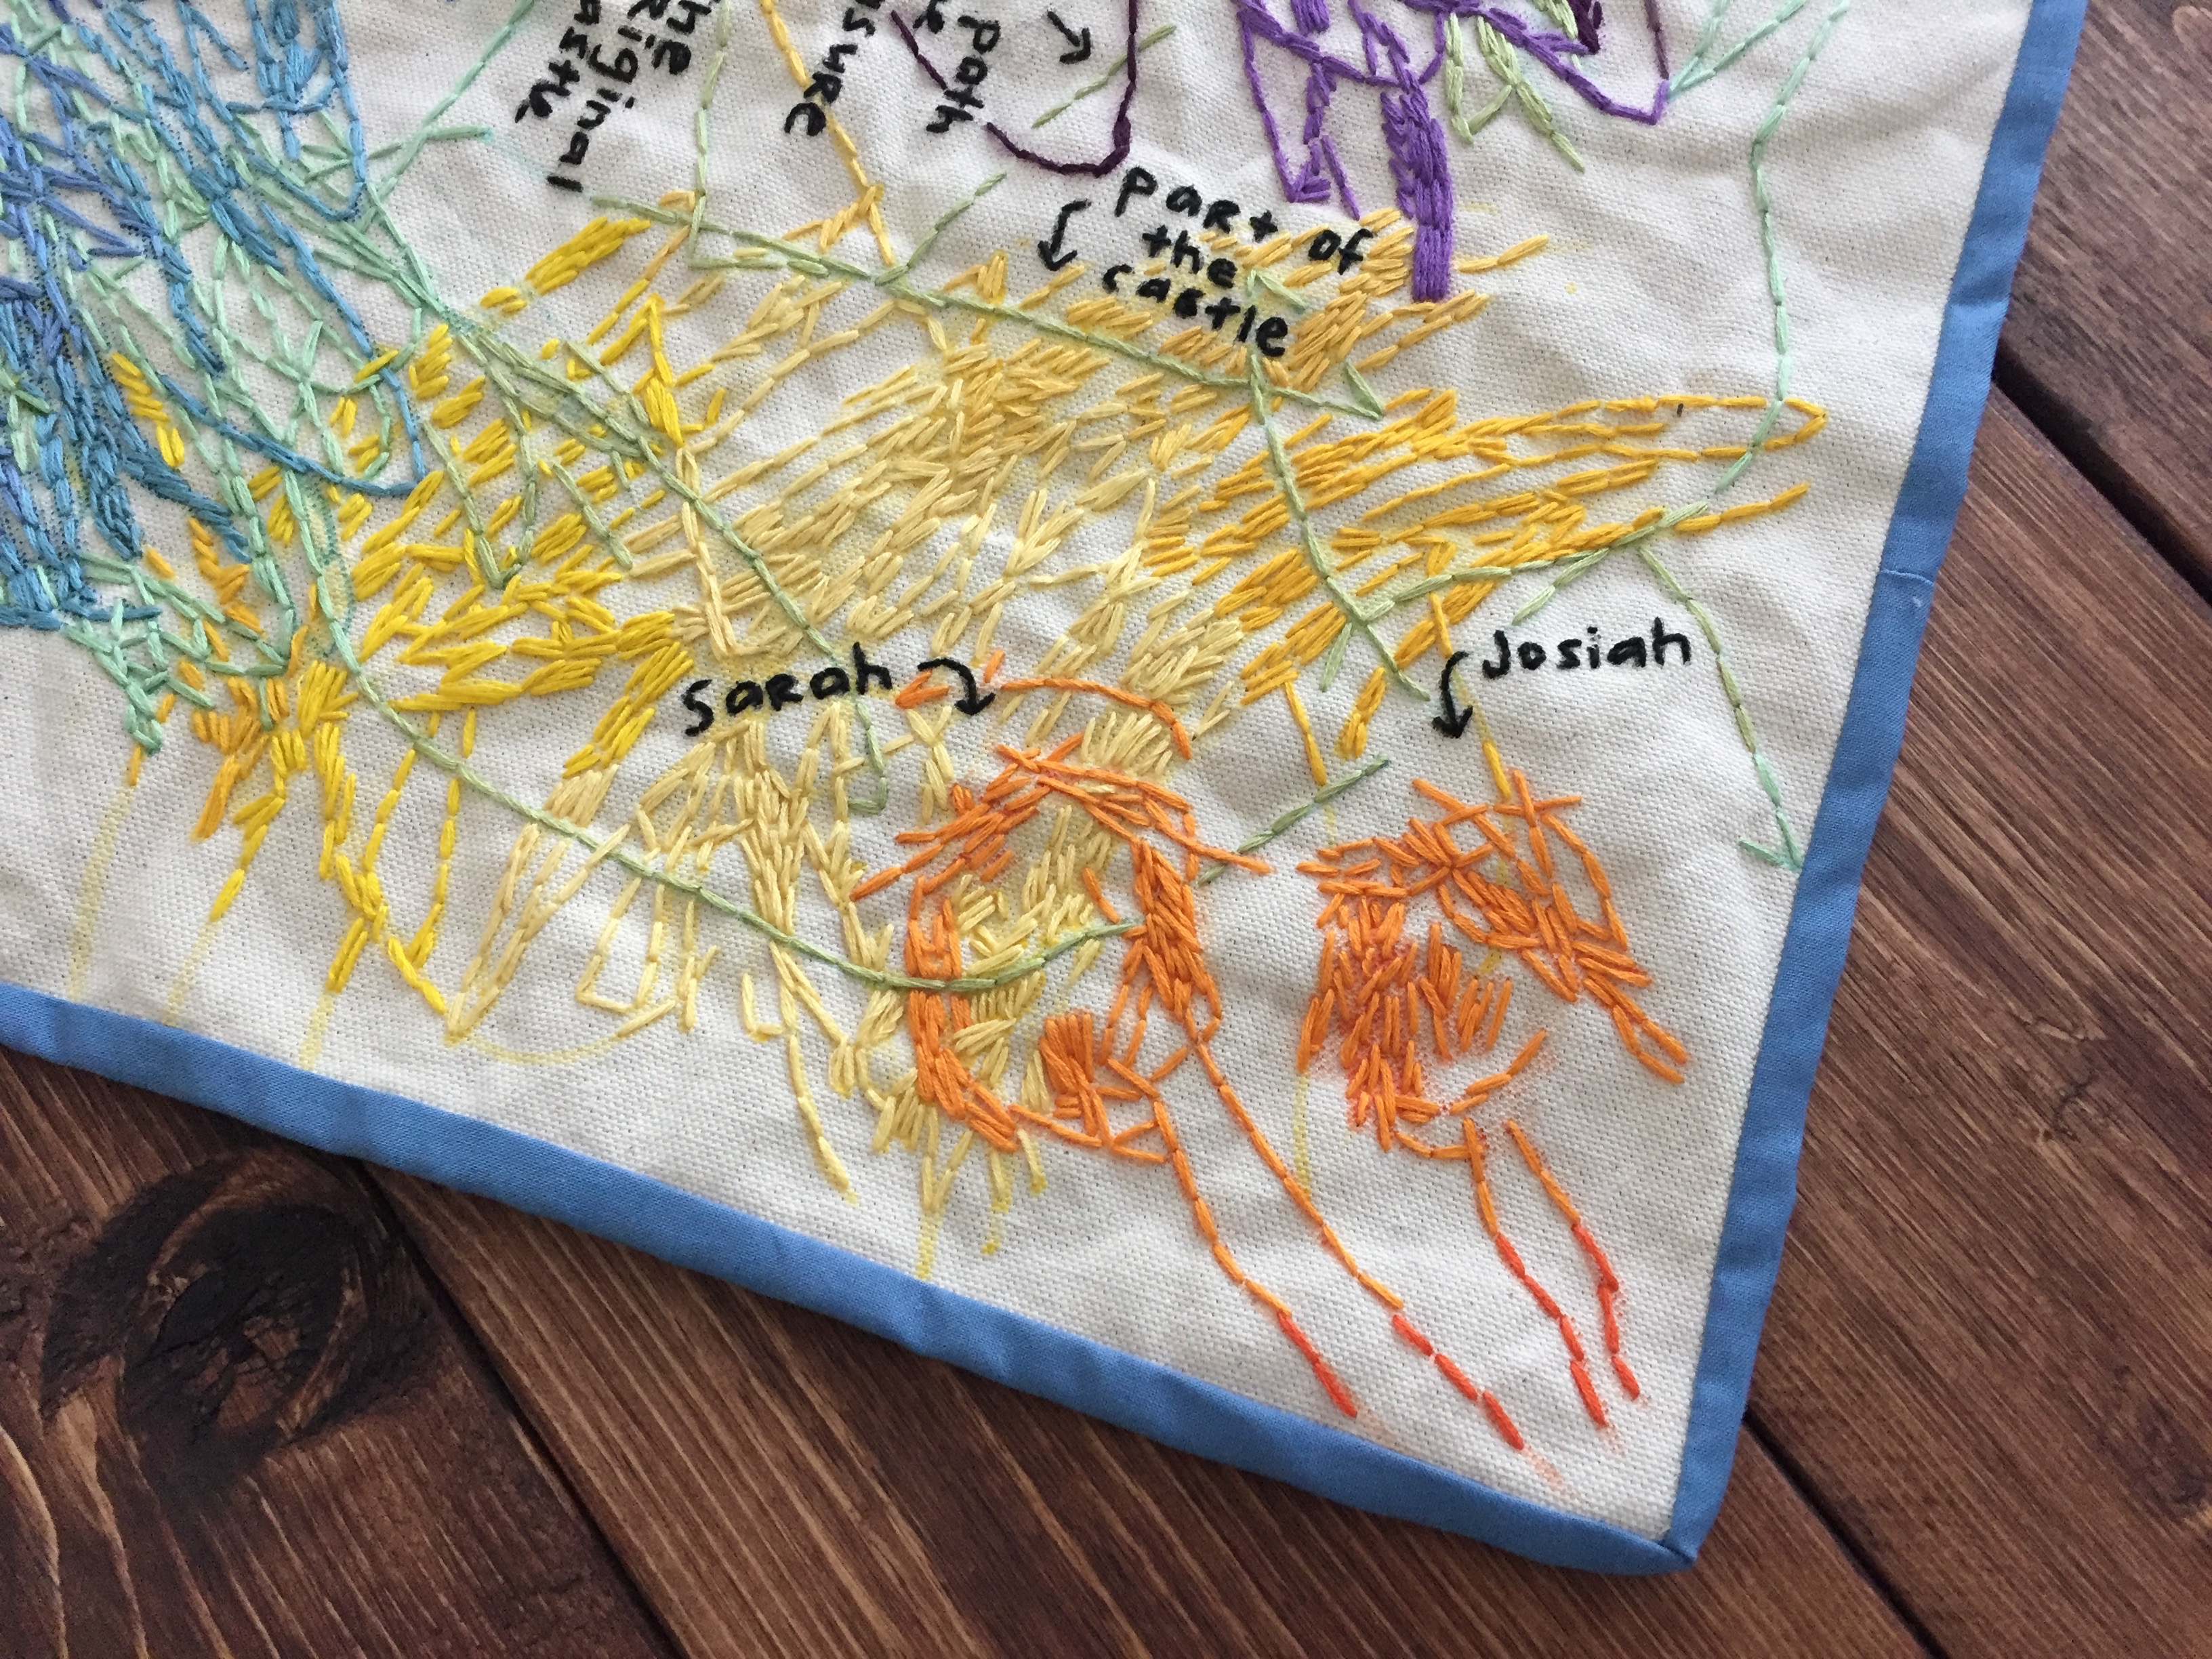
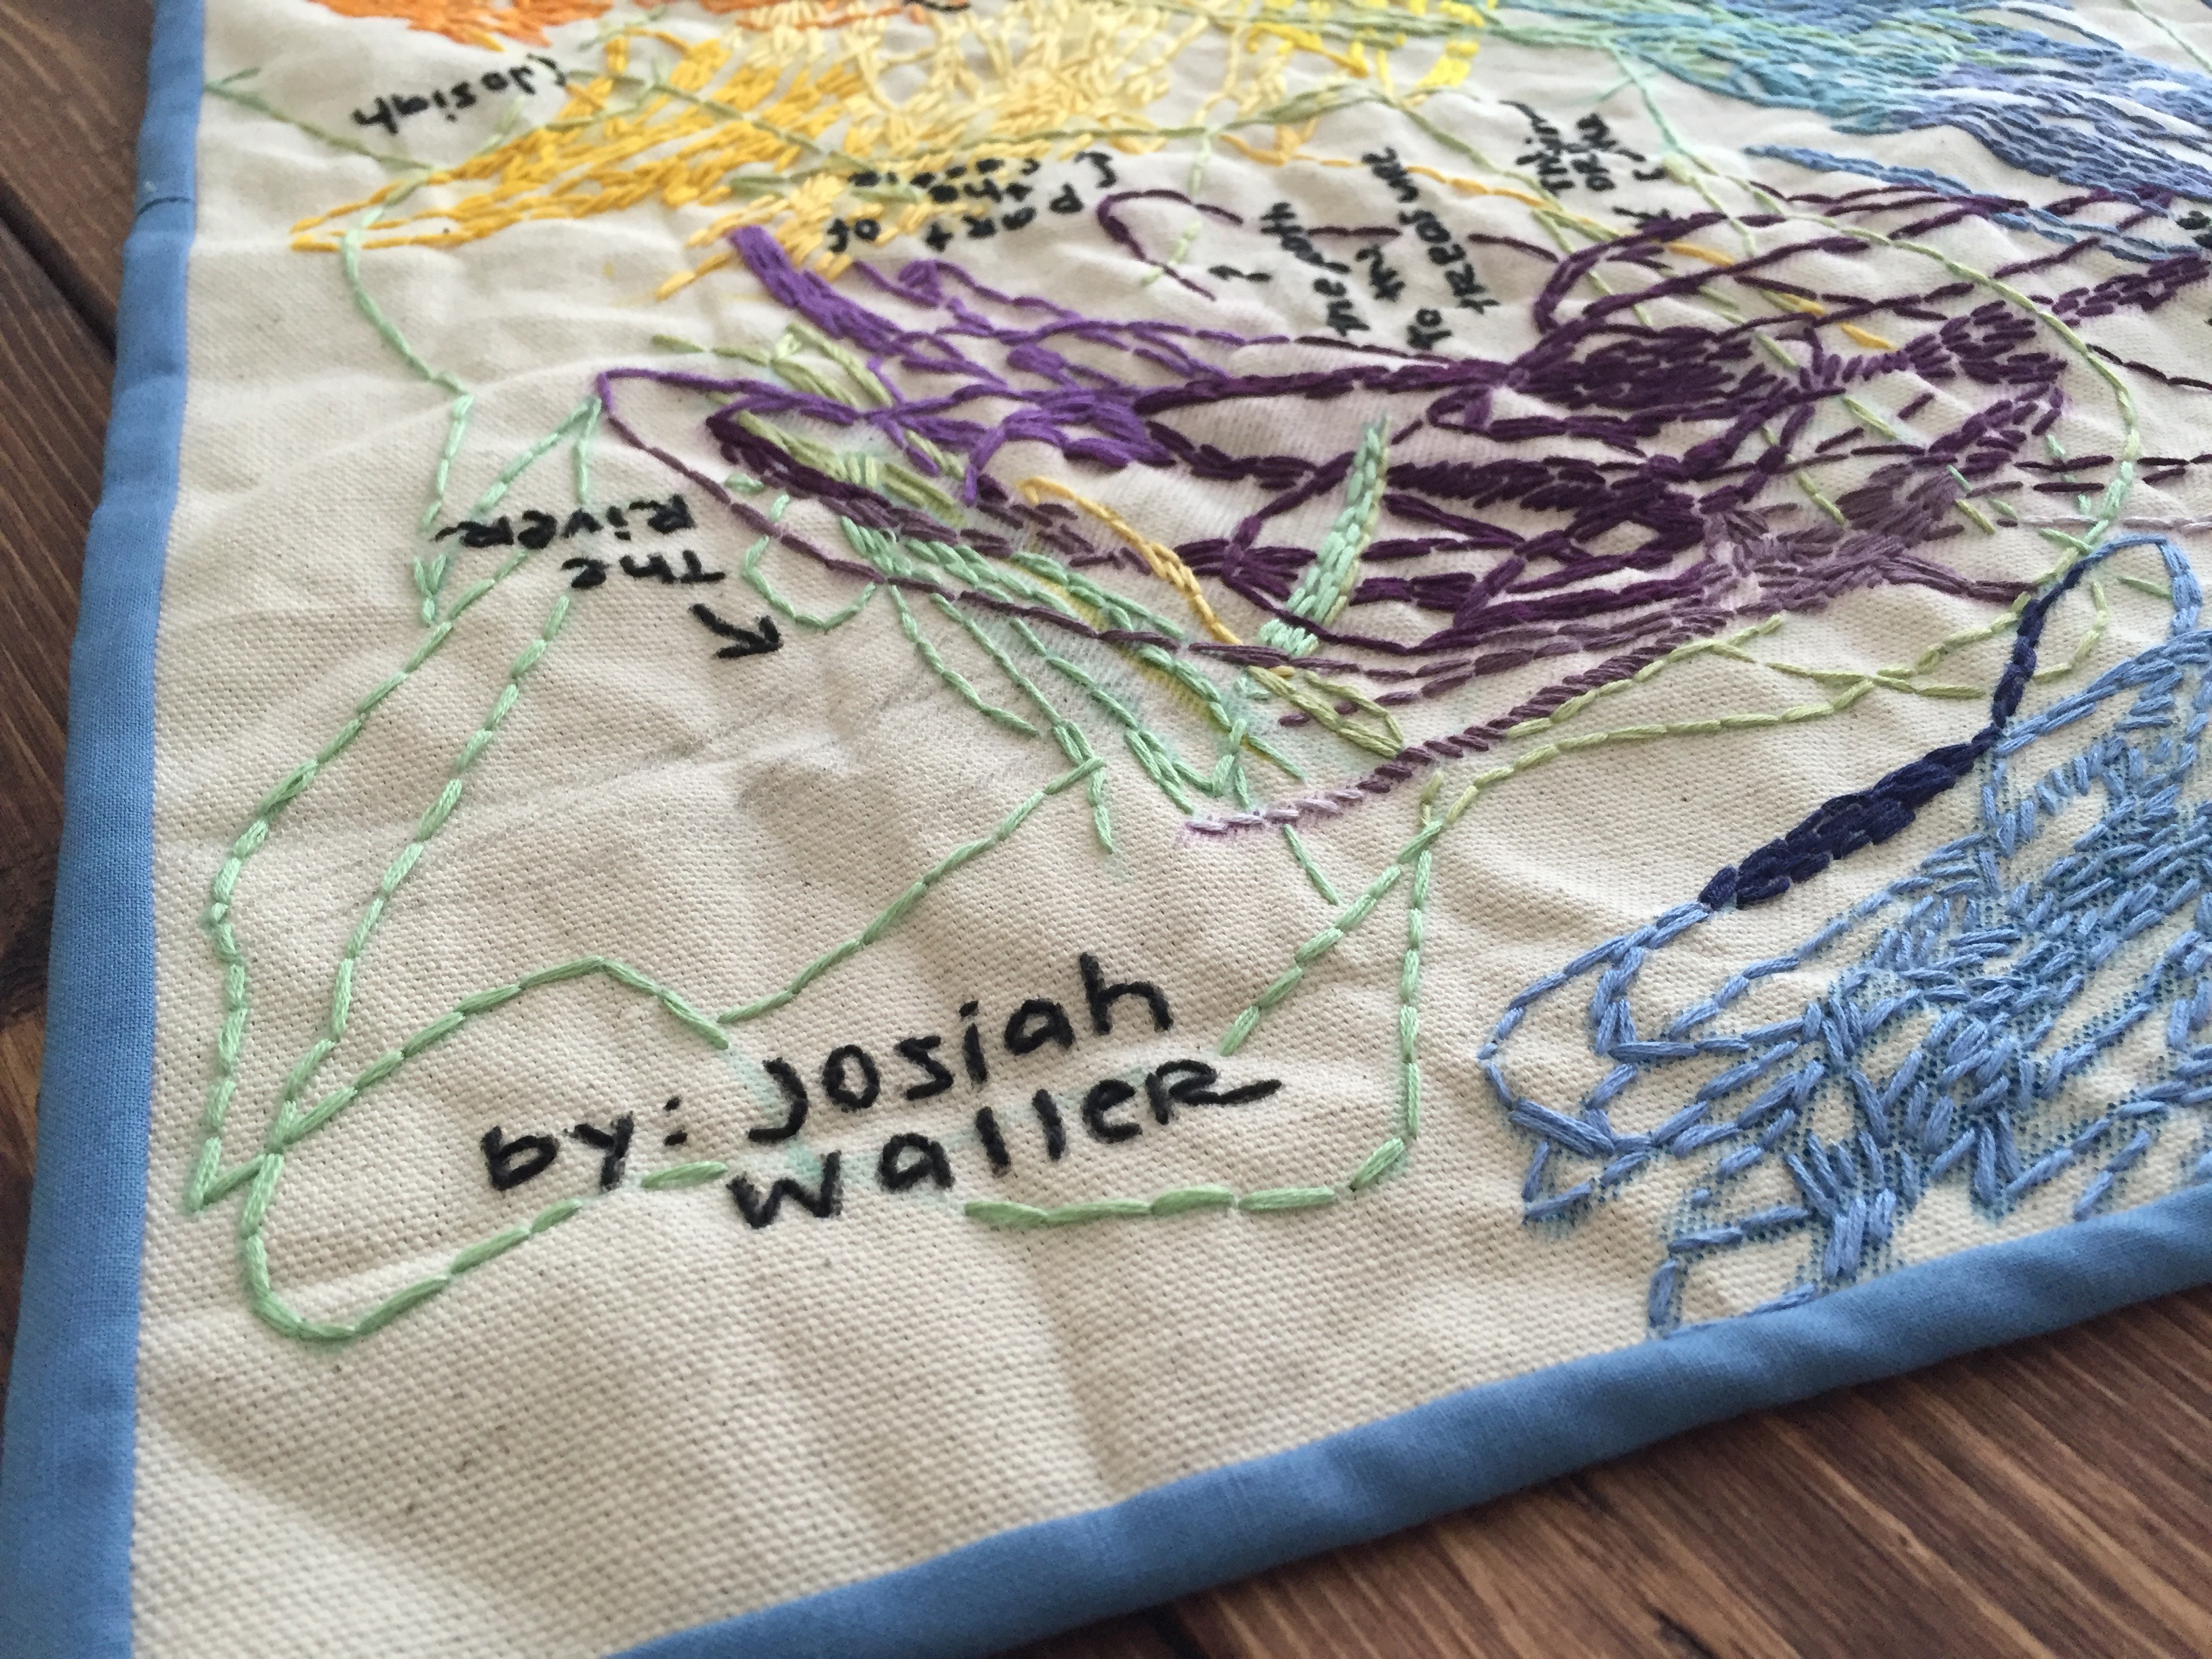
After he finished drawing, I had him identify everything, which turned out to be the cutest part of the whole thing.

IMG_3951

When I started this project, I thought the embroidery aspect would only take me a few weeks. Well, despite my best intensions, it ended up taking me several months.

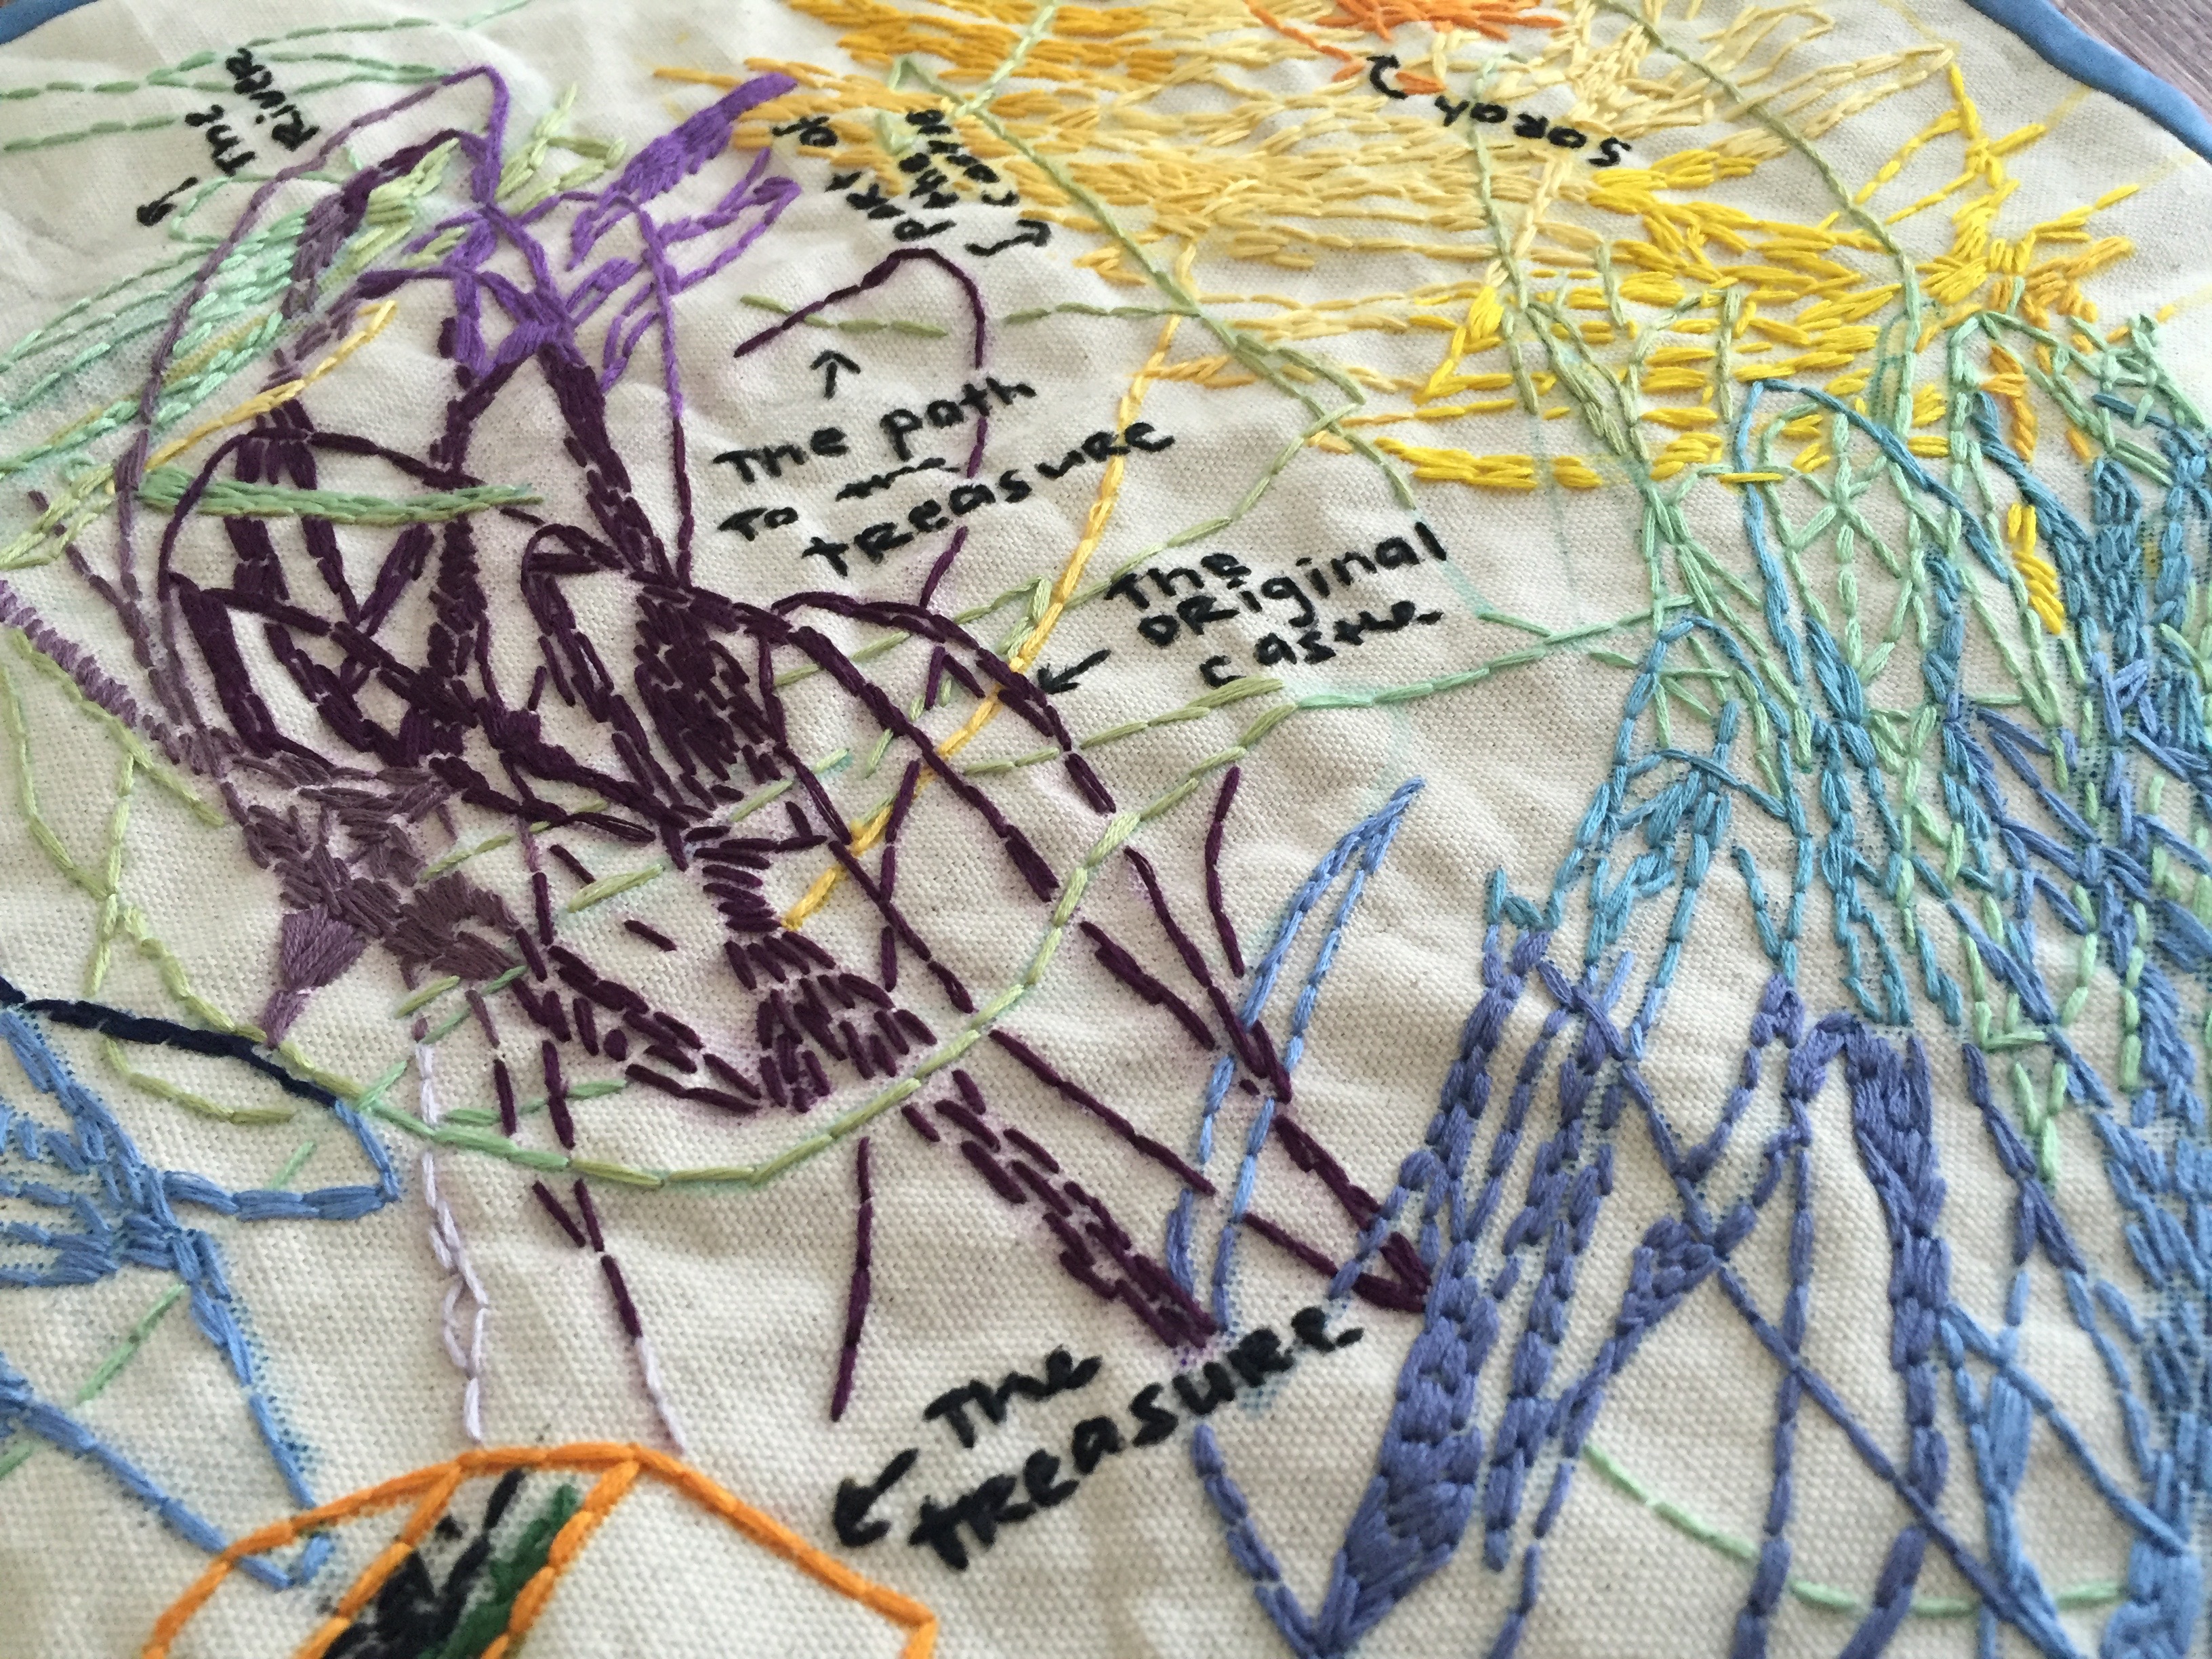
One thing I decided early on is I wouldn’t care about being consistent with the embroidery floss. I easily could have stock piled the same color of blue embroidery floss to use throughout the project, but I decided I didn’t want to buy anything for this. Instead, I just used the collection of thread I already had.

I think this choice added to the overall adorableness of the map.

IMG_4153

I also didn’t fret too much about my stitching. For the most part, I kept the stitches short, and I didn’t worry about completely covering all of Josiah’s drawing. I was okay if a few ink marks peeked through.

IMG_4160

To finish it, I cut a piece of blue fabric as the back piece, and I used the quilting technique of binding to create a solid edge. While I created this piece for Josiah to play with—thinking he would roll it up, carry it around and use it in his pretend play—I also think it would be an adorable idea to frame the piece and use it as decoration in your house.

IMG_4155

Cookie Monster ‘Trunk or Treat’

Earlier this year, my mom accepted a position as a director of children’s ministries at a church near their house. With Halloween approaching, she began planning her first-ever Trunk or Treat event. And since Mom was in charge—and Dad and I are people who don’t like to be outdone—we brought our A-game by creating a monster-sized idea.

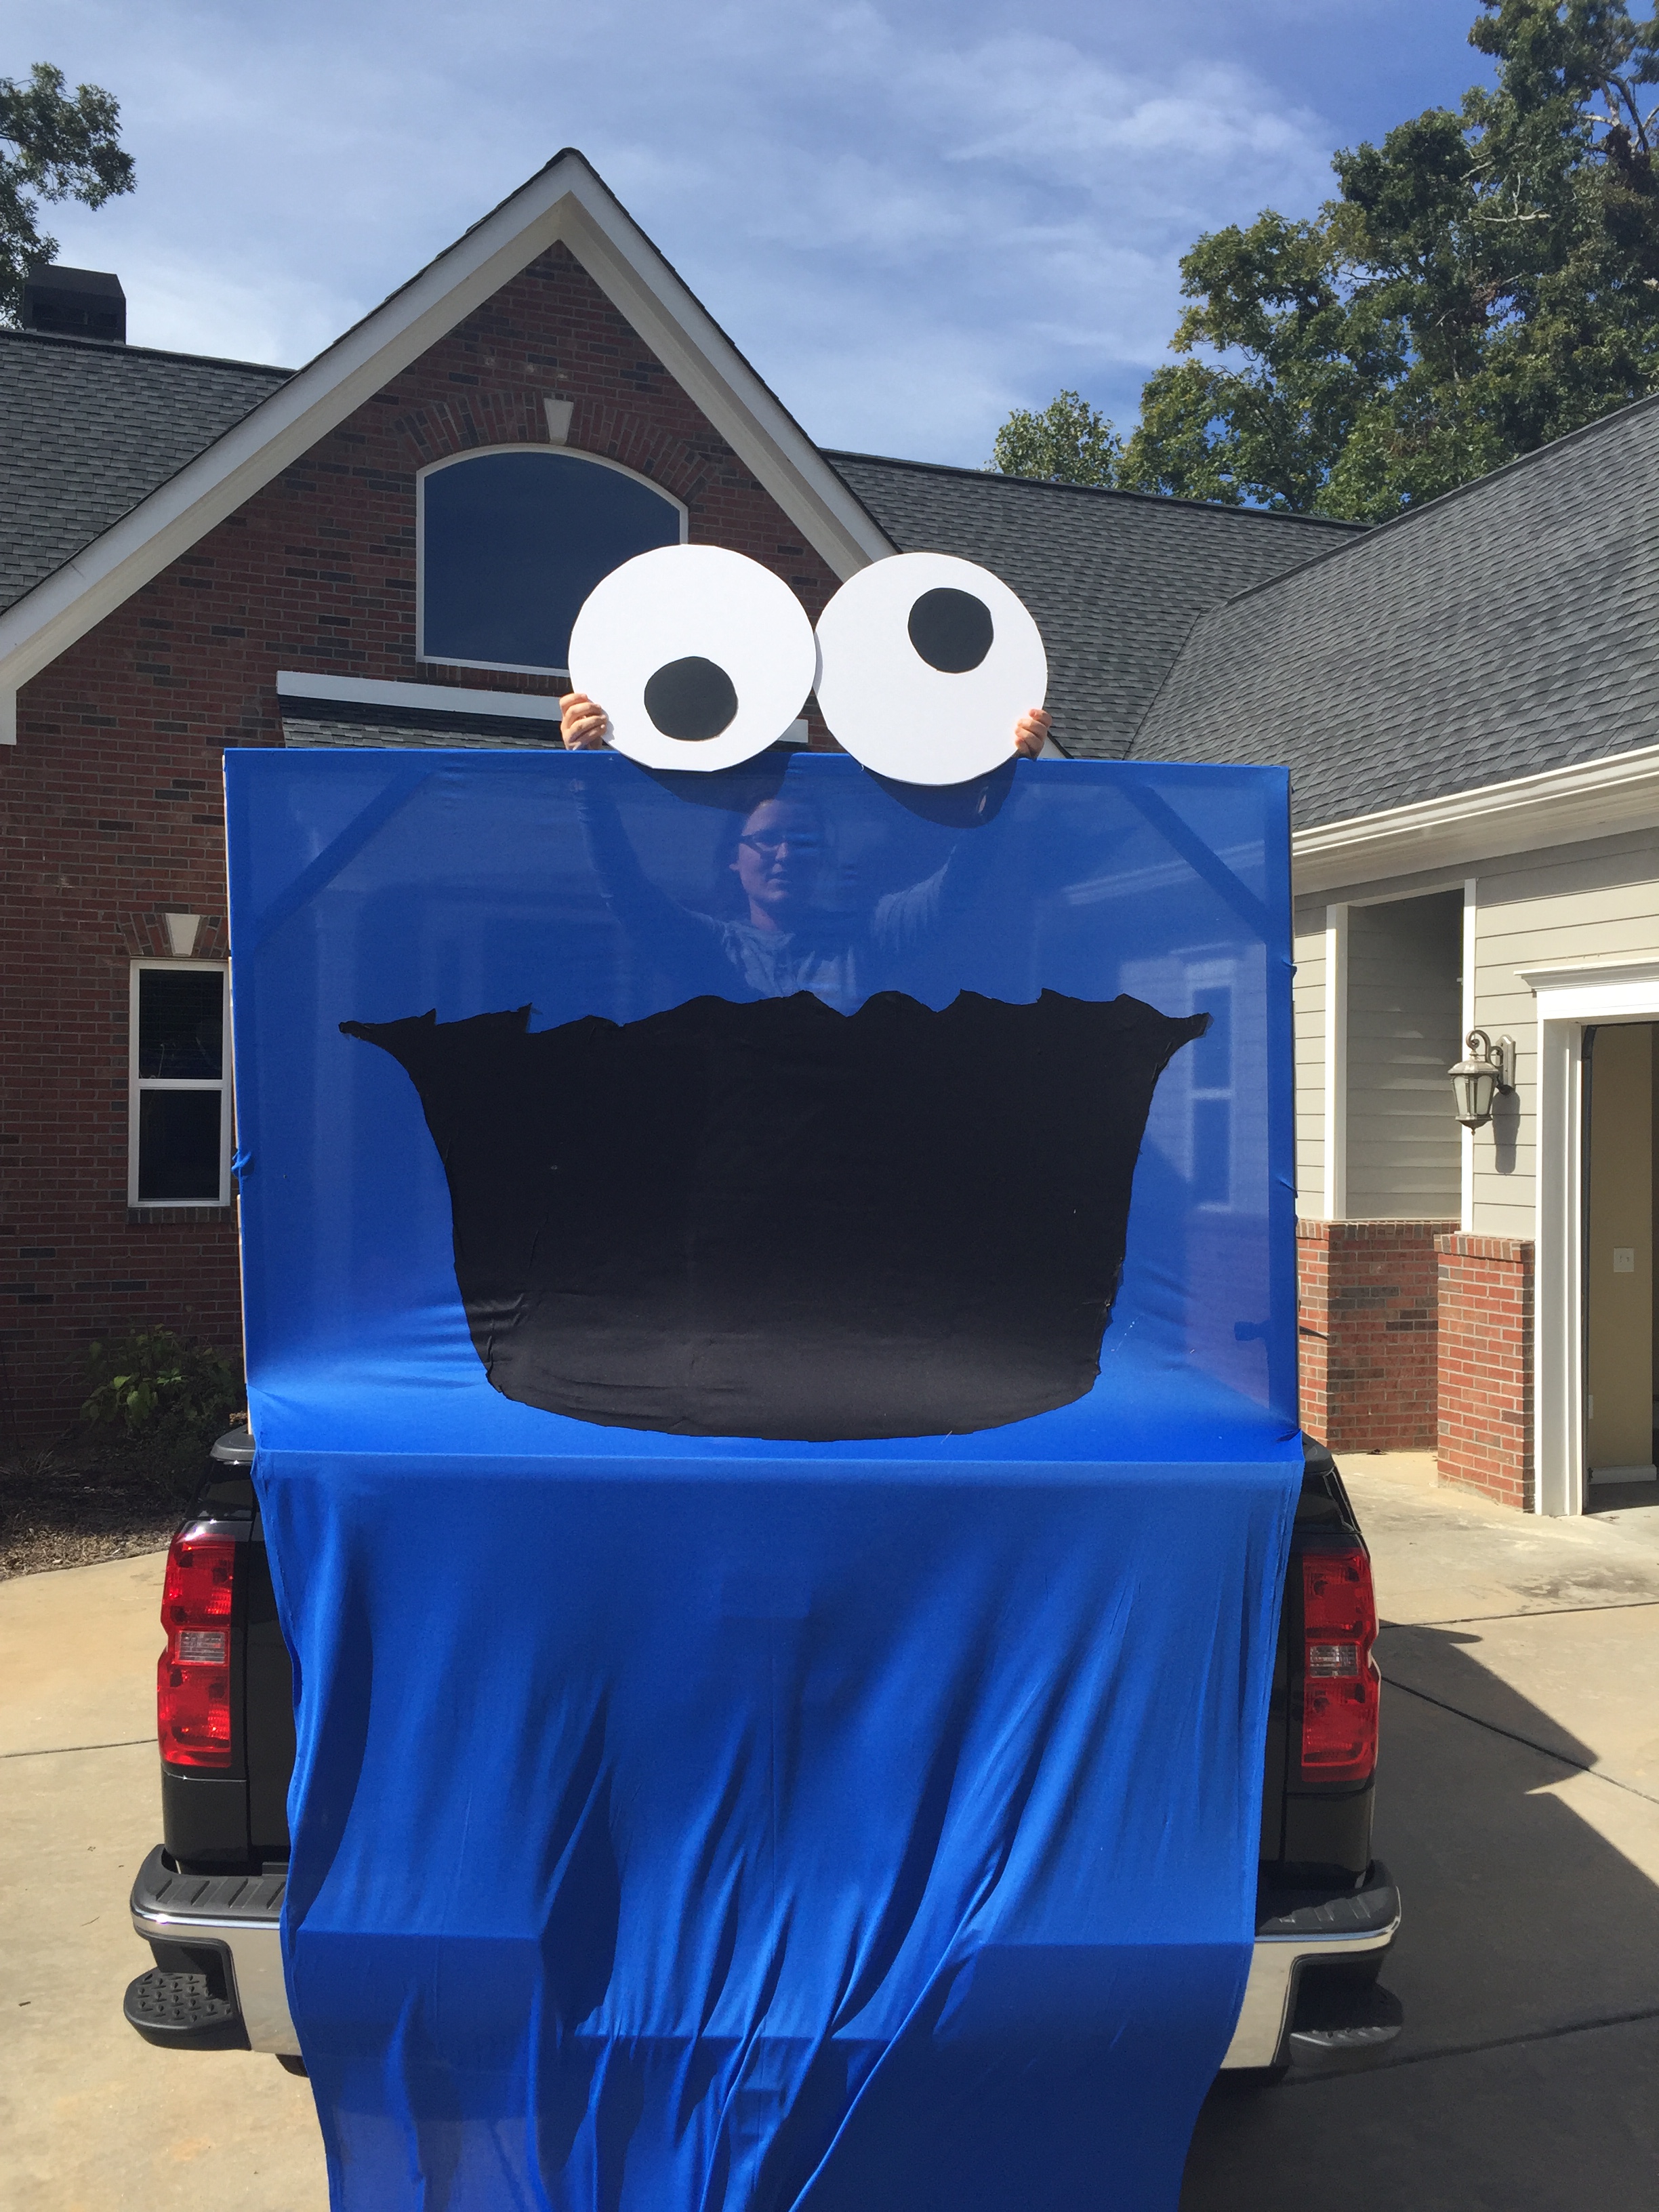
We used his truck to create a larger-than-life Cookie Monster display. (And I’ll go ahead and spoil the ending for you, we took home the top prize!)

IMG_8365.JPG

I love creating projects with my Dad because he always brings out the power tools. We started the display by creating the wood frame. His truck bed had two notches along the top that could fit the legs of our frame, helping it stand up. (I’m not sure what the technical name or use of these notches are. Sorry, I’m not a car person.)
IMG_8343IMG_8345


IMG_8348.JPG

Once the frame was complete, we wrapped it with cheap blue fabric we found at Walmart. (The key to creating Cookie Monster is all about finding the right color blue.) We ended up letting the blue fabric hang low to cover up more of the truck.

Note: I love the picture below because it shows how exacting my dad is. We couldn’t just cut out a circle. We had to use an Xacto knife.

IMG_8352.JPG

I used black fabric (the same cheap fabric as the blue) to cut out a mouth, and we used poster boards to create the eyes. We decided to not attached the eyes until we actually got to the event because we thought there was a high risk they could be damaged in the drive to the church. But I attached the black fabric mouth with spray fabric adhesive.

IMG_8355.JPG

With the display complete, the next step was to create the corresponding game. In the church’s storage room, my dad found a wooden bean bag toss board. He brought it home and covered it with blue felt. I create a similar black mouth out of fabric, and we created another pair of the eyes.

Finally, I made felt cookies as the bags kids would toss into Cookie Monster’s mouth. At the local Walmart, we found 1-pound bags of beans, and I stuffed the felt cookies with the bags as-is. (Aka I didn’t open the plastic, keeping it as the container for the beans.)

IMG_8357.JPG

IMG_8368.JPGLike I said at the top of the blog post, there was a contest for the best display at the Truck or Treat. We won!

Felt Christmas Stockings

It’s been a year and a half since I logged into this WordPress site, and this great hiatus is not because I’ve stopped crafting. Goodness, no. But instead, I let this project that once brought me tremendous joy sail away with other seasonal life interests. I could blame the busyness of work or that I’m now taking graduate classes at night. But in truth, I think the joy that led me to create this blog began to fade a year and a half ago, making a fun side hobby feel more like work.

Well, as some people say, never throw anything away because its bound to come back in style.

Over the Christmas break, I was inspired to read through the countless blog posts I have here. Of course, it’s a little embarrassing to see how many spelling and grammatical errors exist (and I’m sure there are a few in this post too), but the walk down memory lane was fun. At the same time, I was creating felt stocking for my parents, using patterns/kits by Bucilla.

IMG_8661.JPG

Christmas was a little different this year for my family. My mother was recently diagnosed with cancer, and two weeks before Christmas, she underwent a very intensive surgery that caused an extended hospital stay. My parents live in Georgia; I live in Alabama. So for several weeks, I made the trip back and forth.

As I’ve said on this blog before, my mother has the best advice, and her crème de la crème is this: Know what makes you happy, so when times turn sad, you have tools you can use to lift yourself up.

My greatest tool is crafting and sewing… and a whole of prayer. I can’t remember when the idea came to me, but I know this project of creating felt stockings was one of the greatest blessings during this difficult time.

IMG_8671.jpg

Not only did the kits throughly entertain me during a time where there was a lot of sitting around, but they able gave me a focused line of thought on something positive and beautiful.

I finished my dad’s stocking before the surgery, and I worked on my mom’s throughout her recovery in the hospital. Once it was finished, I was able to hang it on her wall, adding a bit of Christmas decoration to her small hospital room.

And I will note: the kits were amazing portable. I utilized small jars to organize the beads and sequins, using a magnet on the underside of the lids to store the sewing needles. I was able to contain everything I needed in a single freezer zip lock bag, so no matter where I was—siting at my craft table, the floor of a waiting room, the chair in the hospital room, etc.—I was able to work on it.

IMG_8766.JPG

Mom ended up leaving the hospital on Christmas afternoon, and in the following days, we opened presents and tried our best to celebrate a normal holiday season. The new stockings for Mom and Dad hung on the mantle with the felt stockings Mom made for me and my brothers when we were born.

IMG_8803.JPG

I’ve been writing a lot about this season I just experienced, mainly in Word documents that one day may see the light of day. In doing so, I felt the joy that I once had for this blog rising back up with in. So here I am, back for reading pleasure. The good news is, I have a lot of content from the past year and a half that I can share with you. I hope you enjoy.