Embroidered Treasure Map

IMG_4149

My nephew Josiah is just the coolest kid because he has the most amazing imagination. When he was like three or four years old, I really wanted to create a podcast where it would be just me and him talking about stuff. At the time, you could bring up any topic and he would have an opinion about it—despite knowing nothing about it. His imagination would just run wild.

One day the idea came to me—I would ask Josiah to draw a treasure map on a square piece of canvas fabric, and in the weeks that followed, I would embroider over the lines, making his map a permanent, one-of-kind piece.

IMG_4151

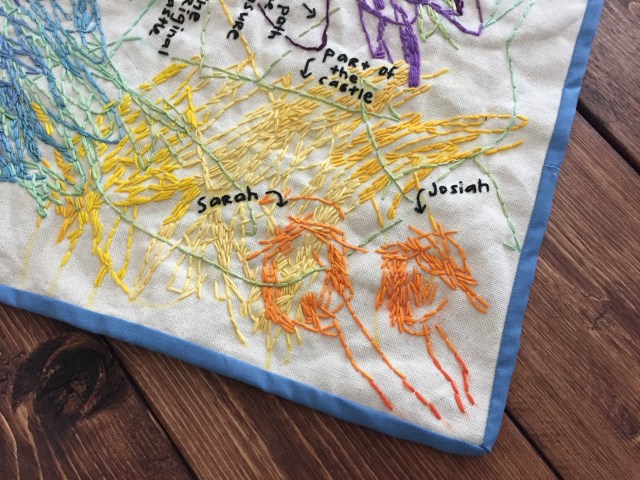
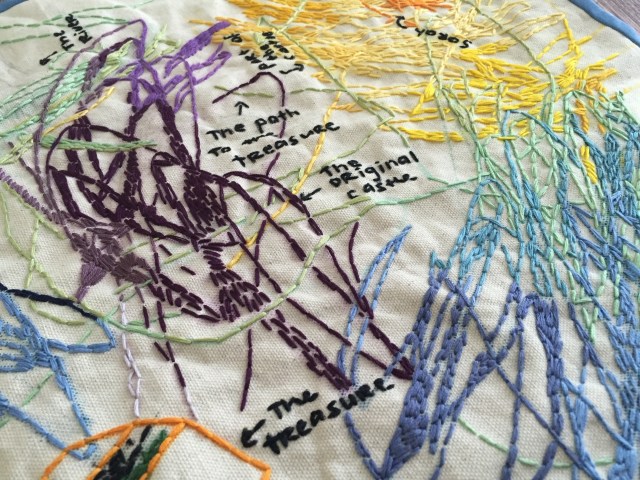
Together we sat down at my parents’ dining room table. I started by drawing the treasure chest, and I let Josiah take it from there. Though I didn’t want to be too influential in his drawing—as I wanted it to truly capture Josiah’s imagination at the time—I did encourage him to change colors every once in a while. (Selfishly I had envisioned this being a colorful piece.)

After he finished drawing, I had him identify everything, which turned out to be the cutest part of the whole thing.

IMG_3951

When I started this project, I thought the embroidery aspect would only take me a few weeks. Well, despite my best intensions, it ended up taking me several months.

One thing I decided early on is I wouldn’t care about being consistent with the embroidery floss. I easily could have stock piled the same color of blue embroidery floss to use throughout the project, but I decided I didn’t want to buy anything for this. Instead, I just used the collection of thread I already had.

I think this choice added to the overall adorableness of the map.

IMG_4153

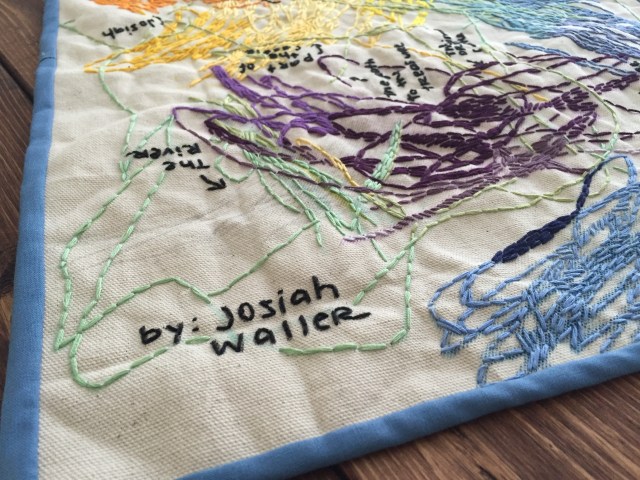
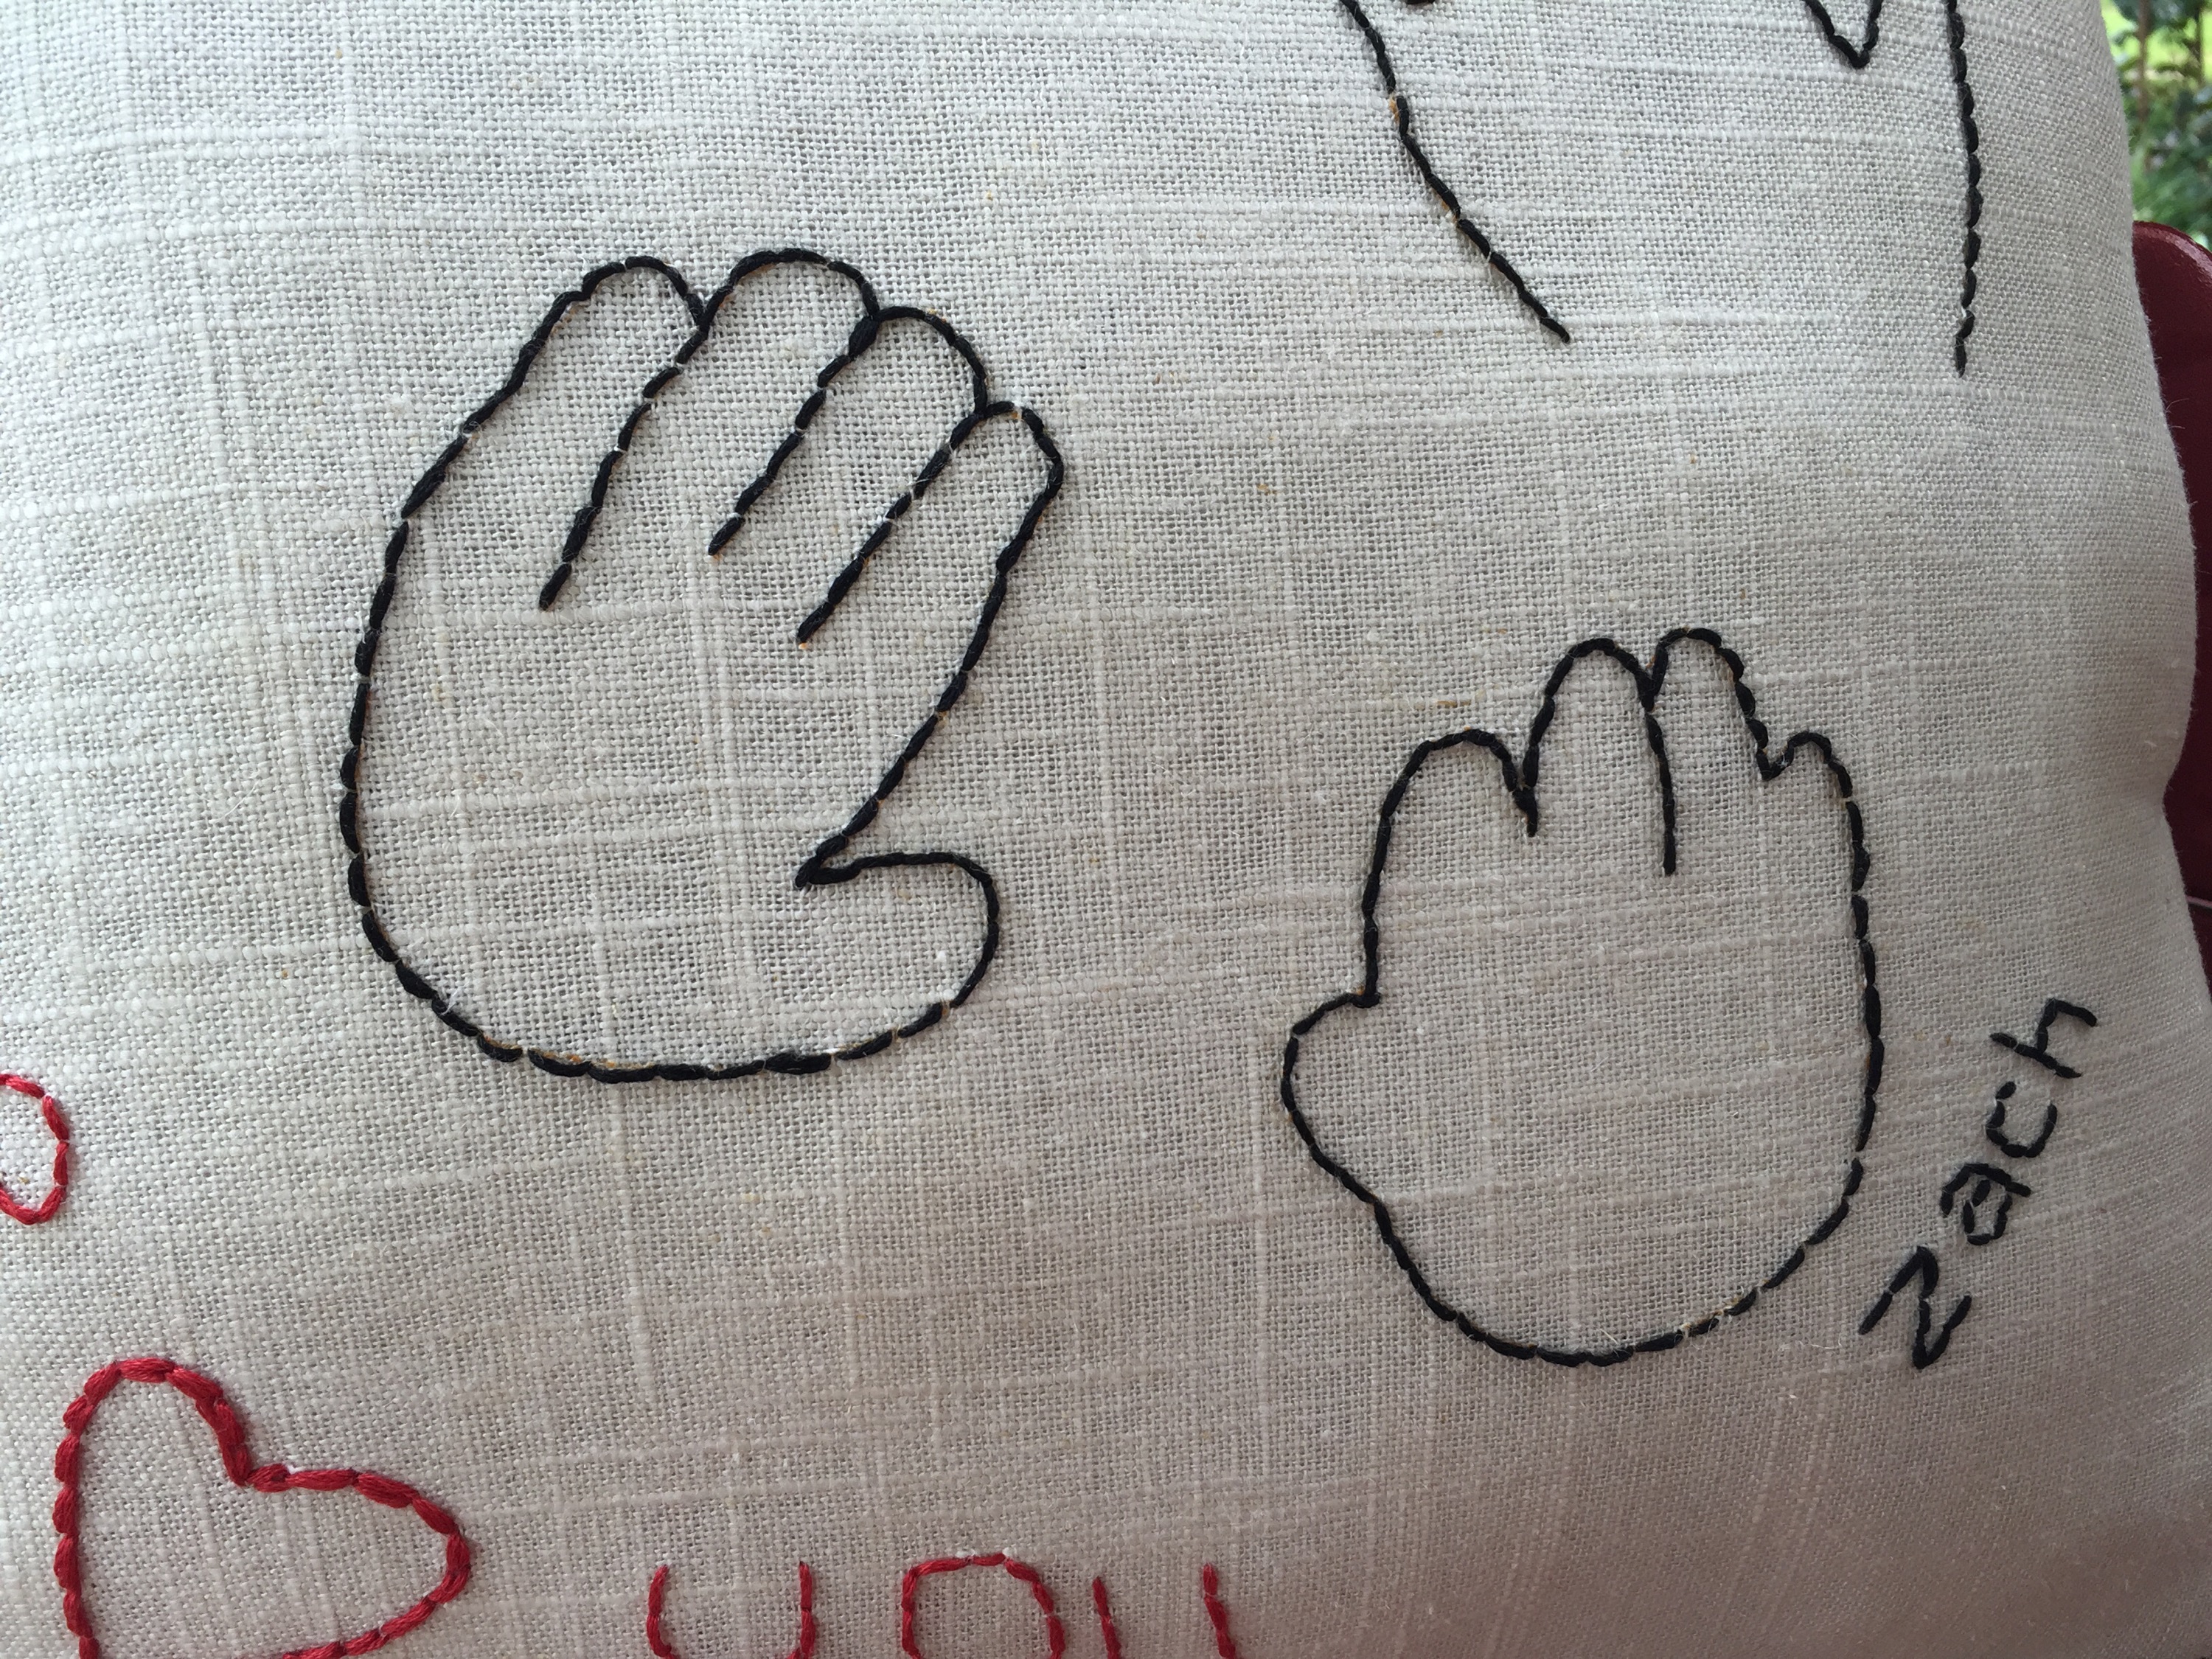
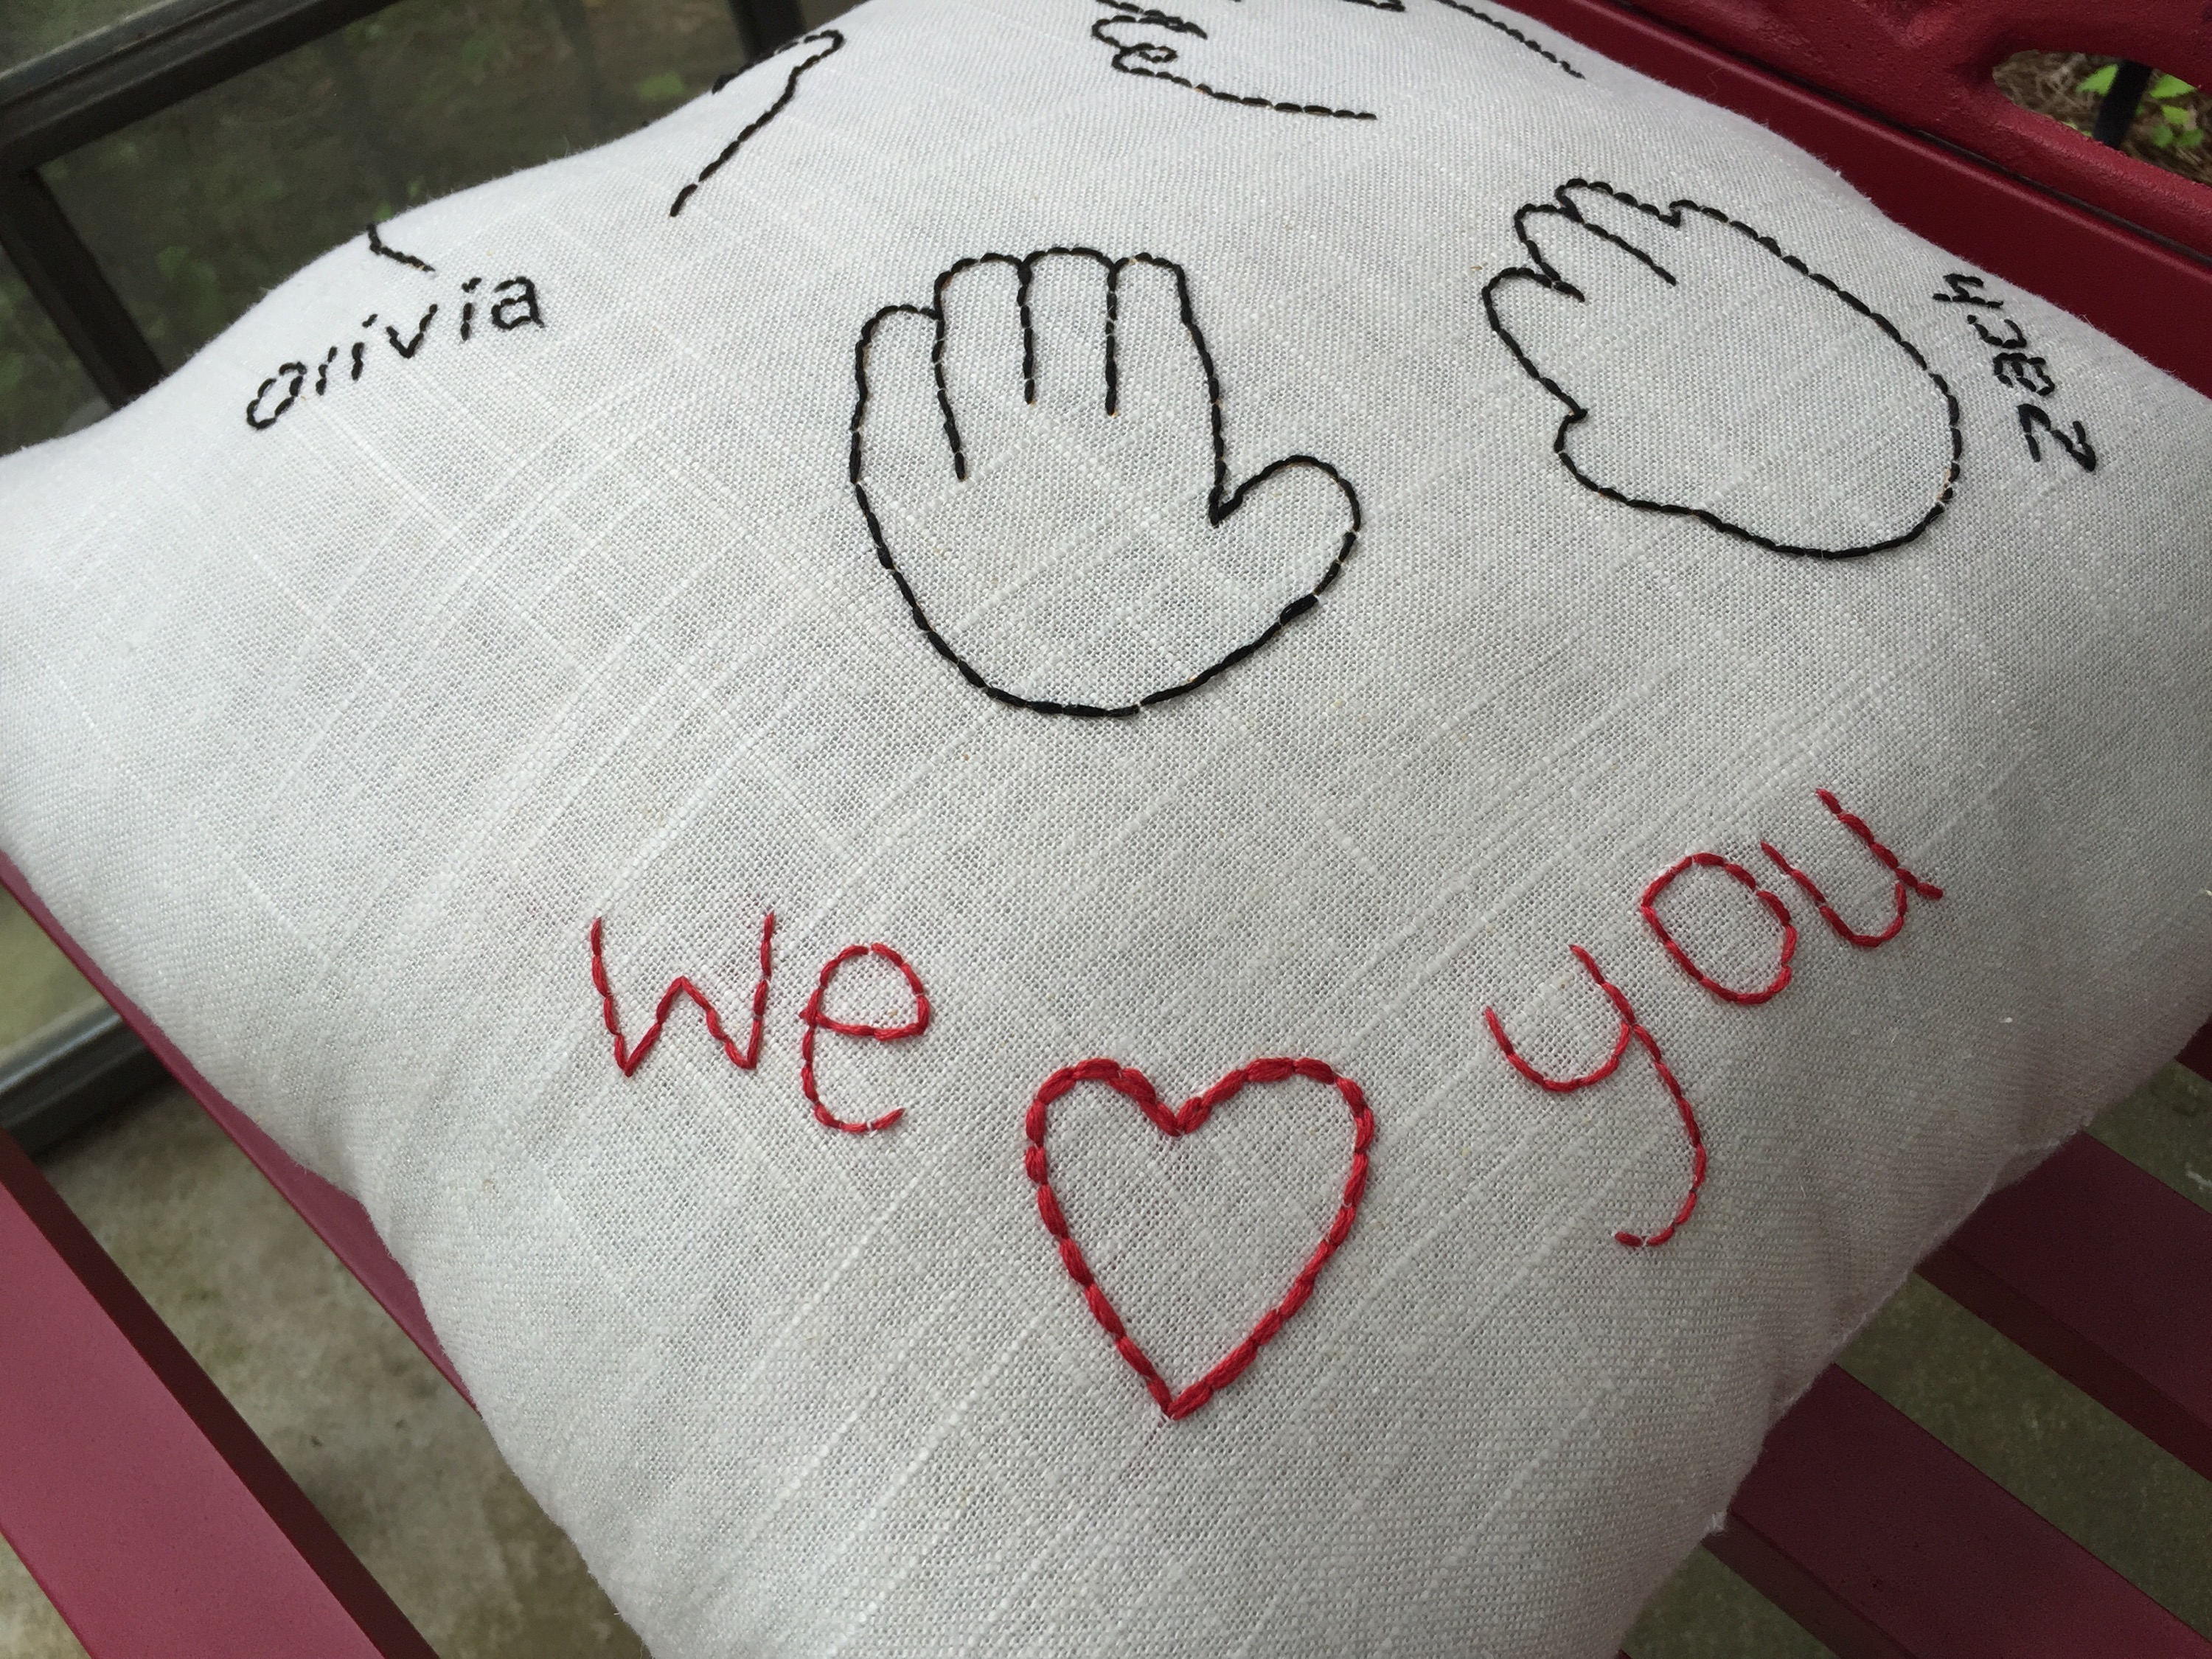
I also didn’t fret too much about my stitching. For the most part, I kept the stitches short, and I didn’t worry about completely covering all of Josiah’s drawing. I was okay if a few ink marks peeked through.

IMG_4160

To finish it, I cut a piece of blue fabric as the back piece, and I used the quilting technique of binding to create a solid edge. While I created this piece for Josiah to play with—thinking he would roll it up, carry it around and use it in his pretend play—I also think it would be an adorable idea to frame the piece and use it as decoration in your house.

IMG_4155

Advertisement

Let’s Embroider a Logo

Gift are best personalized.

My friends at my previous job – Oxmoor House – reached out to me and asked if I could create a patch for a gift they were working on for a coworker who was moving on to new job. Of course, you can’t say no to a friend. So I got to work on the patch while they hired someone on Etsy to make this knitted iPad case.

img_2852

I’ve never tried to copy a font before (most of what I do is free hand), so this was an interesting challenge. Luckily, I figured it out in about 15 minutes. I could have done a better job stitching the patch to the case, but oh well, the imperfection adds to the homemade charm.

img_2835

Travel-Inspired Embroidery Baby Announcement 

img_2488

I am oftentimes asked to create something based on a piece of inspiration a person has found. In the case of this project, a friend had seen a swatch of fabric with a pattern made out of travel tags representing cities all of the world.

This friend, Rachel, is a great traveler, and as the birth of her second child approached, she asked me to make a embroidery baby announcement based on the fabric swatch.

Let me tell you, this project was fun!

I asked Rachel to pick four cities she wanted me to represent, and she was kind to let me design the rest. I decided to keep it simple. I used airport codes, but for cities with more vague codes like OSL, I thought it was best to include the name of the city.

I worked to complete the eight tags in the months leading up to her due date, and then finally, once little Elliott was born, I stitched in his name and info. I also did a zig zag stitch to overlock the edges to avoid unraveling before Rachel could get the piece framed.

A little freehand stitching

IMG_0381

One night, I decided to do a little freehand stitching, not really knowing what I wanted the final piece to be. I started by creating the bowl, and then the different succulents started to take shape. Sewing can have a lot of rules, and I love – from time to time – to take a break from straight lines and even stitches to do something more spontaneous. The final product was the perfect addition to a care package a sent to a dear friend.

A Simple, Floral Wedding Embroidery Hoop

IMG_0373

Another wedding, another embroidery hoop. But I think this one is my favorite so far. I’ve been following a few artists who use very small embroidery stitches to create these precious floral arrangements with thread, and I was inspired to try to here. I love how how the flowers turned out.

IMG_0375

  Summer Wedding Embroidery Hoop

IMG_0368

I attended a beautiful wedding this weekend of my sweet friends Kathleen and Drew. It took place at Ephesian Farms, which I was told is a relatively new wedding venue about 45 minutes outside of Birmingham. Every detail of the wedding was so thoughtful, but knowing Kathleen, I was not surprised. So I knew I wanted to return the thoughtfulness with a sweet gift. I made this embroidery hoop and attach it to a gift – a book all about Atlanta, the city they are moving to after their honeymoon.

Embroidered Hand Print Pillow

This project came out of a great collaboration. A friend named Amy recently connected with me on Facebook, asking if I had any ideas for a gift I could make for her mother. She wanted the gift to somehow involve her son and niece (her mother’s two grandchildren). I spent the morning brainstorming, and after a little back and forth on Facebook, we came up with the idea of embroidering the children’s handprints on a pillow.

I am so obsessed with this finished product.

IMG_0092

The first step required a lot of Amy since she had to trace her son’s hands. Apparently, he kept trying to grab the paper. Her sister did the same with her daughter. The traces weren’t technically perfect, but I loved the authenticity of them. It liked that it looked like we traced their hands directly onto the fabric.

IMG_0078     IMG_0082

Amy and her sister sent me pictures of the kids’  hand prints on a 8.5 x 11 pieces of paper. Knowing the size of the paper, I tried my best to print the hand prints to scale. I cut them out, and traced them onto the fabric with a yellow pen. (It probably would have been better to use a pen with disappearing ink, but I didn’t have one at the time.) I then used black thread and embroidered on top of the yellow line.

IMG_0089

IMG_0090     IMG_0091

Since their hand prints were so tiny, I embroidered a few details to help fill in the space, like their names and the year. With everything stitched, I turned the two pieces of fabric in to a pillow.

I love when a customer order turns into a collaboration like this, with both sides bringing ideas to the table. Amy’s mother loved the pillow. But who wouldn’t love such an incredibly thoughtful gift!

Hand-Stitch a Star Chart

DSC_0442

A needle and thread are the only tools you need to recreate the night sky. My love for the stars and their constellation stories are not new. (You might remember my first constellation-themed project with a pair of Toms.) So when I began to brainstorm new projects to help decorate my new desk at work, I ended reverting back to a favorite, creating this hand-stitched star chart banner.

DSC_0418

Like my pair of Toms, I started by splatter-painting the material with silver paint, but this time, I used a piece of navy muslin fabric. (Sorry, I did not make note of dimensions) This process helps create the look of infinite stars, adding a beautiful layer of dimension. Once done with the silver paint, I did splatter on a little white paint too.

DSC_0447

Once the paint dries, I start with my needle and thread. I printed off a a star chart to help with a few constellations, but for the most part, I stitched everything from memory. If you don’t feel comfortable doing this, use an erasable fabric marker to draw the constellations before stitching. Along with the constellations, I stitched several additional starts to help fill in the spaces between constellations.

DSC_0452

To finish, I took a matching piece of navy muslin, and placed the two pieces right sides together. Using my sewing machine, I sewed them together using a 3/4 inch seam. At the top, I skipped over an inch on each side to leave room for the wood rod. After turning the fabric right-sides-out, I ironed it, placed the wood rod, and used hemp string to hang the banner.

Have an Adventure Embroidery Hoop

DSC_0071

I oftentimes find myself picking up a needle and thread when I have no plans after work. And like doodles on a notepad, designs begin to take shape. Many do not turn out – like a lot – but occasionally one will turn into a masterpiece. This is one of those times.

DSC_0068

I stuck with the fabric I love – felt – and I completely freehanded the world. Didn’t even look at a map. (I know, I’m shocked it turned out so well, too).

DSC_0072

With the world completely, I knew the phrase, “Let’s have an adventure” would be the perfect fit.

DSC_0074


A Ring of Another Sort

Wedding registries overwhelm me. I know they are meant to make gift buying easier for wedding guests, but I just see a list with way too many options. Plus, if I’m going to buy a gift, I want it to be something more special than a muffin pan.  So my crafty natural kicks in, and I embrace a homemade gift. For my most recent shower: a wedding embroidery hoop.

IMG_3650

My dear friend Caroline is getting married in May, giving me a great excuse to create this project I’ve seen all over Pinterest. I decided to keep the colors simple. Caroline is a very colorful person, and by using a neutral colors, I figured it would match whatever colors she decides to accompany it.

IMG_3657

I could probably learn a more “official” style of stitching. My embroidery skills are self-taught, but I think in this case, it turned out quite adorable!