A Charleston Birthday Soiree

Yesterday, I arrived home from the most amazing weekend on Kiawah Island, about 40 minutes from Charleston, South Carolina. My family gathered together to celebrate my aunt’s 50th birthday in one of the most beautiful homes I’ve ever had the opportunity to stay in. We kayaked on the marsh, enjoyed time on the beach, and on Saturday night, threw a proper birthday dinner for my aunt. Naturally, I asked if I could be in charge of decorations.

IMG_1744.jpg

Since the setting was naturally beautiful, I kept the decorations simple and easy. I used the theme of magnolias and pineapples (because we’re in Charleston, of course). For the tables, I ordered a blue “painted check” paper table runner online at Hester & Cook, and we purchased three pineapples with good tops. My mother already had gold candle votives that she brought from home, and she also cut a few magnolia branches from her neighbor’s yard.

IMG_1748.jpg

To add a personal touch, I created this banner with pictures of my aunt over the years. I saw the idea of adding paper hats on Pinterest. (I mean, it does make it really cute.) And I added a line of rick rack for an extra touch.

IMG_1755.jpg

By keeping the table simple, it was so easy and quick to set up, and by using a paper runner, it made it extra easy to take it down. (Plus, you can cut up the pineapple and have it for breakfast the next day.)

IMG_1758.jpg

Because every birthday party needs a good “Happy Birthday” banner, I made this one with pineapples to really drive home the theme. I simply used yellow and green card stock. I also used a ruler and a gold paint pen to create the criss-cross detail.

IMG_1757.jpg

As a final detail, I set out a tray of pictures that people could pick up and flipped through when they were grabbing a drink. My grandmother helped collect them together, even finding a picture of my aunt at her first birthday… which I framed for the occasion.

IMG_1764.jpg

The party was a grand success! But let’s face it, when you are in such a beautiful place like Kiawah Island, South Carolina, it would have been hard to not have a wonderful time.

IMG_0501.jpg

Advertisement

Felt Daily Activity Schedule

IMG_3145

This visual activity schedule for kids was a custom order for a friend of a friend, and looking back over these images, I realize that the person who purchased this got quite the deal. (Aka I charged way too little… which is the story of my business life.)

I am beyond proud of this project. I love how it’s colorful. I love that it’s made out a felt. And I love that I took the extra time to make this banner sturdy—with the hopes that it not only survive one child but could possibly be passed down for the use of a second or a third.

img_2833

The idea was provided by the customer. Her son thrived under a routine, and she found that their days progressed better when he understood, to a point, what to expect. She provided the individual prompts—signs for lunch, playtime, bedtime, snack, etc. We made sure there were enough signs to make it through the hours of the days, plus extras… because obviously, you need some variation within the week.

She asked for the day to start at 7 and end at 7, and then I came up with the rest from there. The trick was trying to figure out how to visualize 13 hours on a banner without making it enormous. Though the problem quickly resolved itself when I realized I would need to create some sort of pocket to store the little signs. I created two columns with seven panels each.

img_3096

Before finishing the banner—using quilting techniques like binding—I attached magnet snaps to the banner along with the signs. Since felt is a soft fabric, I worried that the act of pulling the signs off the banner each day would quickly wear on the fabric, so I made sure each magnet had a backing of thick cardboard.

IMG_3162

I designed the banner so it could be hung on the wall and easily used by a child. Plus, I just wanted it to look good. Knowing it was for a boy, I used lots of blues and greens. But you could easily use different color palettes, like purple and blue, yellow and navy, pink and more pink!

IMG_3155

All of the signs were hand sewn, but I did use a sewing machine for the banner.

… Yeah, I definitely should have sold this for four times the price I charged. Oh well.

IMG_3157

Woodland [Felt] Creature Mobile

img_2561

Felt and woodland creatures are a pretty adorable combo! I created this sweet baby mobile for friend preparing a nursery for her son. The theme: animals.

img_2556

I’m pretty proud of this project because I created the animals without templates. It took me a couple tries to get the right look, especially for the raccoon, but that’s why we sketch things out.

img_2559

Once I was happy with the sketches, I used them as a template to cut out the felt. Working with a front and back piece for each animal, I added details, sewed the pieces (right sides) together and used fiberfill to make them slightly plush.

IMG_2587

To create the mobile, I initially thought I would use an embroidery hoop for the structure. But then I found this piece of wood at JoAnn Fabrics, and I thought it really added to the “woodland” theme.

IMG_2593

I forgot the technical name of the hooks I used, but they screwed into the wood board really easily. I used twine to hang the animals. I even added a few felt leaves as an final  touch.

IMG_2594

Stages of the [Felt] Moon

FullSizeRender 5.jpg

Oftentimes, when an idea pops into my head, I question its originality. People say there’s no such things as an original idea anymore… right?

After finishing this project, I have seen so many references to the moon phases in others’ craft projects and art pieces. Original… maybe. But the truth is, we all influence each other.

To be fair, I have always had a love of space (as several posts on this blog can prove.)

FullSizeRender 4.jpg

After the idea came to me, it only took 30 minutes to complete this simple project. I had circle of wood that I mounted the felt to with Mod Podge, and I used tape to attached the circles on the string. (My 8th grade science teacher should be proud that I remembered the moon phases without having to reference the Internet.)

IMG_2569.JPG

Lamb-Themed Sip & See

_DSC0763

Back in March, my mother and I had the honor of hosting a Sip & See for my sister-in-law Liz and Kate Lily, my niece. We initially planned to host a baby shower. But Kate decided to enter the world 6 weeks early, and plans changed. We chose to keep things simple. We picked a lamb theme (since they are Liz’s favorite), and made it an open house (meaning boys were invited too).

I first heard the term “Sip & See” recently at work. Editors here use the term as a type of meeting, like, “Call down to the test kitchen, and let’s set up a Sip & See before the photo shoot.” A little baffled, I finally asked someone what she meant. A co-worker explained that our office doesn’t use the term in the traditional sense. In reality, a Sip & See is a traditional Southern term for an open house or shower after a baby is born. Traditionally occurring soon after, the mother welcomes people over to her home to “sip” lemonade or punch and “see” the new baby.

(Note: I wish I took more pictures, but alas, I only have these few that I snapped before the party started.)

_DSC0755

So let’s start with dessert, shall we? We cleaned up the kitchen desk/workspace and set out brownie bits, sugar cookies and a classic buttermilk poundcake with buttermilk custard and mixed berries.

_DSC0756

I still can’t get over these lamb sugar cookies for a local Birmingham bakery called Icing on the Cookie. When I first ordered them, I’ll admit, I thought they would be too plain. But this order proves that simplicity can be adorable. They pressed nonpareilles into the icing to create a cool texture.

_DSC0767

We wanted to create a menu that would be delicious and approachable for both adults and kids since we knew a lot of people were bringing their little ones. So we kept it simple. We made ham & cheese sliders on Hawaiian sweet rolls, pimento cheese with crackers, a layered cornbread salad, and coleslaw. And since the weather was pretty cold the week leading up to the party, I made a Lemon Chicken soup that we placed in the crock pot so it stayed warm through the party. For drinks, I made raspberry lemonade punch, and we had sweet tea and coke products.

_DSC0769

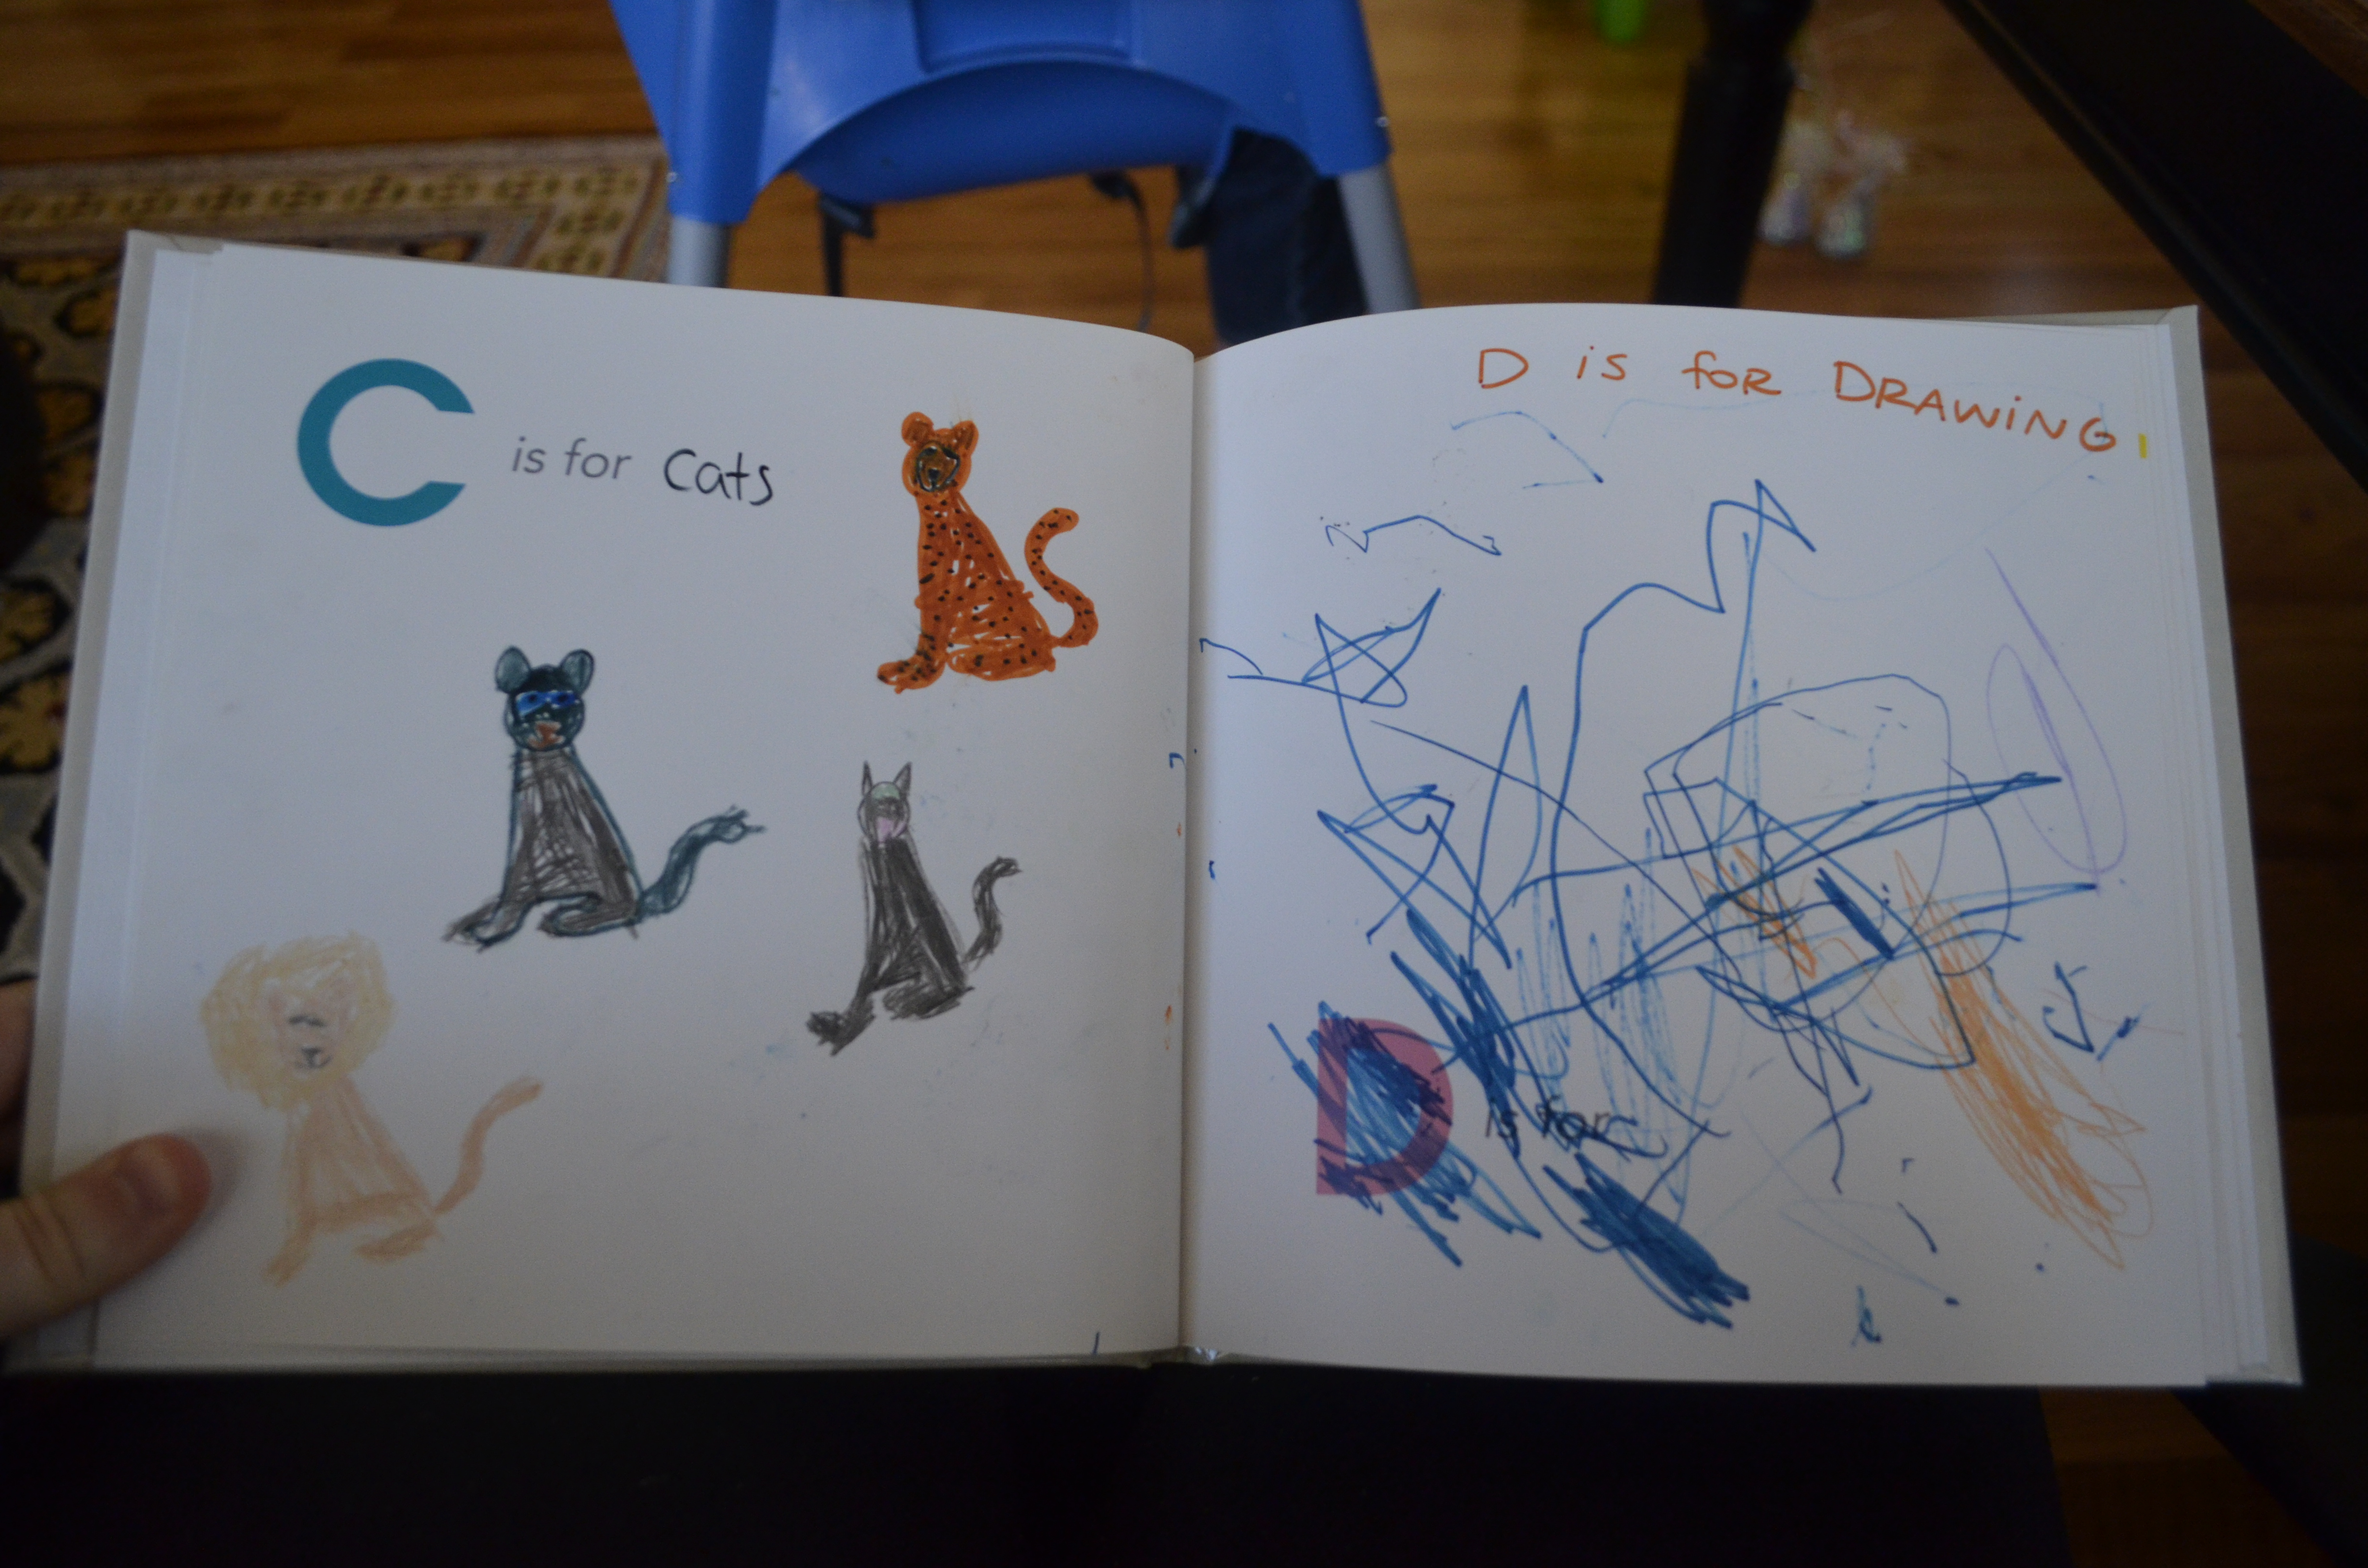
My favorite detail of the party was the guest book I created with the help of Shutterfly.com. I received a promotion email randomly from World Market one day that offered a free 8 x 8 photo book from Shutterfly, so I created “Kate’s Alphabet Book.” Each page listed a letter or two, and I like the idea that each guest filled in a letter, maybe drew a picture and wrote a note. I laid the book out on a coffee table in the center of the room with  a bunch of markers and colored pencils. And I filled in the first page as an example (pictured above).

_DSC0839   _DSC0840

The only downside to this idea is that not everyone got into it. It didn’t occur to me that not everyone would want to draw (such blasphemy). But the people who did sit down and participate produced adorable content. (The earwig for Kate’s Uncle Teddy was my favorite addition!)

_DSC0843

Luckily, Kate has a bunch of cousins who were happy to help me fill in any blank pages. Her cousins Faith and Charity contributed the most. We even had the littlest cousin Isaiah provide some doodles for the letter D.

_DSC0842

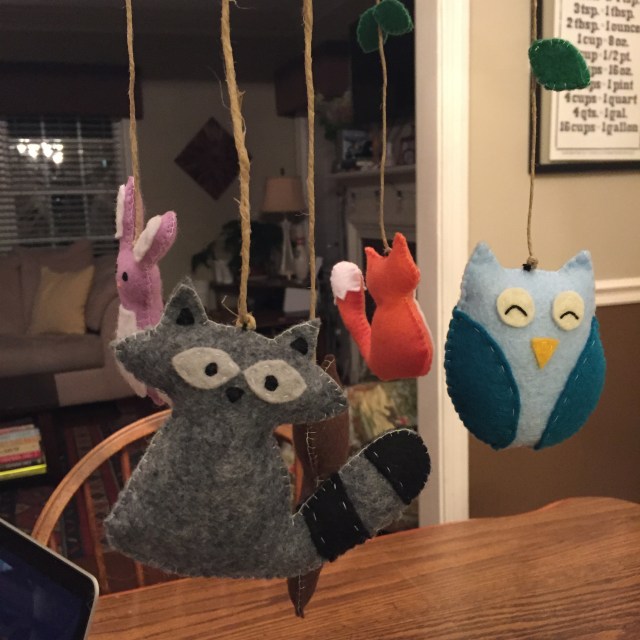
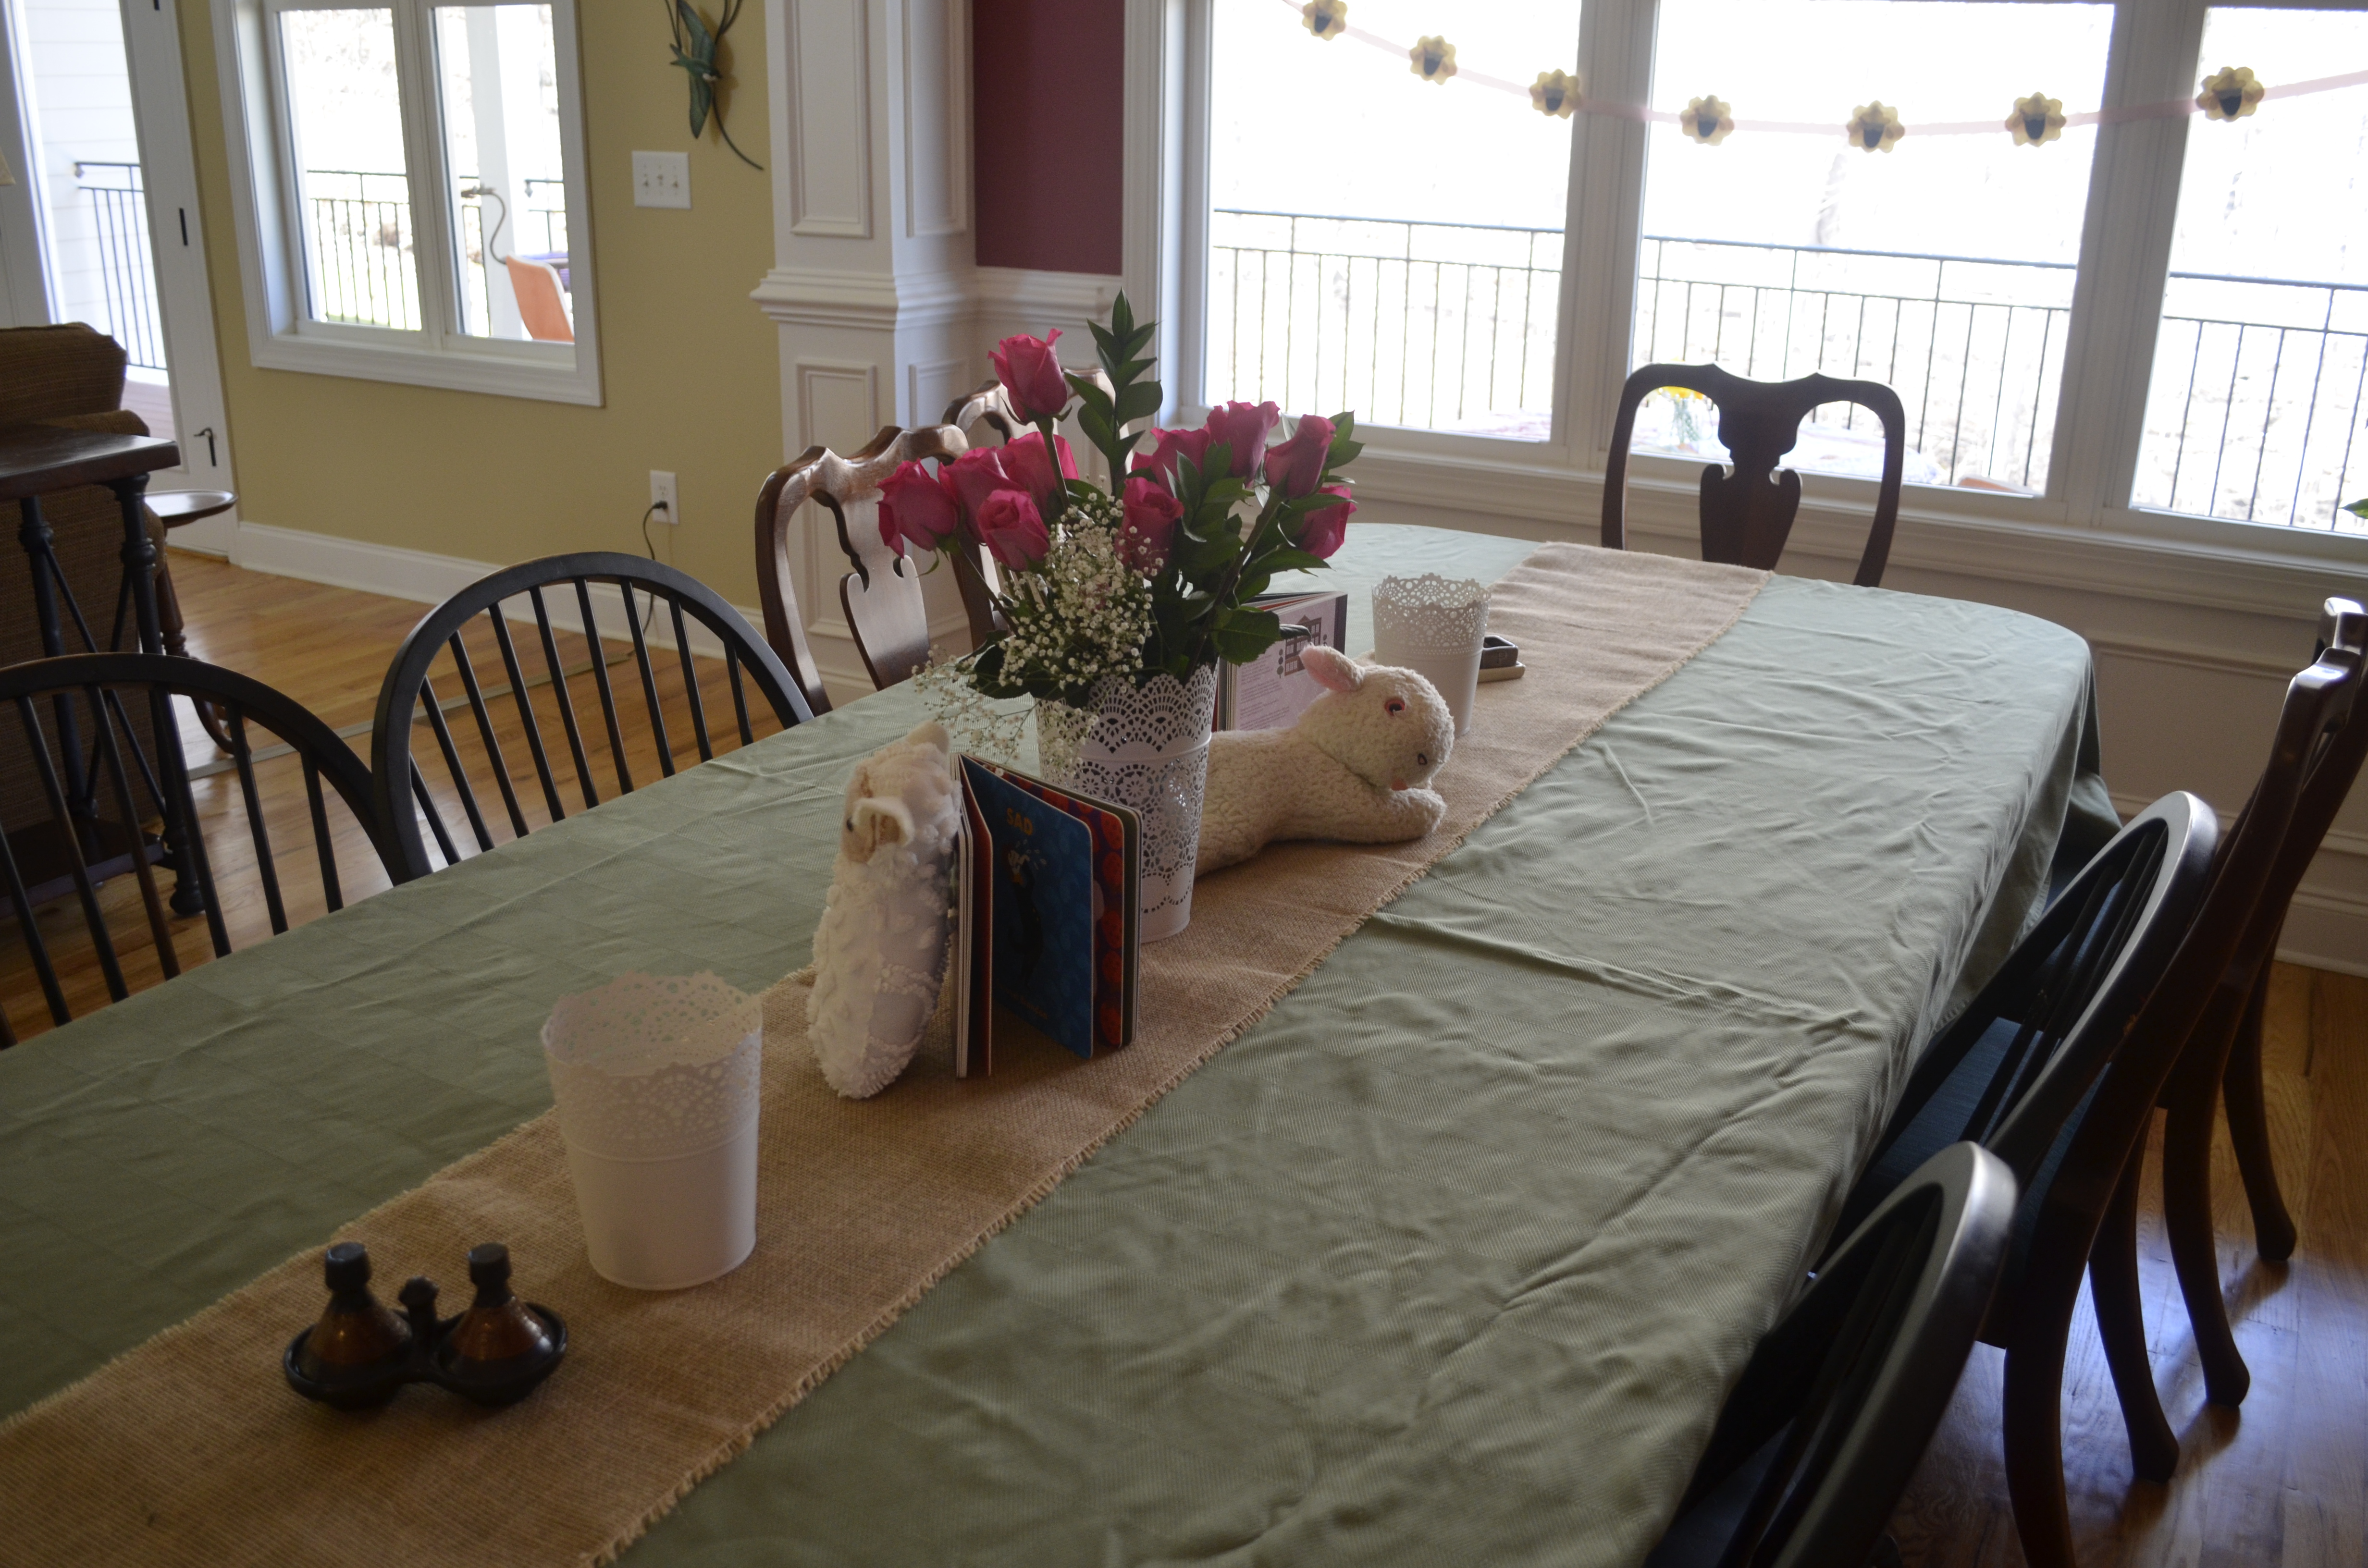
We also kept the decorations around the house simple. Mom taught me at an early age that a party is not complete without balloons. And I draped ribbon along the fireplace, hung a banner of onesies along the kitchen windows and placed stuffed toy lambs throughout the house.

_DSC0771

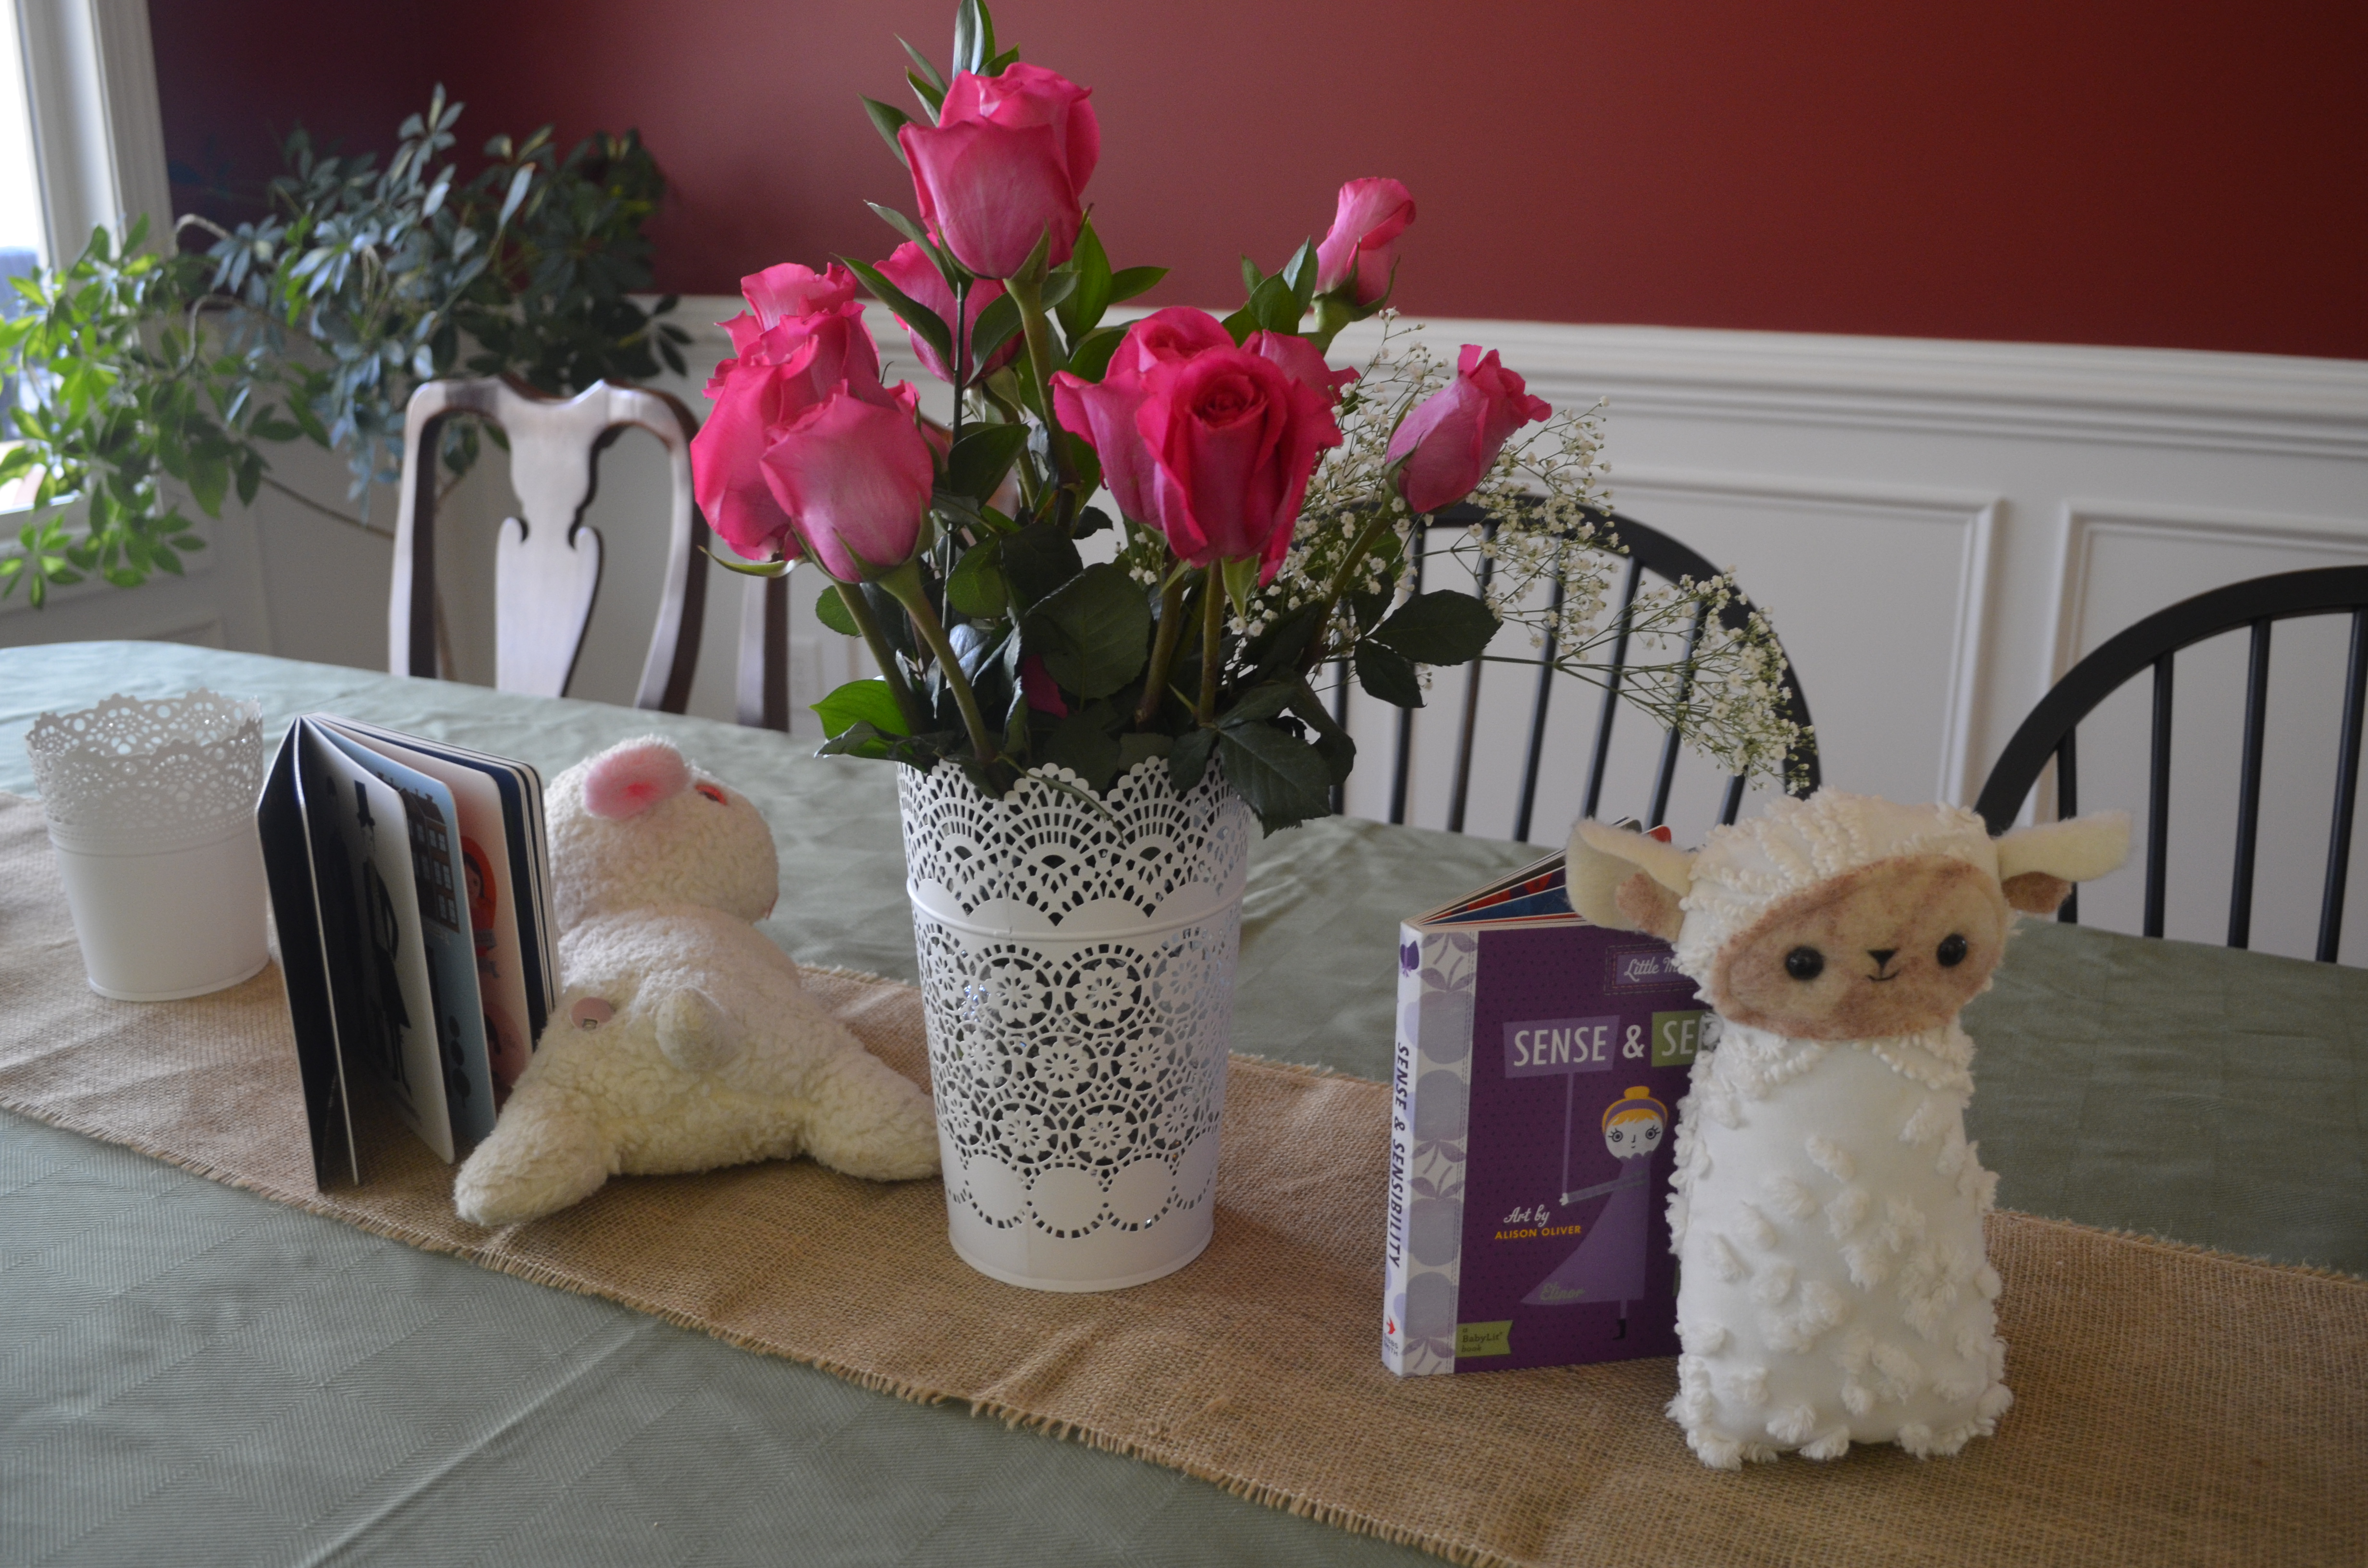
We used a lot of decor that we already owned. I had purchased these white candle holders from Ikea during Christmas. (And though I wanted to fill them with pink tulips, the store was out of them that day, and my dad purchased pink roses instead.) And you might remember the burlap table runner from my Grandma’s 80th birthday party back in December.

_DSC0765

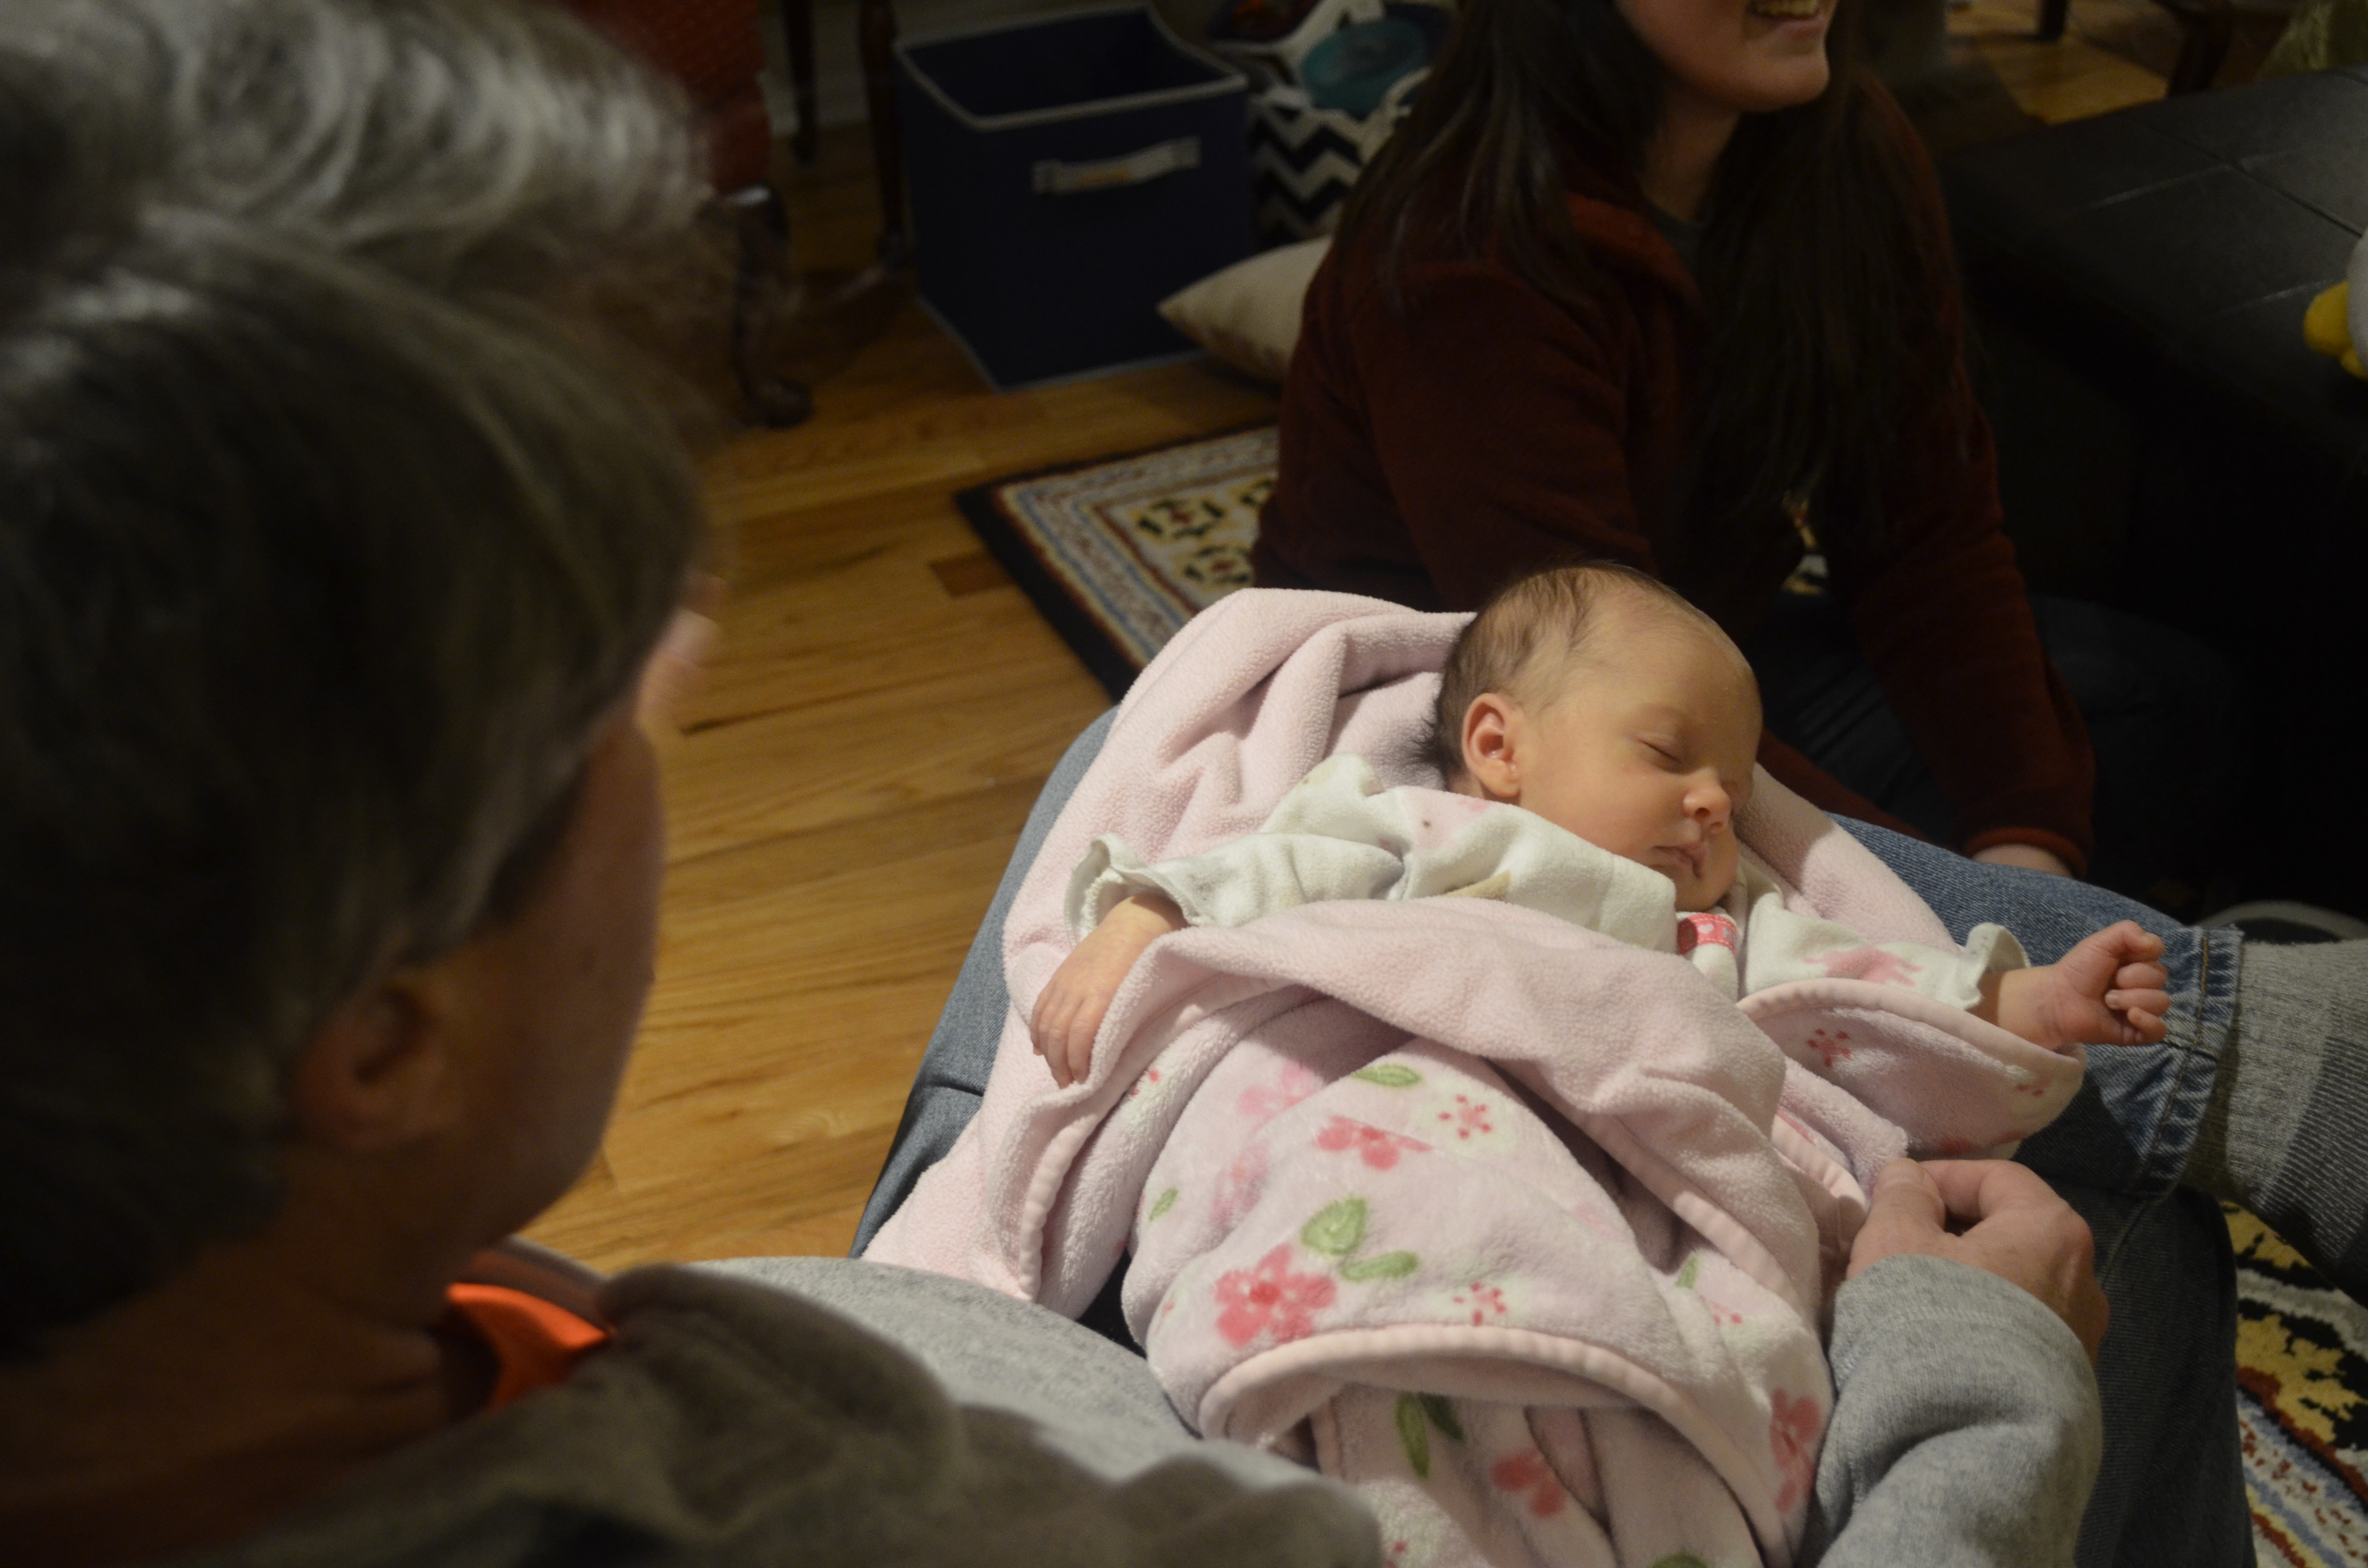
We had the most spectacular weather on the day of the party, and with so many kids in attendance, most people spent the afternoon outside, snacking on the yummy food and watching the kids run around. But – being a newborn – Kate ended up sleeping through the entire thing! But it didn’t stop anyone from loving on her. I don’t think she was ever set down; she was simply passed from person to person.

_DSC0751

I mean, come on, she’s the cutest, right!

Applique Lake Lanier Pillow

DSC_0667

There is a point early on in a sewing project when you just know that the final product is going to be fantastic. This idea – a pillow with a map of the lake my parents live on – had been floating around in my head for months. And finally, back in December (yes, this is another overdue post) I finally put the plan into action. One day at work, I found a map online that I eventually used as my template. It was that early on – before I had even picked up a piece of fabric – that I knew in my heart this pillow was going to turn out awesome!

I think it turned out to be just that.

DSC_0634

I used the map I found online as a compass, pointing me in the direction I should take the project. The map’s size decided the dimensions, and its green outline inspired me to use layers of fabric.

DSC_0635    DSC_0636

The pillow’s map has 3 layers of fabric. The first (though it may be hard to see in the pictures) is a layer of light blue tulle. The second layer is a dark denim material someone gave me as scraps. Using heat n’ bond iron-on adhesive, I cut out a rough outline of the map without the worry of fraying edges.

DSC_0644    DSC_0645

Finally, the third piece is the most detailed. Again using heat ‘n bond iron-on adhesive, I pined the map to the fabric and cut out the map along the green border. (I thought if I cut any closer, some of those tiny coves would be crazy difficult to cut out.) This piece took awhile to cut because I went nice and slow. I didn’t want to make any mistakes.

DSC_0647

With the three layers made, I ironed the denim piece with the tulle underneath to the pillow. I then did the same with the light blue piece. With everything loosely attached, I used the embroidery foot on my sewing machine to sew everything down.

DSC_0657

With the map in place, I added a few details, embroidering the lake’s name and a small compass. I then attached the back piece, placing right sides together and sewing along the edge with a 3/4-inch seam allowance. Leaving a small hole, I stuffed the pillow with poly-fil, and hand sewed the hole closed.

DSC_0673

It’s been awhile since I used my embroidery foot with my sewing machine, and for me, it’s take a few minutes before I feel like I have the hang on it. But even in it’s imperfect moments, I love the free-form look of this sewing foot creates. For me, it just enhances the homemade quality.

DSC_0671

After attaching the lake map, I felt like the pillow still needed something extra. I knew I wanted to embroider the lake’s name, but the idea of the compass came to me at the last minute. It was the perfect finishing touch.

DSC_0674

Overall, this pillow is of great quality. I used canvas for the front of the pillow and a thick, blue cotton fabric for the back. Both pieces were in my collect of scrap fabric, so I don’t know about cost. But I do know the fabric choice helps make the pillow feels so sturdy.

DSC_0669The pillow now lives in my parents’ kitchen in a cute sitting area they created (instead of having a kitchen table). On a good winter day, you could stand up from this spot and see the lake through the windows. I couldn’t think of a better home.


Anthropologie-Inspired Felt Christmas Stocking

IMG_4921I know, I know. I’m writing about my Christmas stocking in the final days of January, but to my defense, this month has flown by. I’m ready to flip my calendar to February with hopeful thoughts that next month won’t be as crazy.

But back to Christmas: this year I decided I wanted to buy a nice Christmas stocking, one that I would treasure year after year. When I stumbled across this stocking at Anthropologie, I was instantly smitten, but the price tag made me think twice. The thought is almost reflexive at this point: I could totally make this!

IMG_4907I’ll keep the picture of the Anthopologie stocking small because when placed side-by-side, my stocking looks pretty “crafty” in comparison. The difference is in the quality. I’m sure Anthopologie used expensive wool. I used acrylic felt from Hobby Lobby. They used these adorable mini pom poms with a trendy color pallet. I was stuck with the primary colored trim selection at JoAnn Fabrics.

Don’t get me wrong, I love how my stocking turned out, especially when you compare the price. I spent about $8. The item is now out of stock, but I remember Anthropologie selling it for almost $50.

IMG_4916

In my excitement of the project (plus, I made it really late at night and the lighting would have been a mess), I didn’t take many step-by-step pictures. But the process doesn’t venture far from a normal Christmas stocking tutorial. After cutting out the main piece of the stocking, I simply attached rows of trim. And instead of using my sewing machine, I used a blanket stitch to hand sew the stocking together. I used light blue thread to provide a little contrast.

My final touch was the accent of purple and magenta yarn pom poms. I hunted for the white yarn in the similar style, but after going to a few stores, I felt lucky to have stumbled across the purple yarn. So I made it work!

I’m sure when Christmas comes around this year, I’ll go through the same thought process of wanting a buy nice stocking. But for now, I’m excited that this Christmas stocking is mine.

Felt Christmas Poinsettia

il_570xN.695859870_5bn6

When I came home with the wrong size terra cotta pots (The felt cactuses I sell on Etsy use 3-inch pots; I purchased 2-inch pots), I decided to make the most of my mistake. The result were these adorable, mini felt poinsettias.

il_570xN.695859804_lv22   il_570xN.695983863_gjil

Similar to the felt cactuses I sell, each flower is attached to felt “dirt” and come with a real clay pot.  Teach your little ones to love gardening early on as they can “plant” their flowers over and over again. (And bonus, no mess to clean up or dead plants to deal with.)

il_570xN.695859840_lphd

To create the flower, I used a similar approach to how I create the cactus flower. I took a small rectangle of yellow felt and cut slits along the width. I did the same with a small white rectangular piece of felt. I then rolled up the yellow felt and continued with the white, creating the center. Next, I hand-cut the red petals (sorry, I don’t have templates) – 5 smaller petals and 5 slightly larger ones – and 4 large green leaves. I then attach them one-by-one until the flower is complete.

il_570xN.695983941_r84u

The miniature size is what gets me. My gosh, these flowers are just so darn cute!

Rosemary Wreaths

IMG_4981

Growing up, my mother had the best mottos to live by. My favorite: “Always know what makes you happy.” So when the struggles of life seem too much to handle, you know what activities or items can help pull you up. For me, crafting is my go-to tool for happiness.

My Thanksgiving was a week of personal struggles. I had to have surgery on my left eye. The anticipation was a heavy mental burden, and the post-op pain and physical injury was not easy either. So on Sunday after my surgery, when I was finally starting to feel more normal, I sat down and created a simple rosemary wreath.

I didn’t worry about taking pictures of my process (sorry), but trust me, rosemary wreaths are so easy to create. And I was able to use items I already had available.

I used an embroidery hoop as my wreath’s base. (You could use so many other forms, but this is something I already had at the house). Using more heavy-duty scissors, I cut 8-inch sprigs of rosemary from my parent’s garden. Then I made small bundles (with 2 or 3 sprigs each) and use a rubber band to secure each one. Then I used floral wire to secure each bundle to the embroidery hoop. And if necessary, I used the floral wire to secure a few odd sprigs that didn’t flow well in the circular shape.

And that’s it. The 30 minutes it took to create this wreath did wonders for my overall well-being. Plus, it made the room smell so wonderful! Pardon the cheesiness, but these moments of happiness are the best kind of medicine.

[Felt] Leaves are in the Air

Do you find it strange that fall is so colorful? I mean, not to get too philosophical, but even in the midst of the dying leaves, natures bursts forth a new color spectrum. God is pretty spectacular.

And those my felt leaves in no way compare to the real thing, they are still fun to make!

IMG_4634

My friend Melissa asked me to make a bunch of felt leaves she could use to create a wreath. She wanted a variety of shapes and colors, so I happily obliged. After cutting out the leaves (I did use stencils for some of them), I used thread to stitch in the veins. But since I knew she wanted to make a wreath, I didn’t care to cover up the back side.

IMG_4630

With the leaves, Melissa wrapped a foam ring with raffia and used a hot glue fun to attach the leaves. The finished product came together wonderfully! I love it so much, I feel like I need to make another one for myself!

IMG_4665