It was about this time last year that I took this picture. It was in the midst of Birmingham’s Snowpocalypse 2014, and with the office closed and roads a mess, I had nothing better to do than start a quilt. Now – more than a year later – I found the motivation to pick up where I left off with the hopes of finishing my first full-size quilt before the end of March.
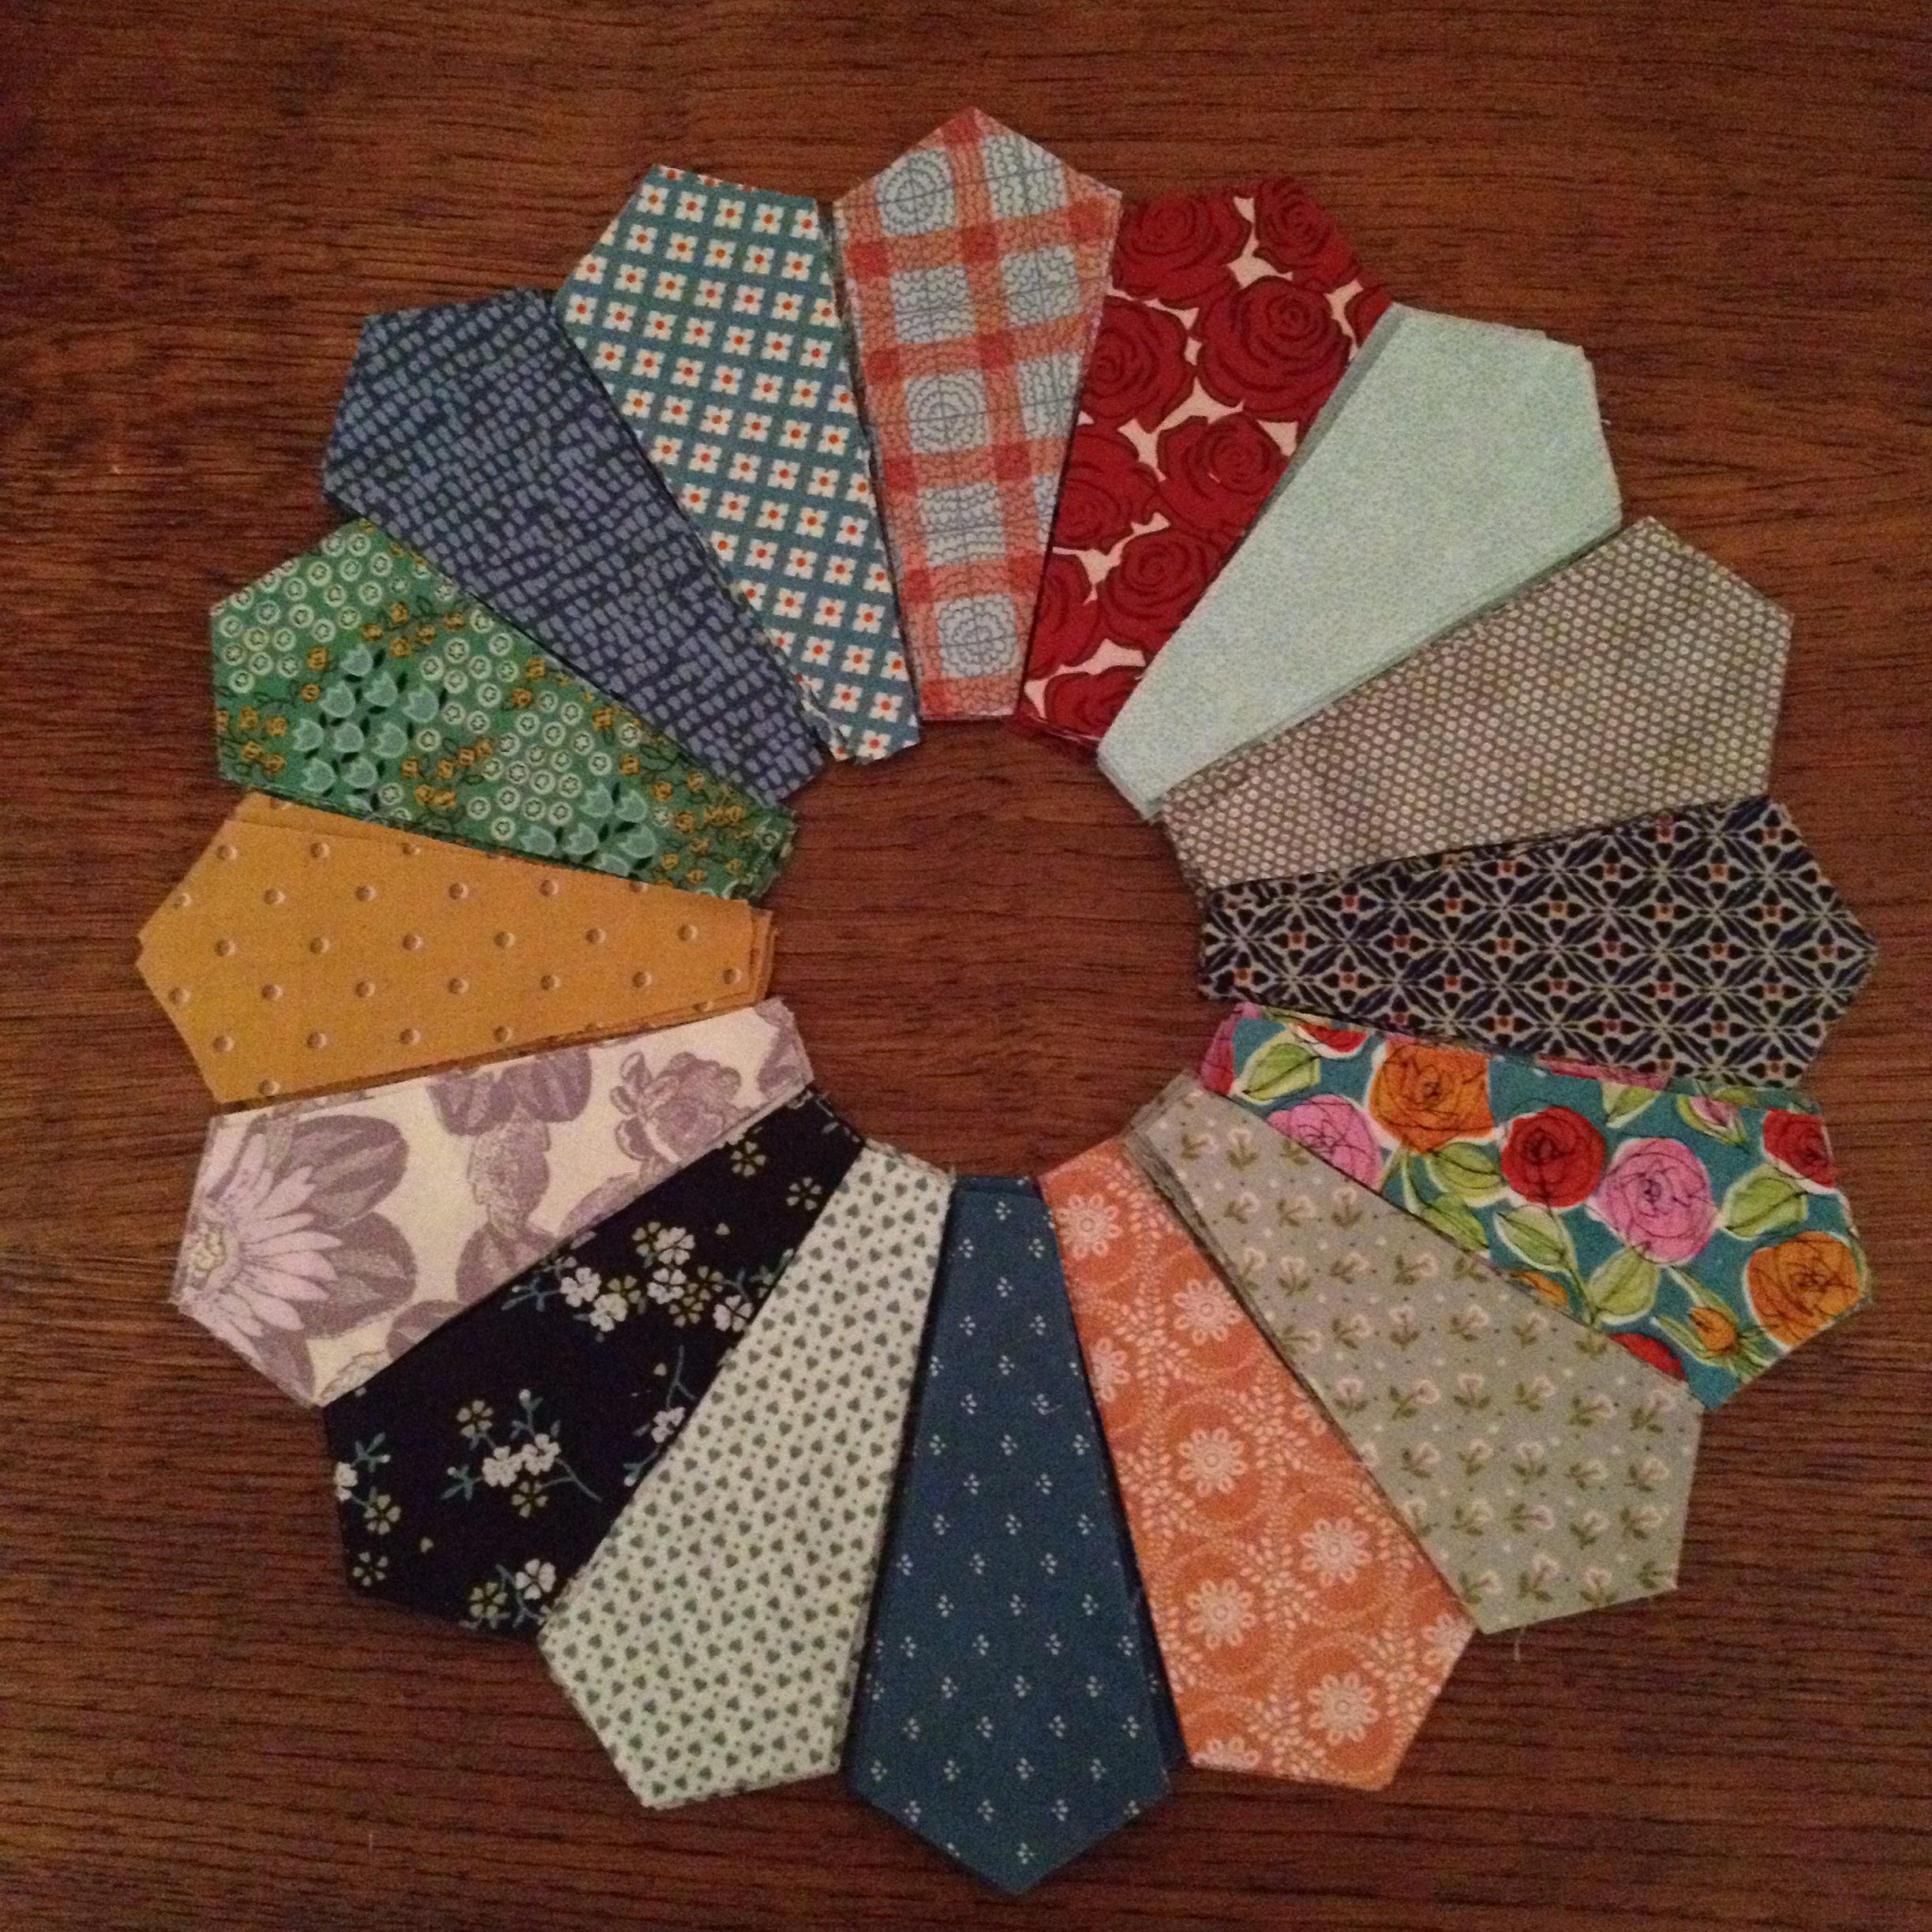
The pattern is called the Dresden plate. (I also heard it be called the flower or floral plate.) The idea has been floating around in my head ever since I finished my last quilt (as my Pinterest board can attest.) Finally, I bit the bullet (a year ago) and purchased the template blocks and got started.

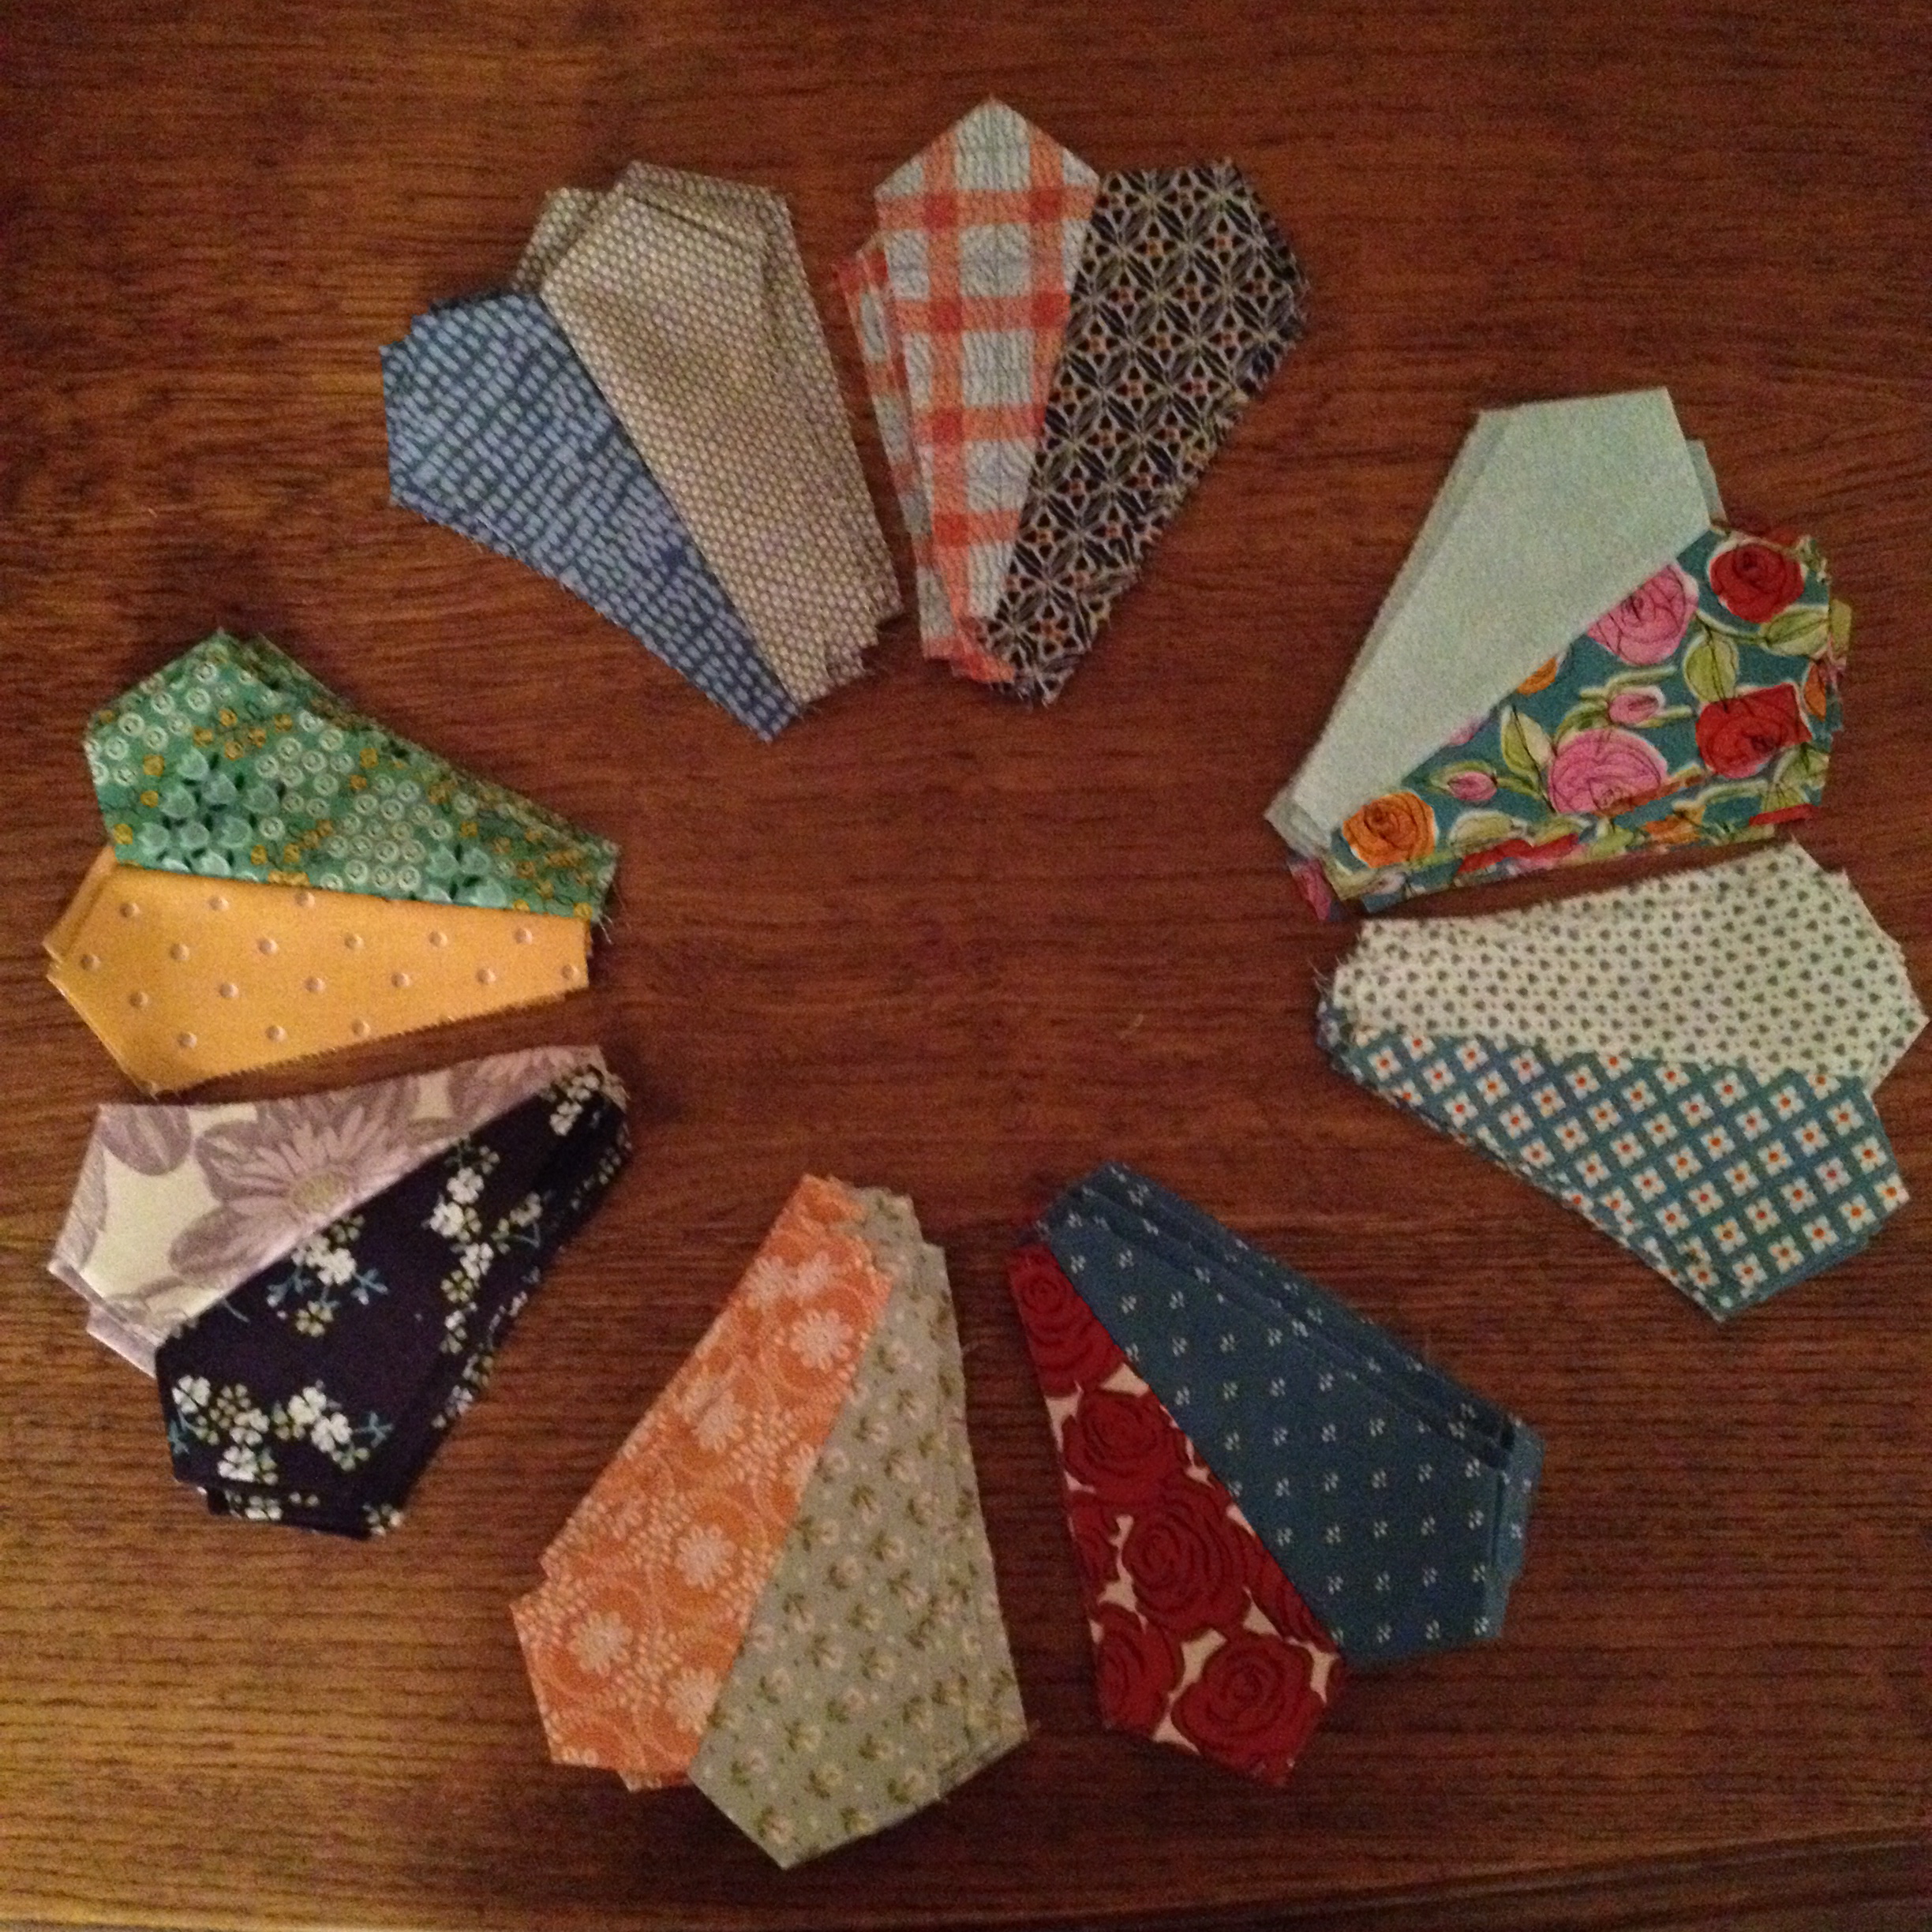
Piecing this pattern is a two step process that involves a lot of ironing. Step one: cut out the pieces. I used the template, a rotary cutter and mat to cut out each piece. I then took the top of each piece (where the fabric comes to a point), folded over a 1/4 inch seam allowance and pressed the seams. Step two: sew pieces together in sections. Instead of sewing the ring together piece by piece, it is much easier to work in sections: sewing pieces into pairs – stop and iron – then pairs to quarters – stop and iron – quarters to halves – stop and iron – and finally 2 halves into 1 whole circle.

With a plate completed, the next step is to applique it to a block of fabric. For my quilt, I cut each block to measure 15 x 15 inches.
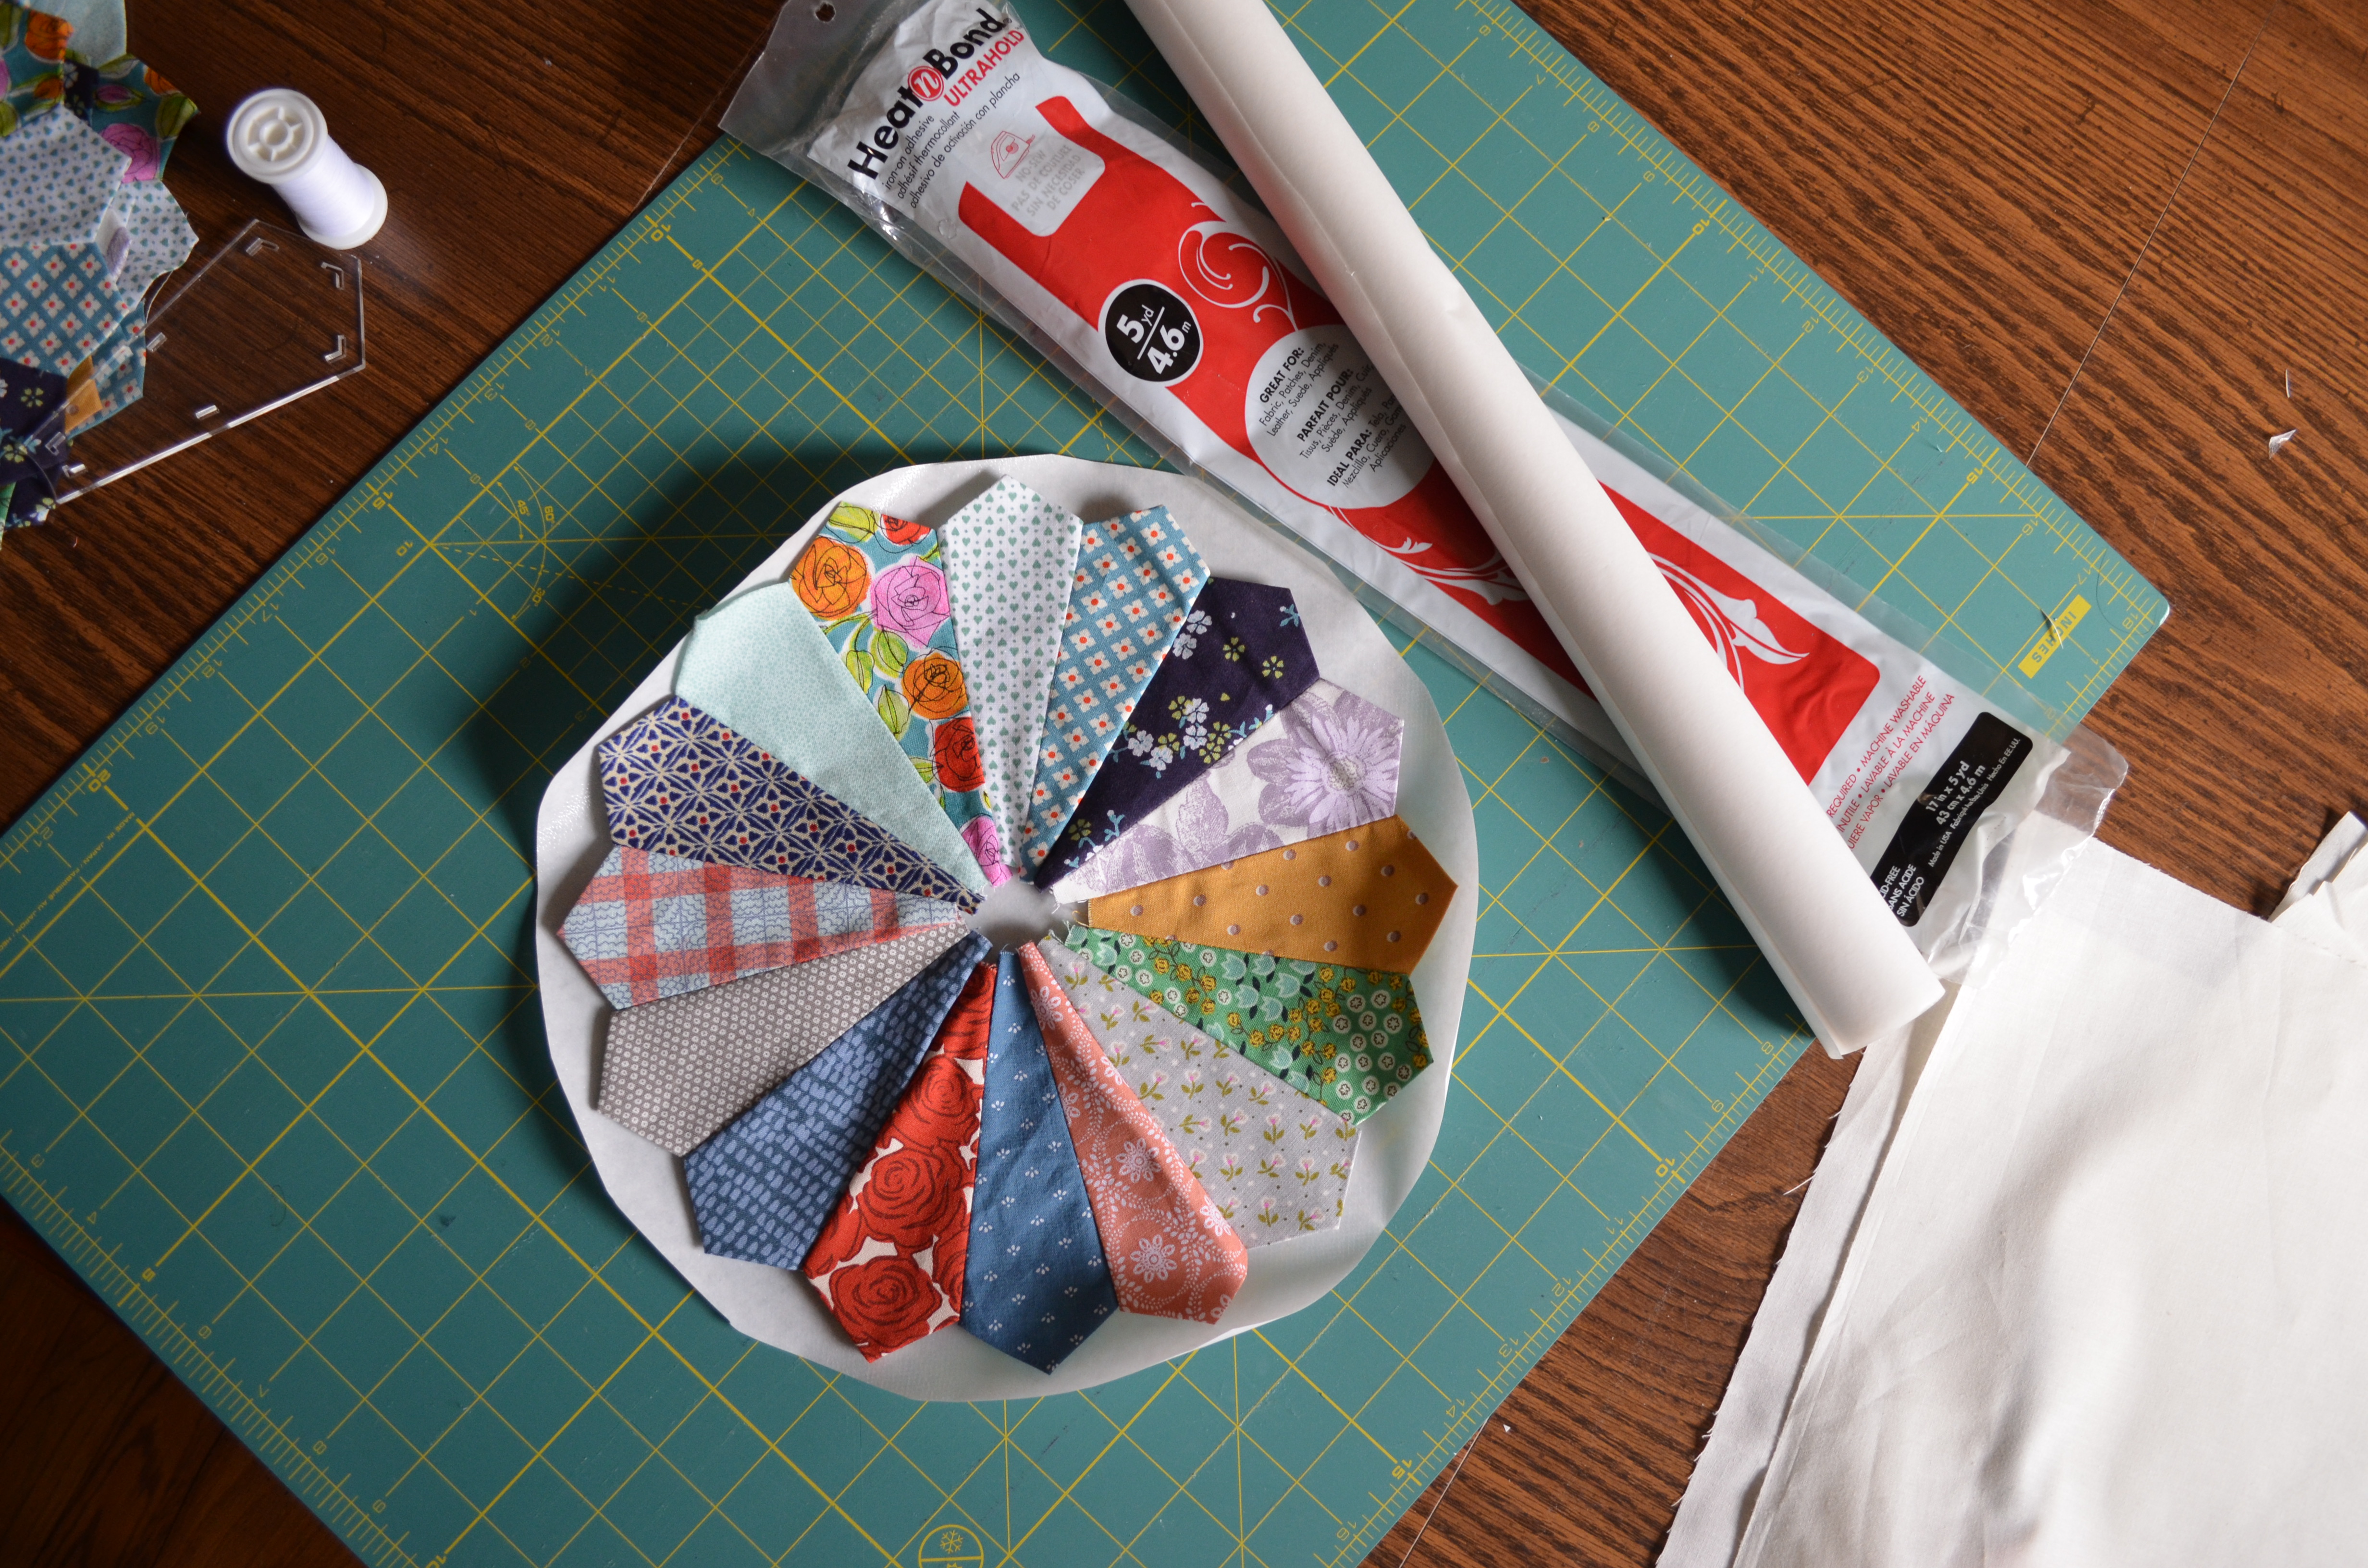
Now some tutorials will show you how to hand-applique the plate in place, but I decided to cheat and use heat n’ bond iron-on adhesive. I cut a piece of adhesive to be smaller than the plate, leaving the outer points untouched. (A downside of using iron-on adhesive is that it will make the fabric stiffer, but I find it so helpful in keeping the fabric in place.)

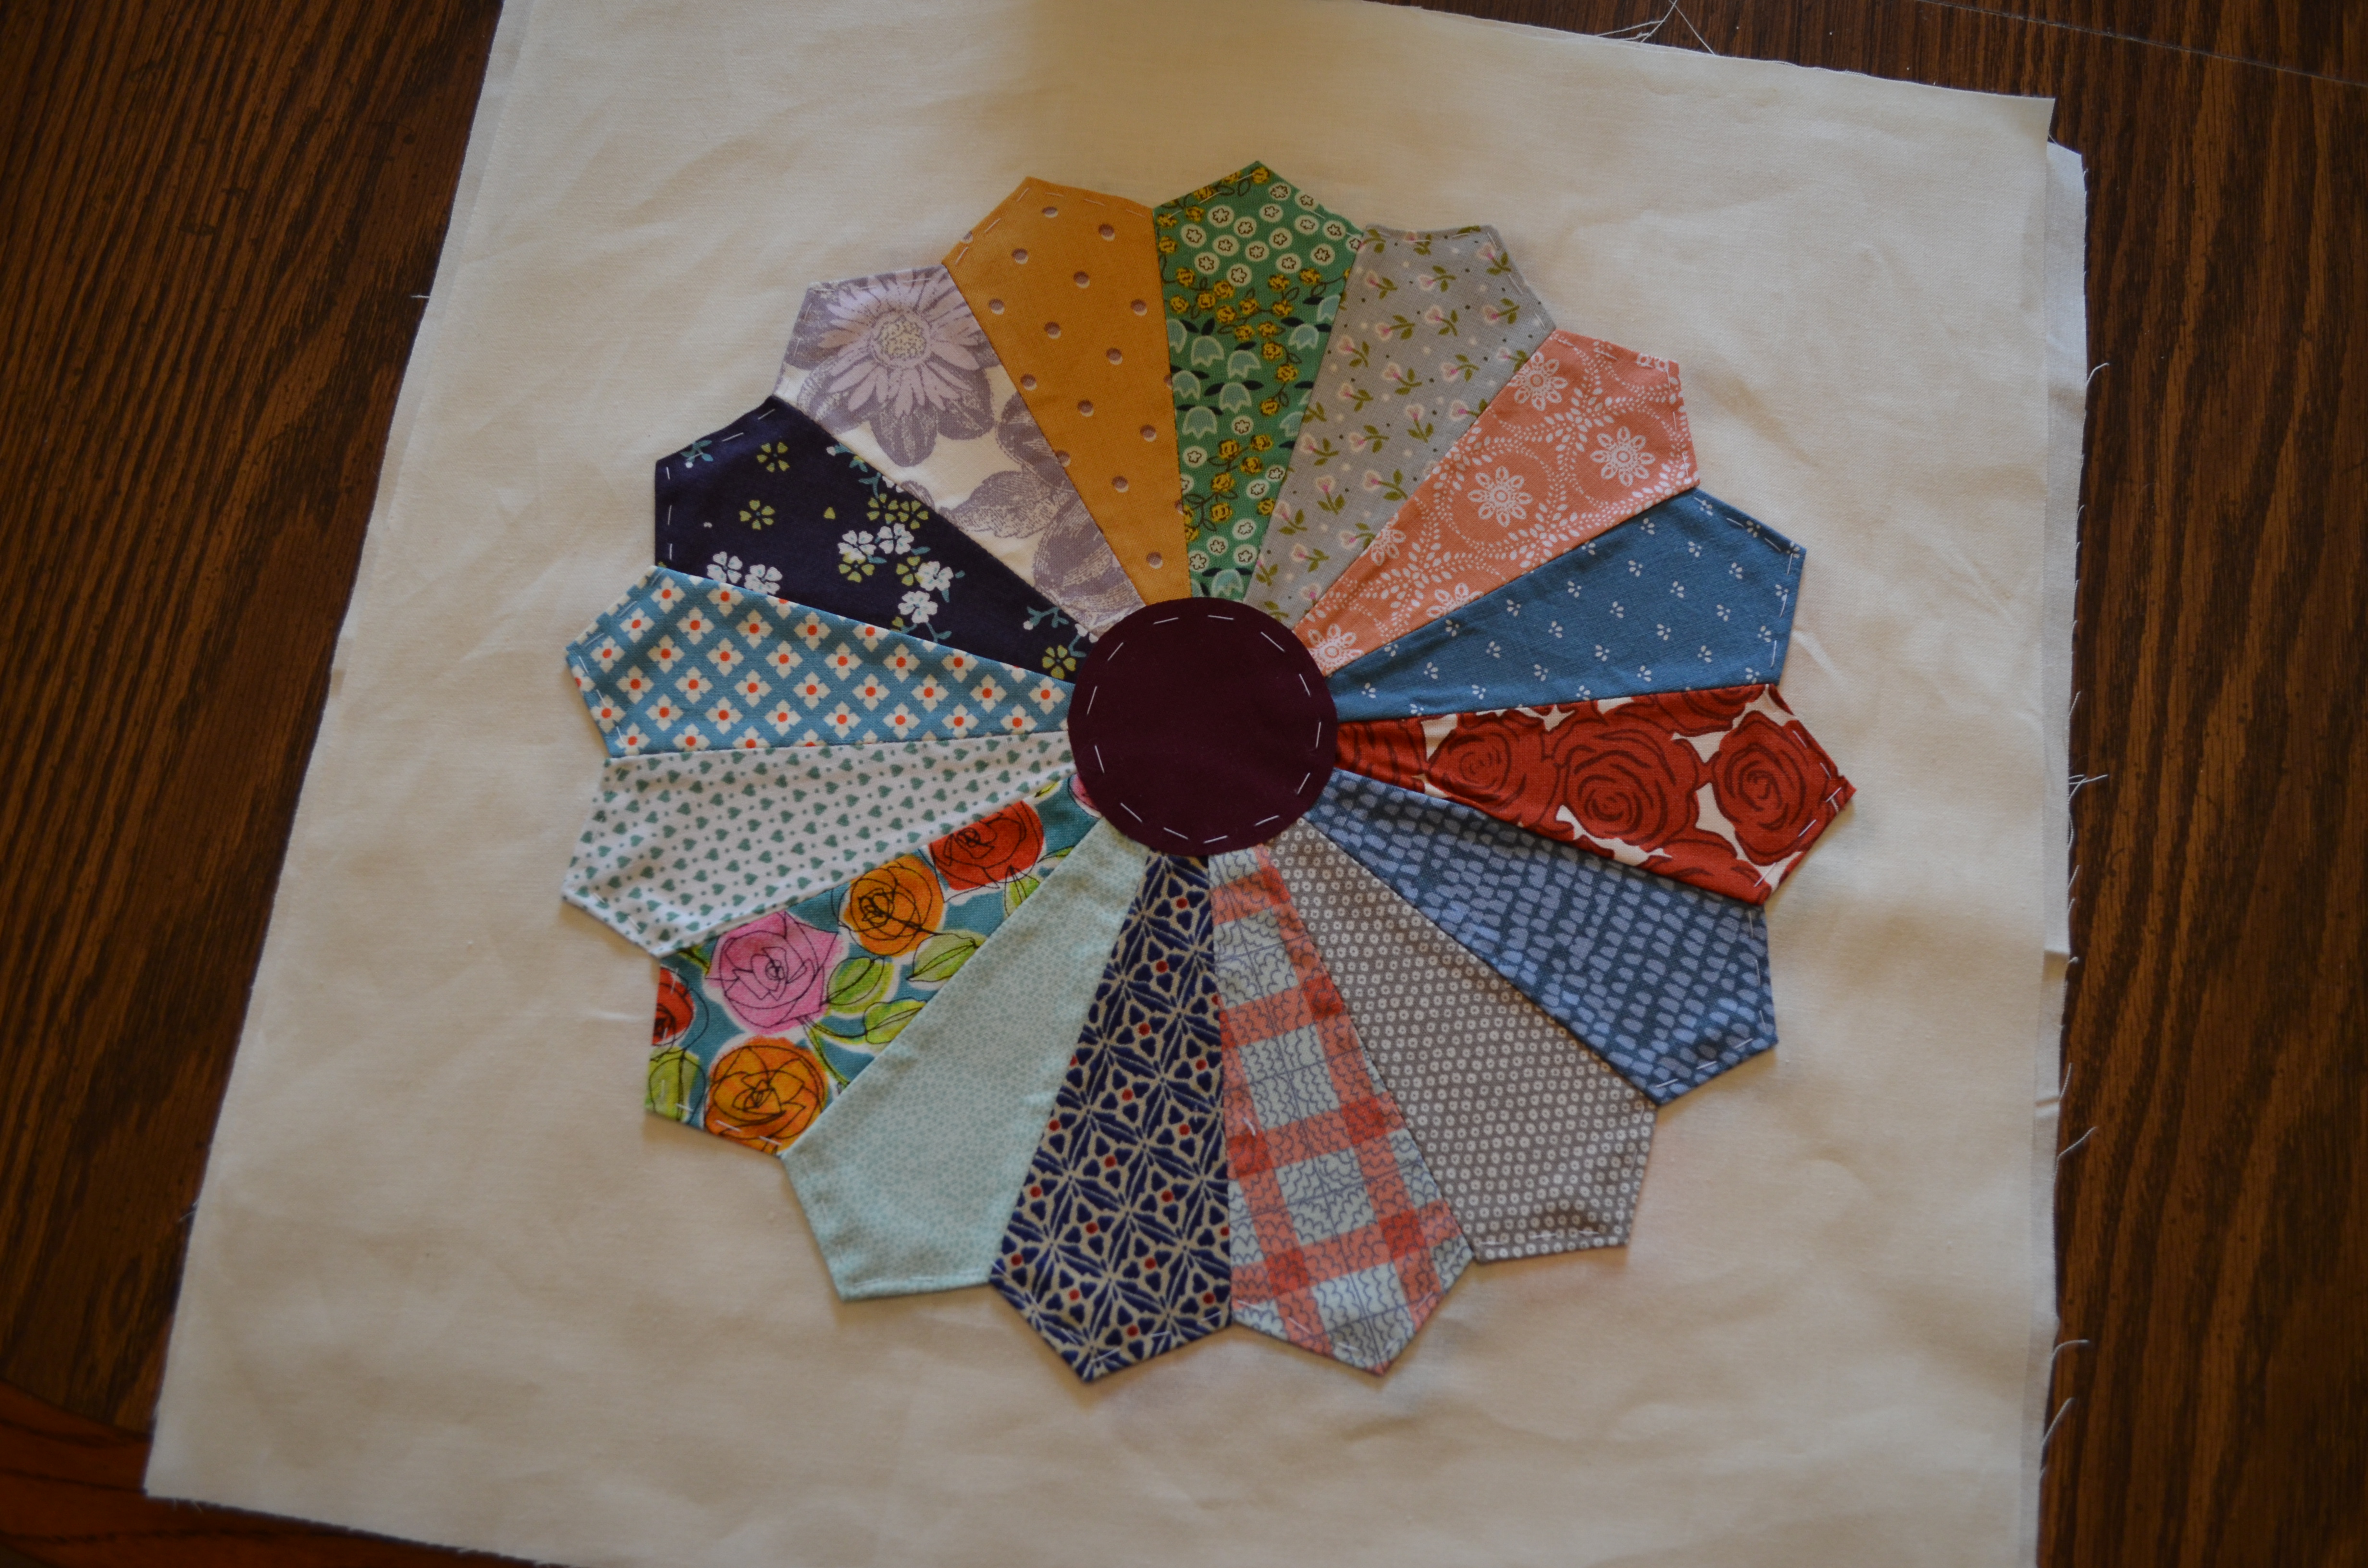
After ironing the piece of adhesive to the plate, I peeled off the back side, placed the plate in the center of the block and ironed it in place.


Next, I cut the center circle. Instead of pressing the seams, I decided to use the heat n’ bond to avoid frayed edges. (This may back fire on my one day, but for now, it makes this step super easy.) I simply ironed the circle in place.

Finally, I hand stitched the outer edge and center circle to help secure everything in place. (Plus, I think the stitching enhances the overall look.)
For my quilt, I need 35 of these blocks, and I have made 10 so far. So I have quite the feat in front of me. In the meantime, feel free to visit my Patchwork Pinterest board. (And remind me I cannot start a new quilt until I finish this one!)
