Felt Christmas Poinsettia

il_570xN.695859870_5bn6

When I came home with the wrong size terra cotta pots (The felt cactuses I sell on Etsy use 3-inch pots; I purchased 2-inch pots), I decided to make the most of my mistake. The result were these adorable, mini felt poinsettias.

il_570xN.695859804_lv22   il_570xN.695983863_gjil

Similar to the felt cactuses I sell, each flower is attached to felt “dirt” and come with a real clay pot.  Teach your little ones to love gardening early on as they can “plant” their flowers over and over again. (And bonus, no mess to clean up or dead plants to deal with.)

il_570xN.695859840_lphd

To create the flower, I used a similar approach to how I create the cactus flower. I took a small rectangle of yellow felt and cut slits along the width. I did the same with a small white rectangular piece of felt. I then rolled up the yellow felt and continued with the white, creating the center. Next, I hand-cut the red petals (sorry, I don’t have templates) – 5 smaller petals and 5 slightly larger ones – and 4 large green leaves. I then attach them one-by-one until the flower is complete.

il_570xN.695983941_r84u

The miniature size is what gets me. My gosh, these flowers are just so darn cute!

Rosemary Wreaths

IMG_4981

Growing up, my mother had the best mottos to live by. My favorite: “Always know what makes you happy.” So when the struggles of life seem too much to handle, you know what activities or items can help pull you up. For me, crafting is my go-to tool for happiness.

My Thanksgiving was a week of personal struggles. I had to have surgery on my left eye. The anticipation was a heavy mental burden, and the post-op pain and physical injury was not easy either. So on Sunday after my surgery, when I was finally starting to feel more normal, I sat down and created a simple rosemary wreath.

I didn’t worry about taking pictures of my process (sorry), but trust me, rosemary wreaths are so easy to create. And I was able to use items I already had available.

I used an embroidery hoop as my wreath’s base. (You could use so many other forms, but this is something I already had at the house). Using more heavy-duty scissors, I cut 8-inch sprigs of rosemary from my parent’s garden. Then I made small bundles (with 2 or 3 sprigs each) and use a rubber band to secure each one. Then I used floral wire to secure each bundle to the embroidery hoop. And if necessary, I used the floral wire to secure a few odd sprigs that didn’t flow well in the circular shape.

And that’s it. The 30 minutes it took to create this wreath did wonders for my overall well-being. Plus, it made the room smell so wonderful! Pardon the cheesiness, but these moments of happiness are the best kind of medicine.

Felt Gingerbread Cookies

When you think about iconic Christmas food, what comes to mind? For me, Christmas is all about gingerbread cookies. My loyal readers already know the amount of time I spend and the joy I have making Christmas cookies each year. (For you newcomers, click here and here for reference.) So when it come time to add a few Christmas items to my Etsy shop, I could stop myself.

il_570xN.683588826_6cq5

I didn’t just want to make felt gingerbread cookies. Because even though the felt cookies turned out so darn cute, the fun is in the baking.

il_570xN.683708045_1y9u

The set includes everything pictured above: 3 decorated [felt] cookies, a sheet of rolled out [felt] dough and the actual cookie cutter to match. (all for $12 – what a steal!)

il_570xN.683707825_q1qa

I didn’t try to make the cookies from the cut outs in the dough. This would have too much room for error. So I cut the cookies out (using a 99 cent cookie cutter from Target) from spare felt and use white felt to adorn them.

il_570xN.683588728_pu36

For the dough, I traced and cut out the cookie cutter shapes. I placed a layer of batting (leftover from a quilt project) between the two pieces of felt, and blanket-stitched the edges. The batting add some dimension to the dough, which I hope makes it more realistic when a child “rolls” it out.

il_570xN.683708083_ldou

I tried to leave as much room for a child’s imagination to go wild. Cookies fit the dough like a puzzle. And since the set includes the actual cookie cutter, they can pretend to “roll,” “cut out” and “bake” cookies all day long.

il_570xN.683468892_sp4k

I also made a set with Christmas tree cookies. Same idea, different shape (and same unbeatable price)!


Felt Dr. Who Christmas Stocking

IMG_4786

The best kinds of custom orders are the ones that give you a topic you could run with. For this project, my friend asked if I could make something out of felt relating to Christmas and Dr. Who. So my first thought – a Tardis Christmas stocking!

The idea was solidified by a picture I saw on Pinterest. (It’s so hard to have an original idea these days.) But in the picture, it looked like everything was glued down, and I decided to sew everything in place instead. Plus, I added the touch of holly and a wreath to add to the Christmas theme.

It’s not a large stocking, but it’ll be perfect to hang at your desk, in a school locker or on a door handle. Send me a message via my contact page if you want to place a custom order for yourself!

Woodlawn Street Market

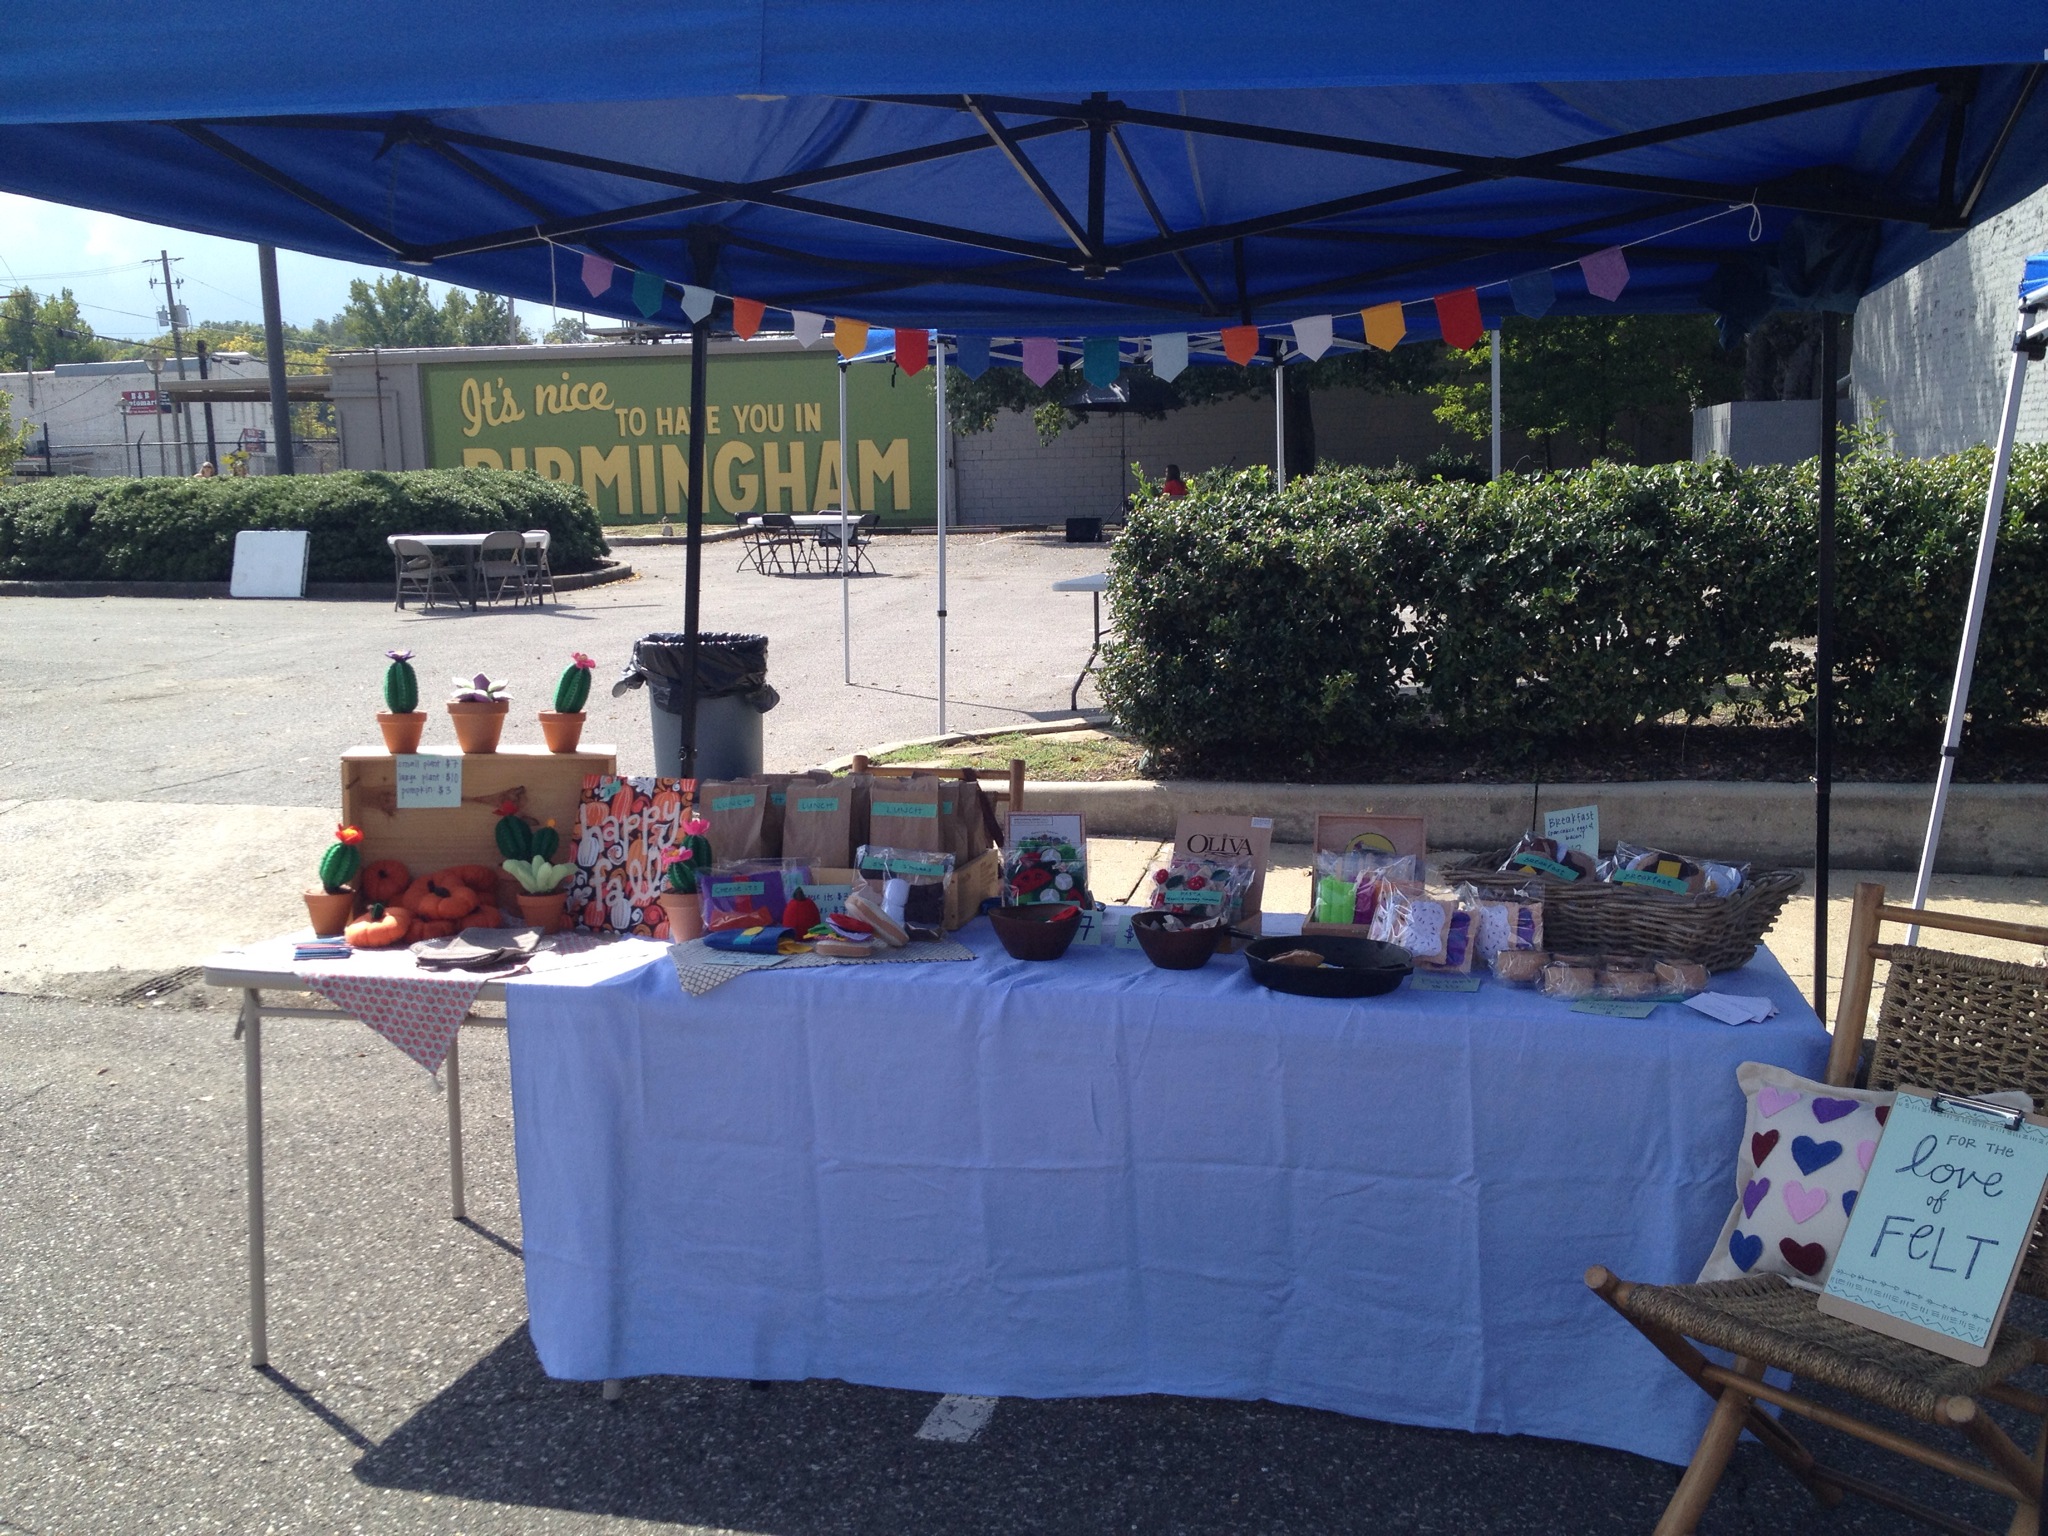
I find that life gives you opportunities to jump into the deep end of the pool, and when those opportunities come, you just have to plug your nose and go for it. About a month ago, I signed up to participate in the Woodlawn Street Market, and whether I was ready for it or not, it was time to see how well my felt goods could sell outside of Etsy.

The day turned out to be a success. Though the market was pretty small (it had about 25 vendors), I was happy to make a  handful of sales and walk away with a little over $100 in profits.

Somethings are best learned through experience, and when it comes to being a vendor, I think this statement holds true. But for those of you who are looking to try a craft fair or street market for the first time, here are the lessons I learned from my first experience.

IMG_4733

Lesson #1: How much inventory should I bring?

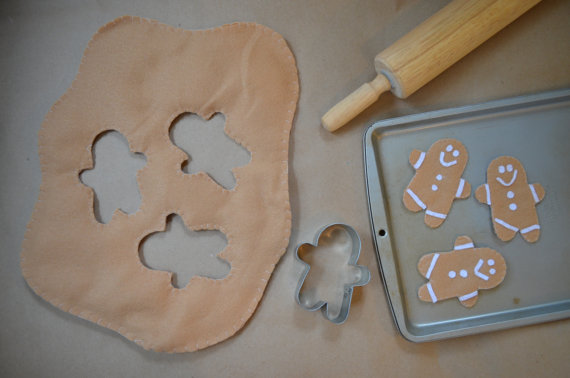
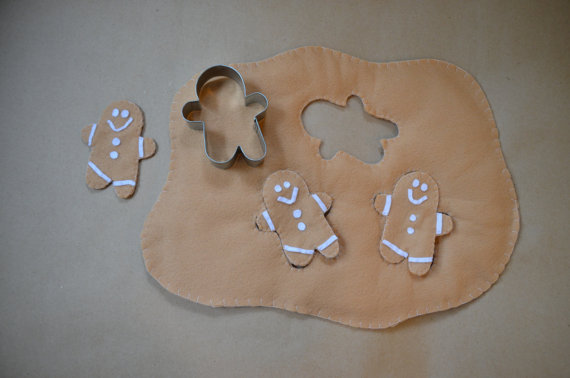
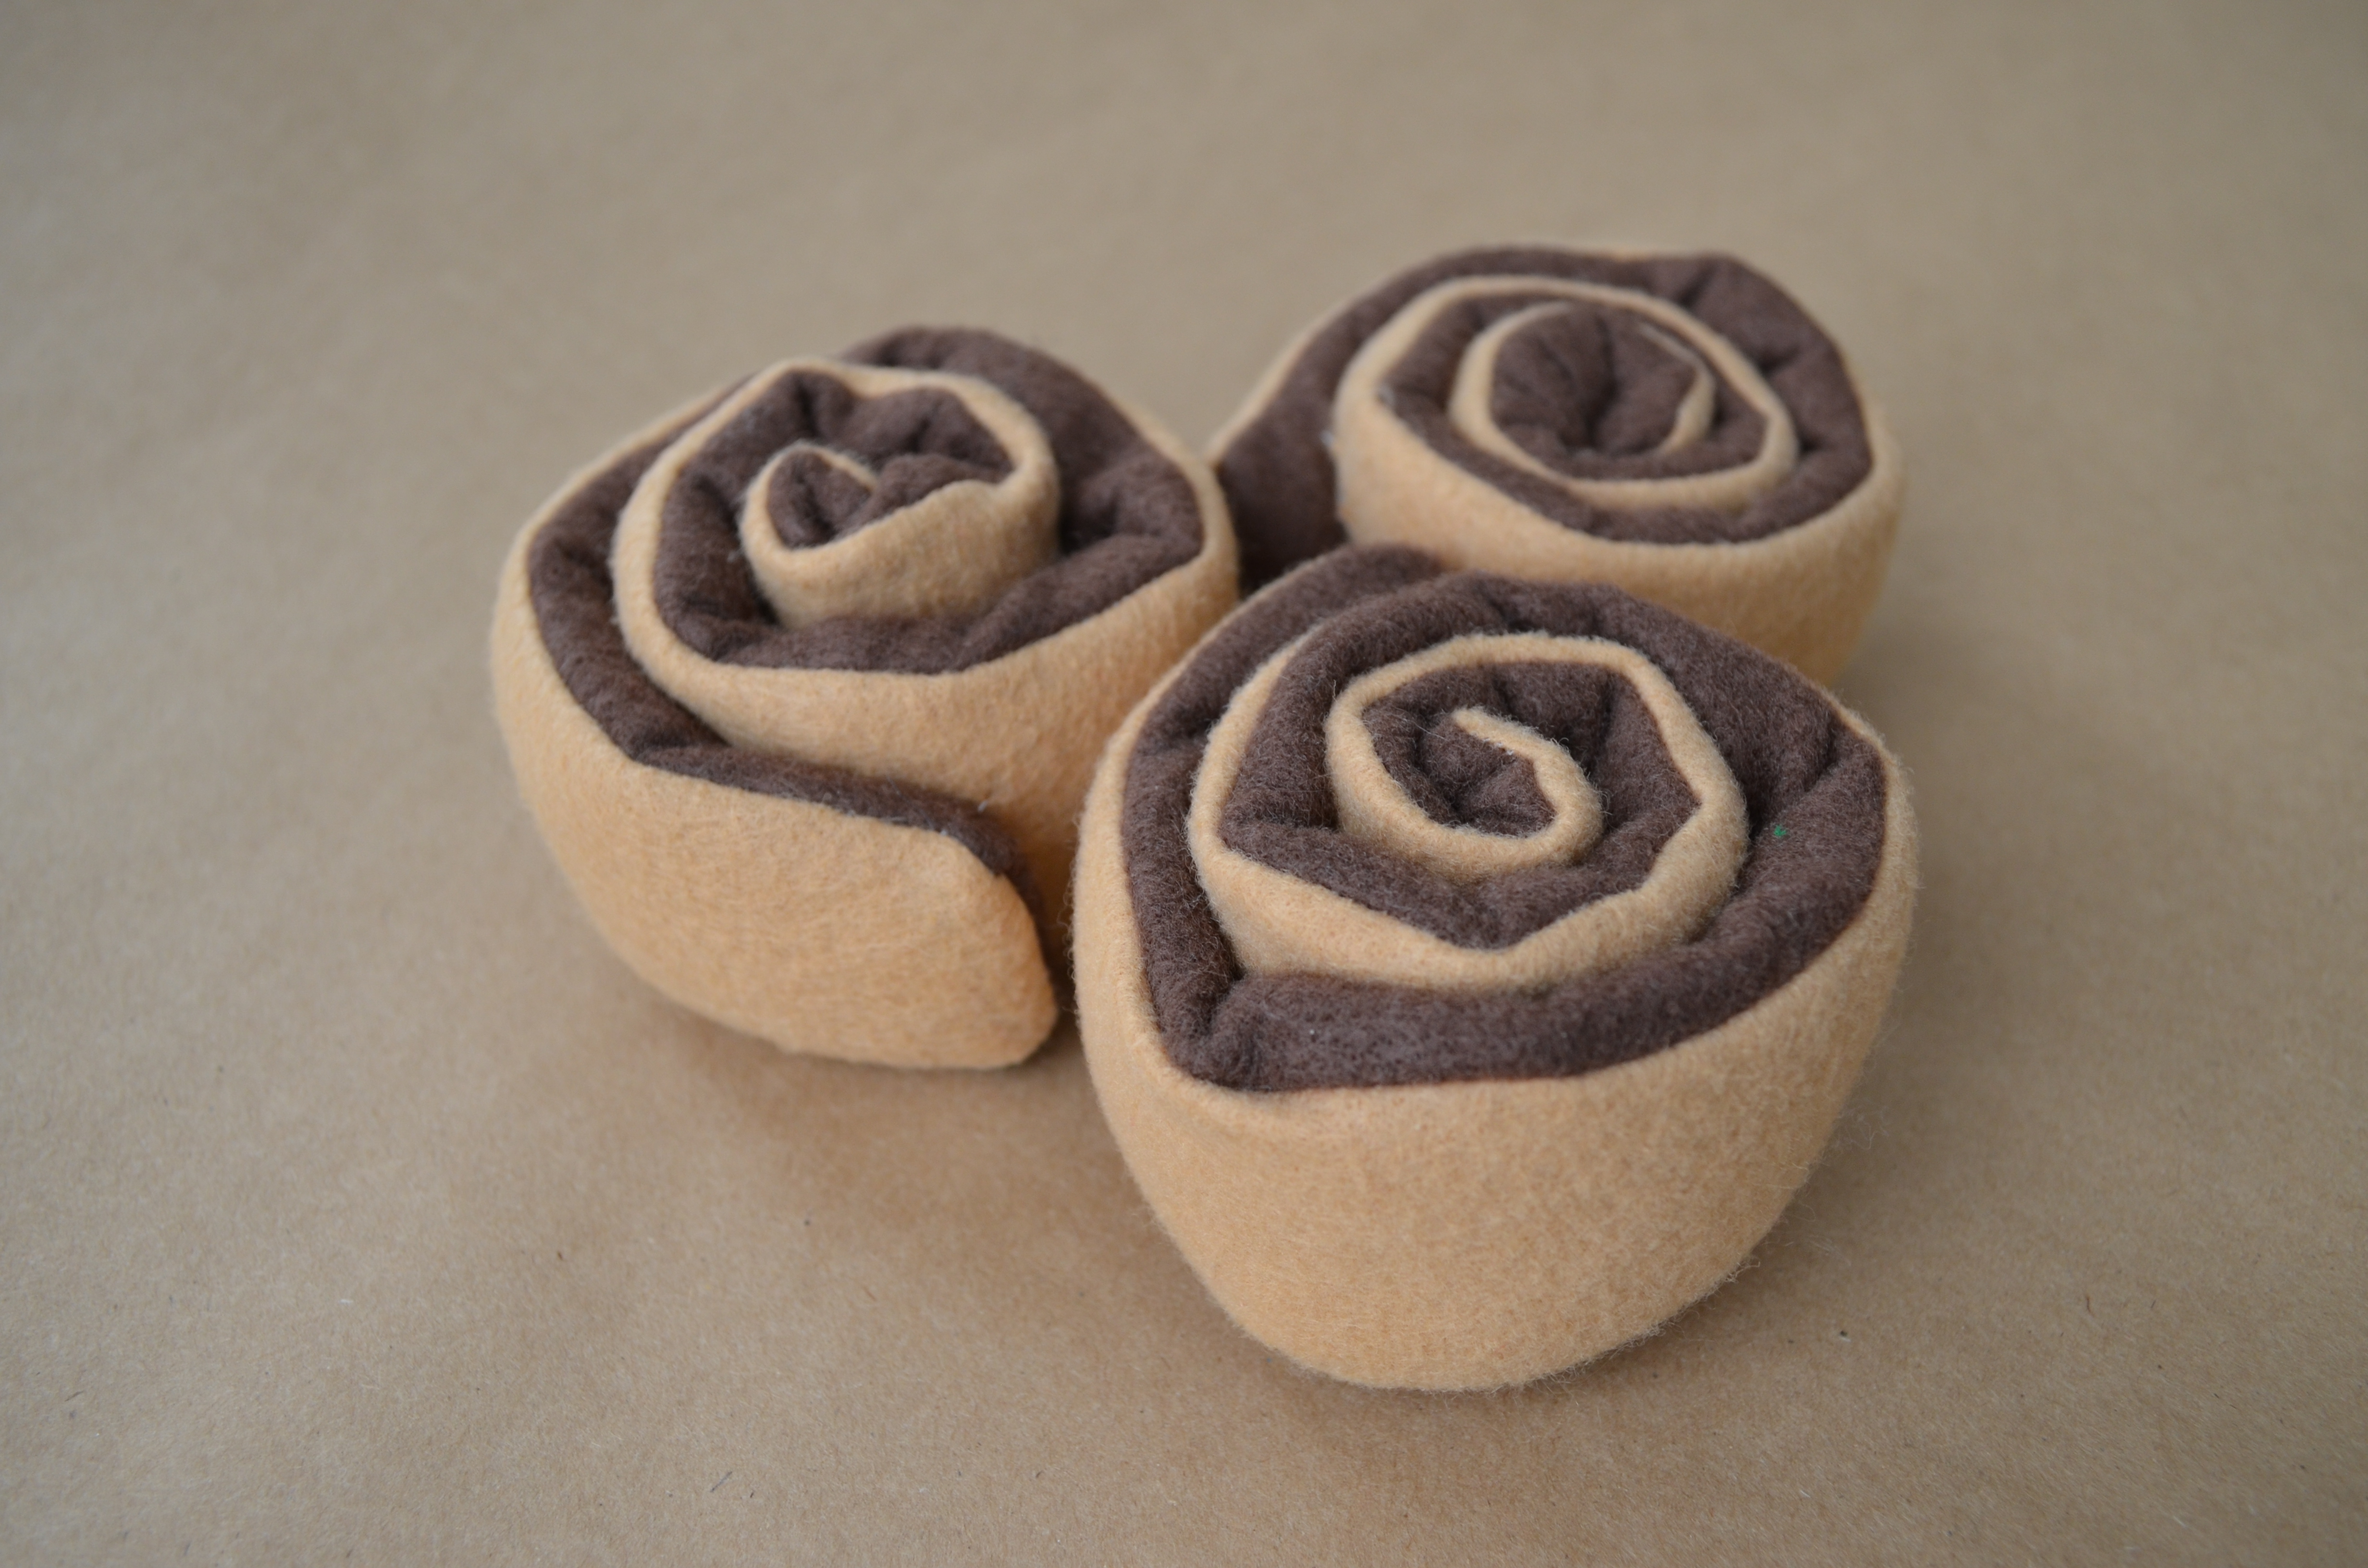
A week before the market, I felt completely unprepared. So I created a long to-do list for myself and spent every spare second (included lunch breaks and normal sleeping hours) cutting out and sewing together my felt creations. I decided to sell 12 different items. For the best sellers (lunch sets, breakfast sets and Pop Tarts), I create 10 to 15 of each. For others, quantities varied from 5 to 10 items each. By the time Saturday rolled around, I had a lot of stuff, but I still felt like it wasn’t enough.

It was only until I started to set up that I realized I had a ton of stuff! I couldn’t even fit everything on the table. I knew the market was going to be small, but I brought enough inventory that if I sold out, I could make $800. It was a little overkill. I would have done fine if I had brought half of what I actually did. But, on the flip side, it was nice to feel prepared, and I have plenty of inventory left for Etsy orders or possible another craft market before Christmas.

IMG_4725-0

Lesson #2: How should I  best display my items?

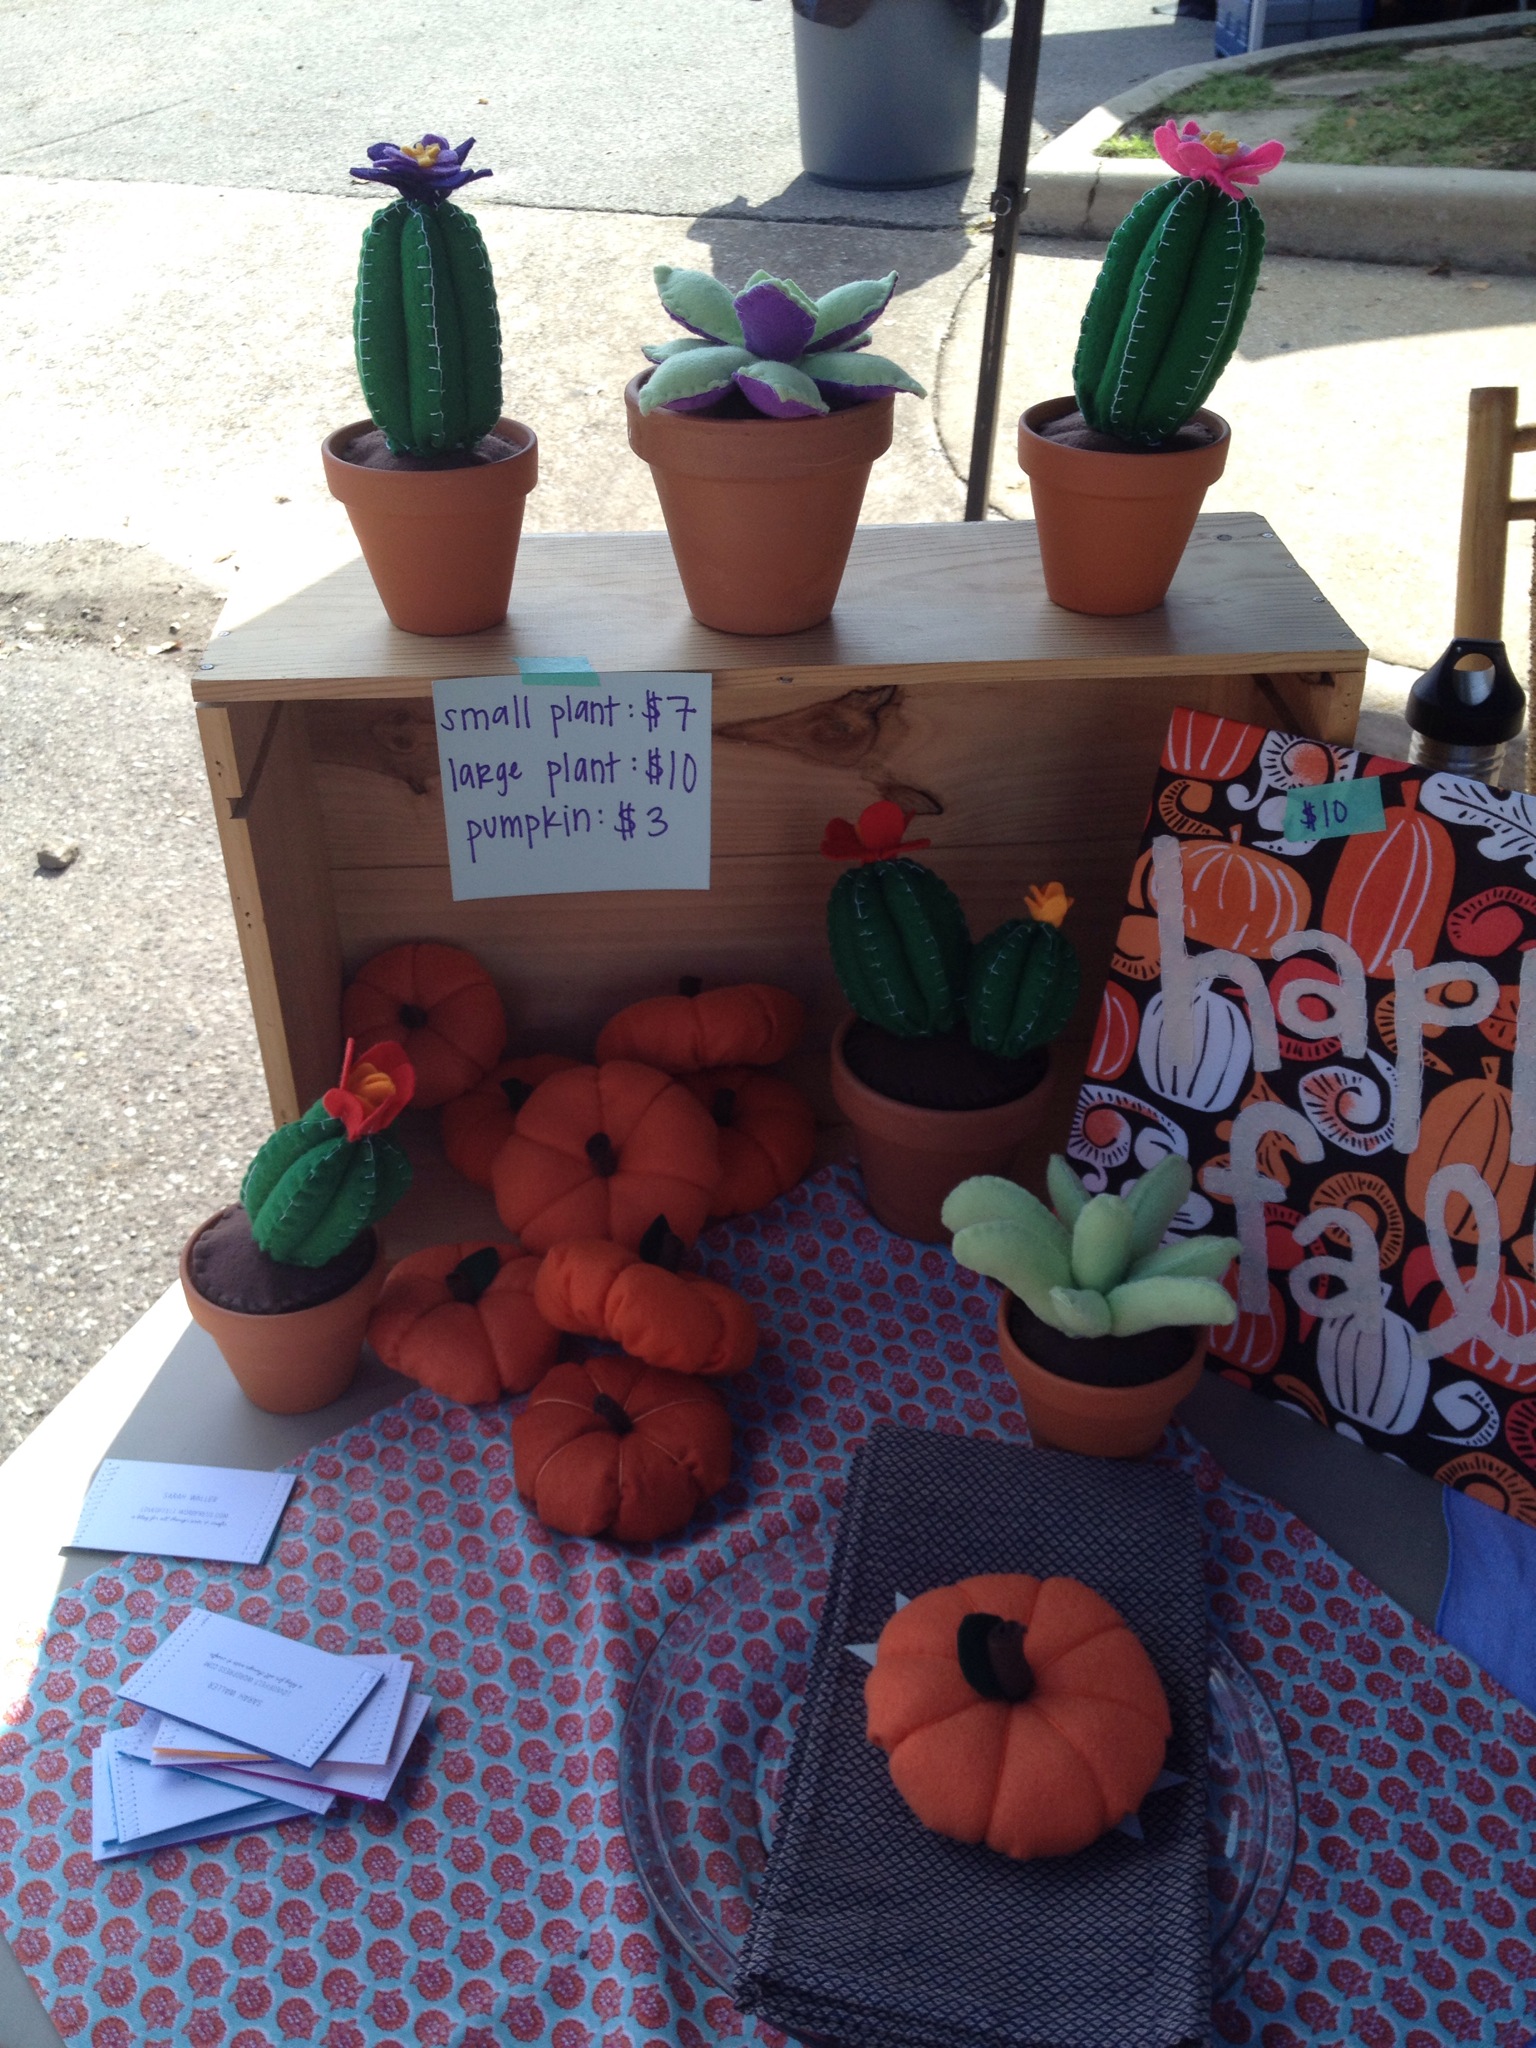
Next time, I’m going to use more tables. I was given a lot of space (a 12 x12 booth), and I should have taken advantage of it. (Plus, I should have centered my table cloth. Looking at the picture now, I realize how silly it looks.) A friend gave me the advice that a clustered look attracts customers, but I think I had too much stuff on top of each other.

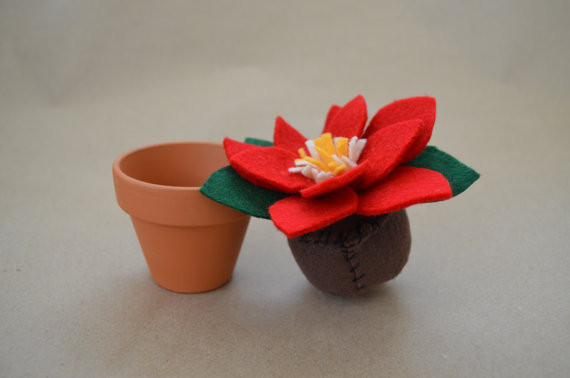
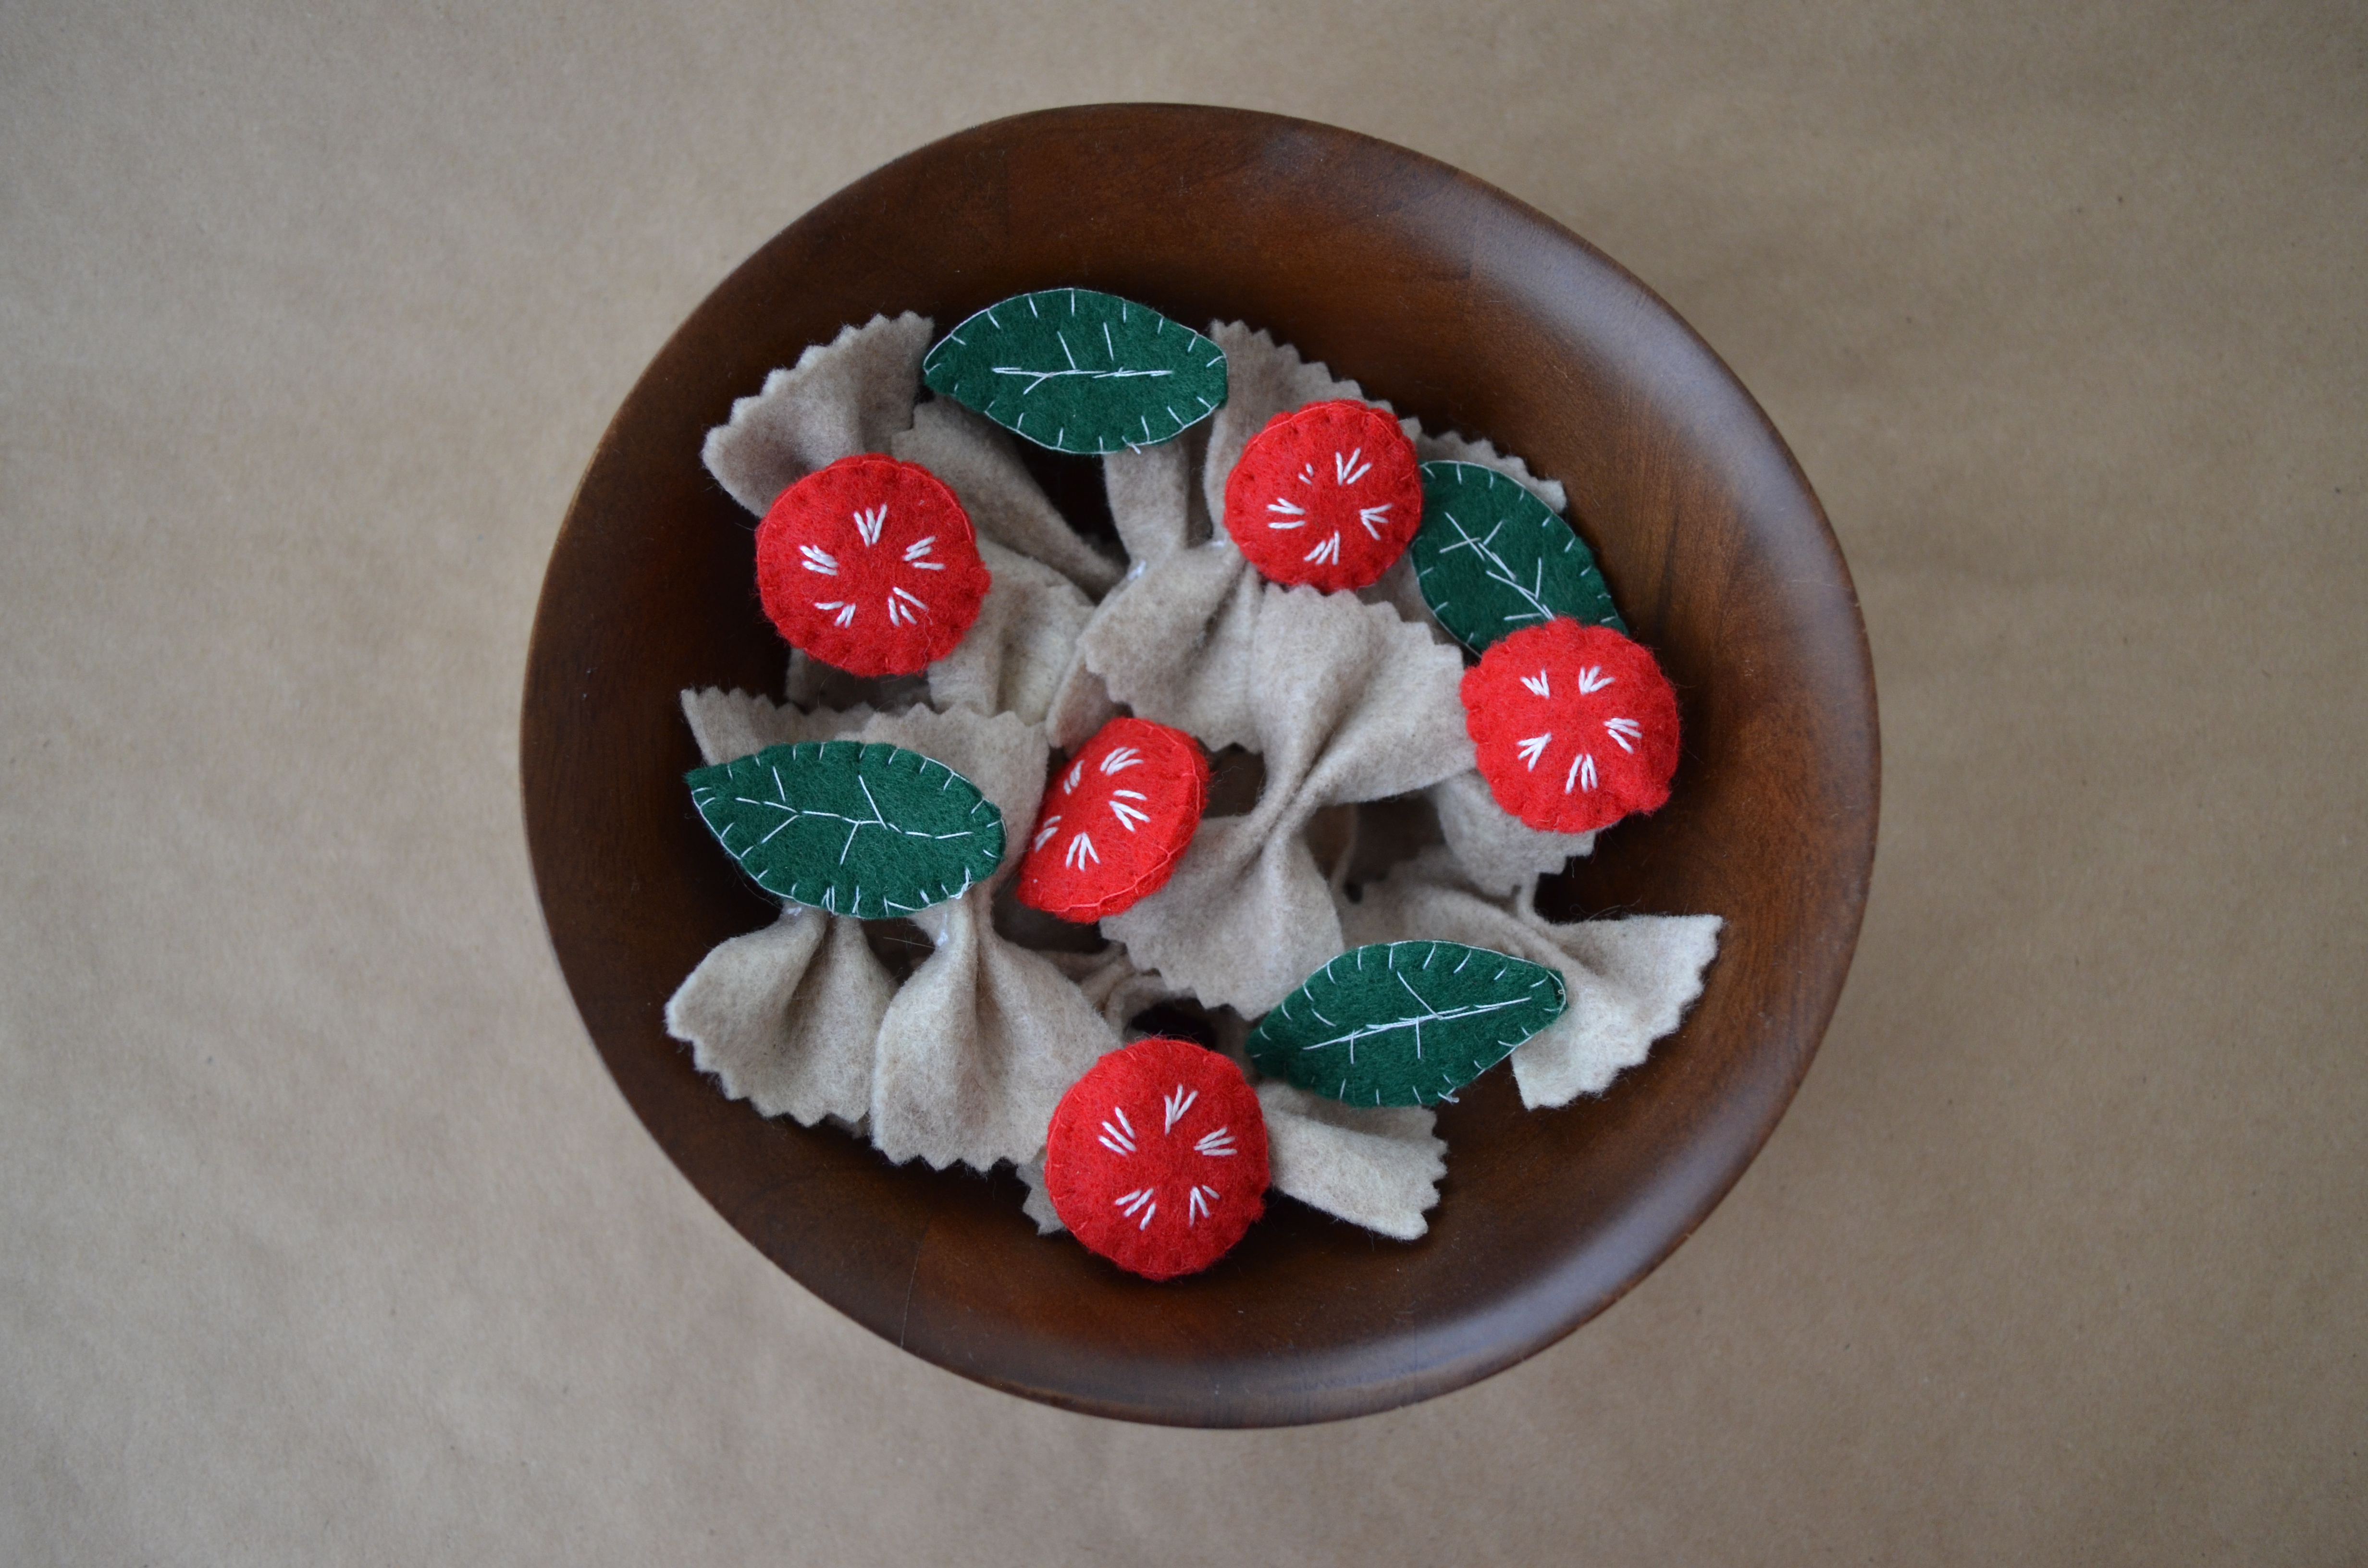
I did use display pieces, which turned out to be a great sale technique. These items are meant to be touched and played with, so I wanted people to pick them up, examine them (and then fall in love with them, of course). The kids that came by totally got it. Before their parents could make it to the table, they were waving around the bag of chips like it was the coolest things they’ve ever seen. They dove their little hands into the bowls of felt salad and pasta before anyone could stop them. Kids know toys when they see them.

IMG_4726-0

IMG_4727-0

Lesson #3: How much should each item cost?

This is an question I am still asking. Someone told me a story once. They had a friend who wanted to go into the photography business but didn’t know how much to charge for his services. He researched what other photographers were doing in the area and picked a middle of the road price point. He barely booked any sessions. Then he decided to find the highest price out there and top it, and his business took off from there. He said that because he had the highest price point, people assumed he was the best. He was the best that money could buy.

Though I do not think I could start selling my felt items for hundreds of dollars, the story proved to me that we cannot always guess what the consumer is thinking. I would think that at a middle-road, affordable price, my felt breakfast sets would sell like crazy! But alas, I only sold 3 sets this weekend.

The issue I find with pricing homemade items is how to you quantify the amount of time you send to create it. If I priced the felt lunch set to reflect the amount of time it took me to create it, I would need to sell it for at least $50. But why would you pay $50 for my homemade item when Target has shelves of more inexpensive, yet equally adorable items. So I’ve decided to use prices that do not account my time, but instead build in room for a small profit with the price of the materials.

Maybe over time, if items become more popular, I’ll increase prices. But for now, I like how my prices are affordable. I rather my felt food be in the hands of children that stored in the back my closet!

Wish I had thought of it: Felt Baby Costume

As more and more crafty people join Instagram, I find that the mobile social media site has now surpassed Pinterest as a major source of inspiration. Example A:

IMG_4681

This. is. ADORABLE! Plus, it looks so easy to create. I imagine you can sew or use fabric glue to attach strips and squares of white felt to a yellow onesie. And it would be easy to make the headband with elastic and green felt.

Unfortunately, I do not have a kid of my own, but luckily my sister-in-law is due the first of March. This will be prefect for my new niece this time next year!

Check out more of A Beautiful Mess on Instagram here!

[Felt] Leaves are in the Air

Do you find it strange that fall is so colorful? I mean, not to get too philosophical, but even in the midst of the dying leaves, natures bursts forth a new color spectrum. God is pretty spectacular.

And those my felt leaves in no way compare to the real thing, they are still fun to make!

IMG_4634

My friend Melissa asked me to make a bunch of felt leaves she could use to create a wreath. She wanted a variety of shapes and colors, so I happily obliged. After cutting out the leaves (I did use stencils for some of them), I used thread to stitch in the veins. But since I knew she wanted to make a wreath, I didn’t care to cover up the back side.

IMG_4630

With the leaves, Melissa wrapped a foam ring with raffia and used a hot glue fun to attach the leaves. The finished product came together wonderfully! I love it so much, I feel like I need to make another one for myself!

IMG_4665

Bread & Wine, A Supper Club

IMG_4680

My dear friend Rachel gave me Shauna Niequist’s book Bread and Wine for  my birthday last May. I read a handful of stories, but set it down for another day. Luckily, another friend came up with the idea of making it the focus of a book club early in September, and my Tuesday nights have never been the same.

Bread and Wine is a beautiful collection of stories about hospitality and community, so it is only fitting that we take turns each week opening up our homes and apartments to cook, eat and drink together. Each chapters ends with a recipe, so those recipes make up our weekly meals.

This week, we made the Mango Chicken Curry. I have never cooked curry before, and though it turned out to be delicious, it was a hilarious understanding. About halfway through, we all we sneezing and coughing because of the strong spices. It was like a scene out of a slapstick comedy.

Mango Chicken Curry

Ingredients:

1/4 cup flour
2 tablespoons curry powder
1 teaspoon sea salt
1/4 teaspoon cayenne pepper
3 pounds boneless, skinless chicen breasts, cut into small pieces
2-4 tablespoons olive oil
2 garlic cloves, chopped
1 red onion, copped
1 tablespoon fresh ginger, chopped
1 red bell pepper, chopped
4 cups chicken broth
1/4 cups currants or raisins
2 roma tomatoes, diced
1 mango, pitted and diced
1 tablespoon fresh lime juice
3 tablespoons fresh cilantro, chopped
3 tablespoons fresh basil, chopped
Cooked rice, if desired

Mix together flour, curry powder, salt and cayenne pepper. Toss chicken breast pieces into the flour mixture.

Add 1 to 2 tablespoons olive oil to a pan, and cook chicken on medium-high heat until browned, about 5 minutes on each side. Set aside.

Add additional 1 to 2 tablespoons olive oil and cook garlic, red onion, ginger, and red pepper until onion is golden, about 4 minutes. Add chicken back to the pan, lower heat.

Add chicken broth. Cook at a simmer until chicken is tender and broth is reduced by one-fourth. Add currants, tomatoes, and mango, and simmer until heated through.

Off heat, add lime juice, cilantro, basil. Serve over rice. (Serves 6)

This book also has an amazing recipe for Goat Cheese Biscuits, but I’m going to let you buy the book to try it for yourself.

Etsy: A Relaunch

For those who follow me on Instagram, I have been teasing you for awhile with my felt food creations, but now I am excited to announce that my new-and-approved Etsy shop is open for business with felt sandwiches, Popsicles and even  s’mores.

I made the decision to relaunch my Etsy shop after talking to several people who have been on Etsy for awhile. They all found success by being specific – picking a single category or item and running with it. My original shop was a modge-podge of my creations. Naturally, the things I loved (and had a hard time parting with) sold within seconds of posting them, while items I wasn’t crazy about remained untouched.

After the amount of buzz I received for the felt food I made my nephew, I decided that felt could be my niche. The materials are inexpensive to purchase, and I’m able to produce each item in a reasonable amount of time. (Not to mention, felt is what inspired me to create this blog, and I would consider this a successful venture.) I relaunched the sho

Lunch1

Popsicle1   Smores1

Breakfast1

Poptarts1   CinnamonRolls1

SaladMix1

CheeseIts1   FigNewtons1

PastaSalad1

Check the site our for yourself – http://loveoffelt.etsy.com


Office Decor: A Cubicle Fiesta

A handful of my co-workers take birthdays very serious. One co-worker in particular went above and beyond (aka asked HR) to find out the date of everyone’s birthday in the office. (She keeps our master calendar.) So when it happens be the birthday of one of these individuals, we like to go all out – well, as far out as you can go with streamers and poster boards.

Most recently, we selected a theme, and you know me, I love a good theme.

IMG_4535

Naturally, I started with Pinterest and stumbled across this adorable phrase. (You can make fun of me, but I just think it’s hilarious!) And then, to create the texture of a pinata, I cut a  row of small slits in steamer (or crepe) paper. I layered the different color pieces on top of each other and taped them down on the back.

If I had more time, I wanted to make a matching pinata (but alas, there are only so many hours in a day). But if I had the time, I would have used the same technique to cover the cardboard.

IMG_4537

My other addition to the decorations was this mini garland of this fiesta bunting. Though I think it’s original purpose is for cake decorating, I knew my friend would appreciate the miniature decor. For the free printable (click here).