A Painted Wedding Bouquet

For a last minute birthday present, I pulled together a quick painting of my friend’s wedding bouquet. Her wedding was back in May, and a single adjective could not properly describe how spectacularly amazing her flowers were. If I had more time, I wish I could have found a better picture of her specific bouquet to create a more exact portrait, but since the idea came to me a week before her birthday, I painted something based on memory.

20140804-141808-51488442.jpg

My painting definitely did not justify the beauty of the actual bouquet, but I think the painting came together well with only a couple hours to execute it on Sunday morning. This morning, I sketched out another rendition of the bridesmaids’ bouquets that I’m hopeful to paint in the coming weeks.

10351167_10154276969480317_2588679286737909942_n


Quick & Easy Birthday Cake Topper

20140801-162748-59268839.jpg

Every good bundt cake needs a little decoration. For a recent birthday dinner party, I made the Buttermilk Pound Cake with Buttermilk Custard from Southern Living’s The Southern Cake Book. Topped with fresh berries, this summery dessert is A-M-A-Z-I-N-G!

To match the simplicity of the cake, I created a cake topper that didn’t require many materials and is quick to make. First, I found a free printable for Chalkboard alphabet bunting online.

After cutting out the flags, I attached the letters using Elmer’s glue to red and white baker’s twine. Then I tied the garland to wooden dowels I purchased from Hobby Lobby. Carefully, I inserted the dowels into the cake. Simple, easy and quick!

* Sorry for the black and white photo. Living in the moment, I forgot to take a picture, but luckily a friend was able to send me this one.

** Also, in my search for a free printable, I found this really cool Fiesta Bunting I hope to use very soon!

A Custom Felt Playmat for my Nephew

_DSC0354

The brainstorming process for my nephew’s 2-year-old birthday present began about 2 months ago. I had seen ideas for a “quiet book” on Pinterest. Mostly made from felt, “quiet books” are these cute flip books filled with little activities that are meant to entertain and keep your kid still and quiet. I liked the idea (especially since Josiah is quite the jet-setter), but I wanted something bigger! (He’s my only nephew to make things like this for!) That is when I had the epiphany to create an awesome, felt play mat – customized for his life.

DSC_0477

I started by purchasing a yard of green fleece. In my opinion, fleece holds up better over time than felt. (Felt can shed and eventually start to ball up.) Though I planned to use felt for the details, I knew fleece would be a better foundation. Plus, fleece is much softer in case my nephew every decides he wants to use the mat as a blanket.

IMG_4167

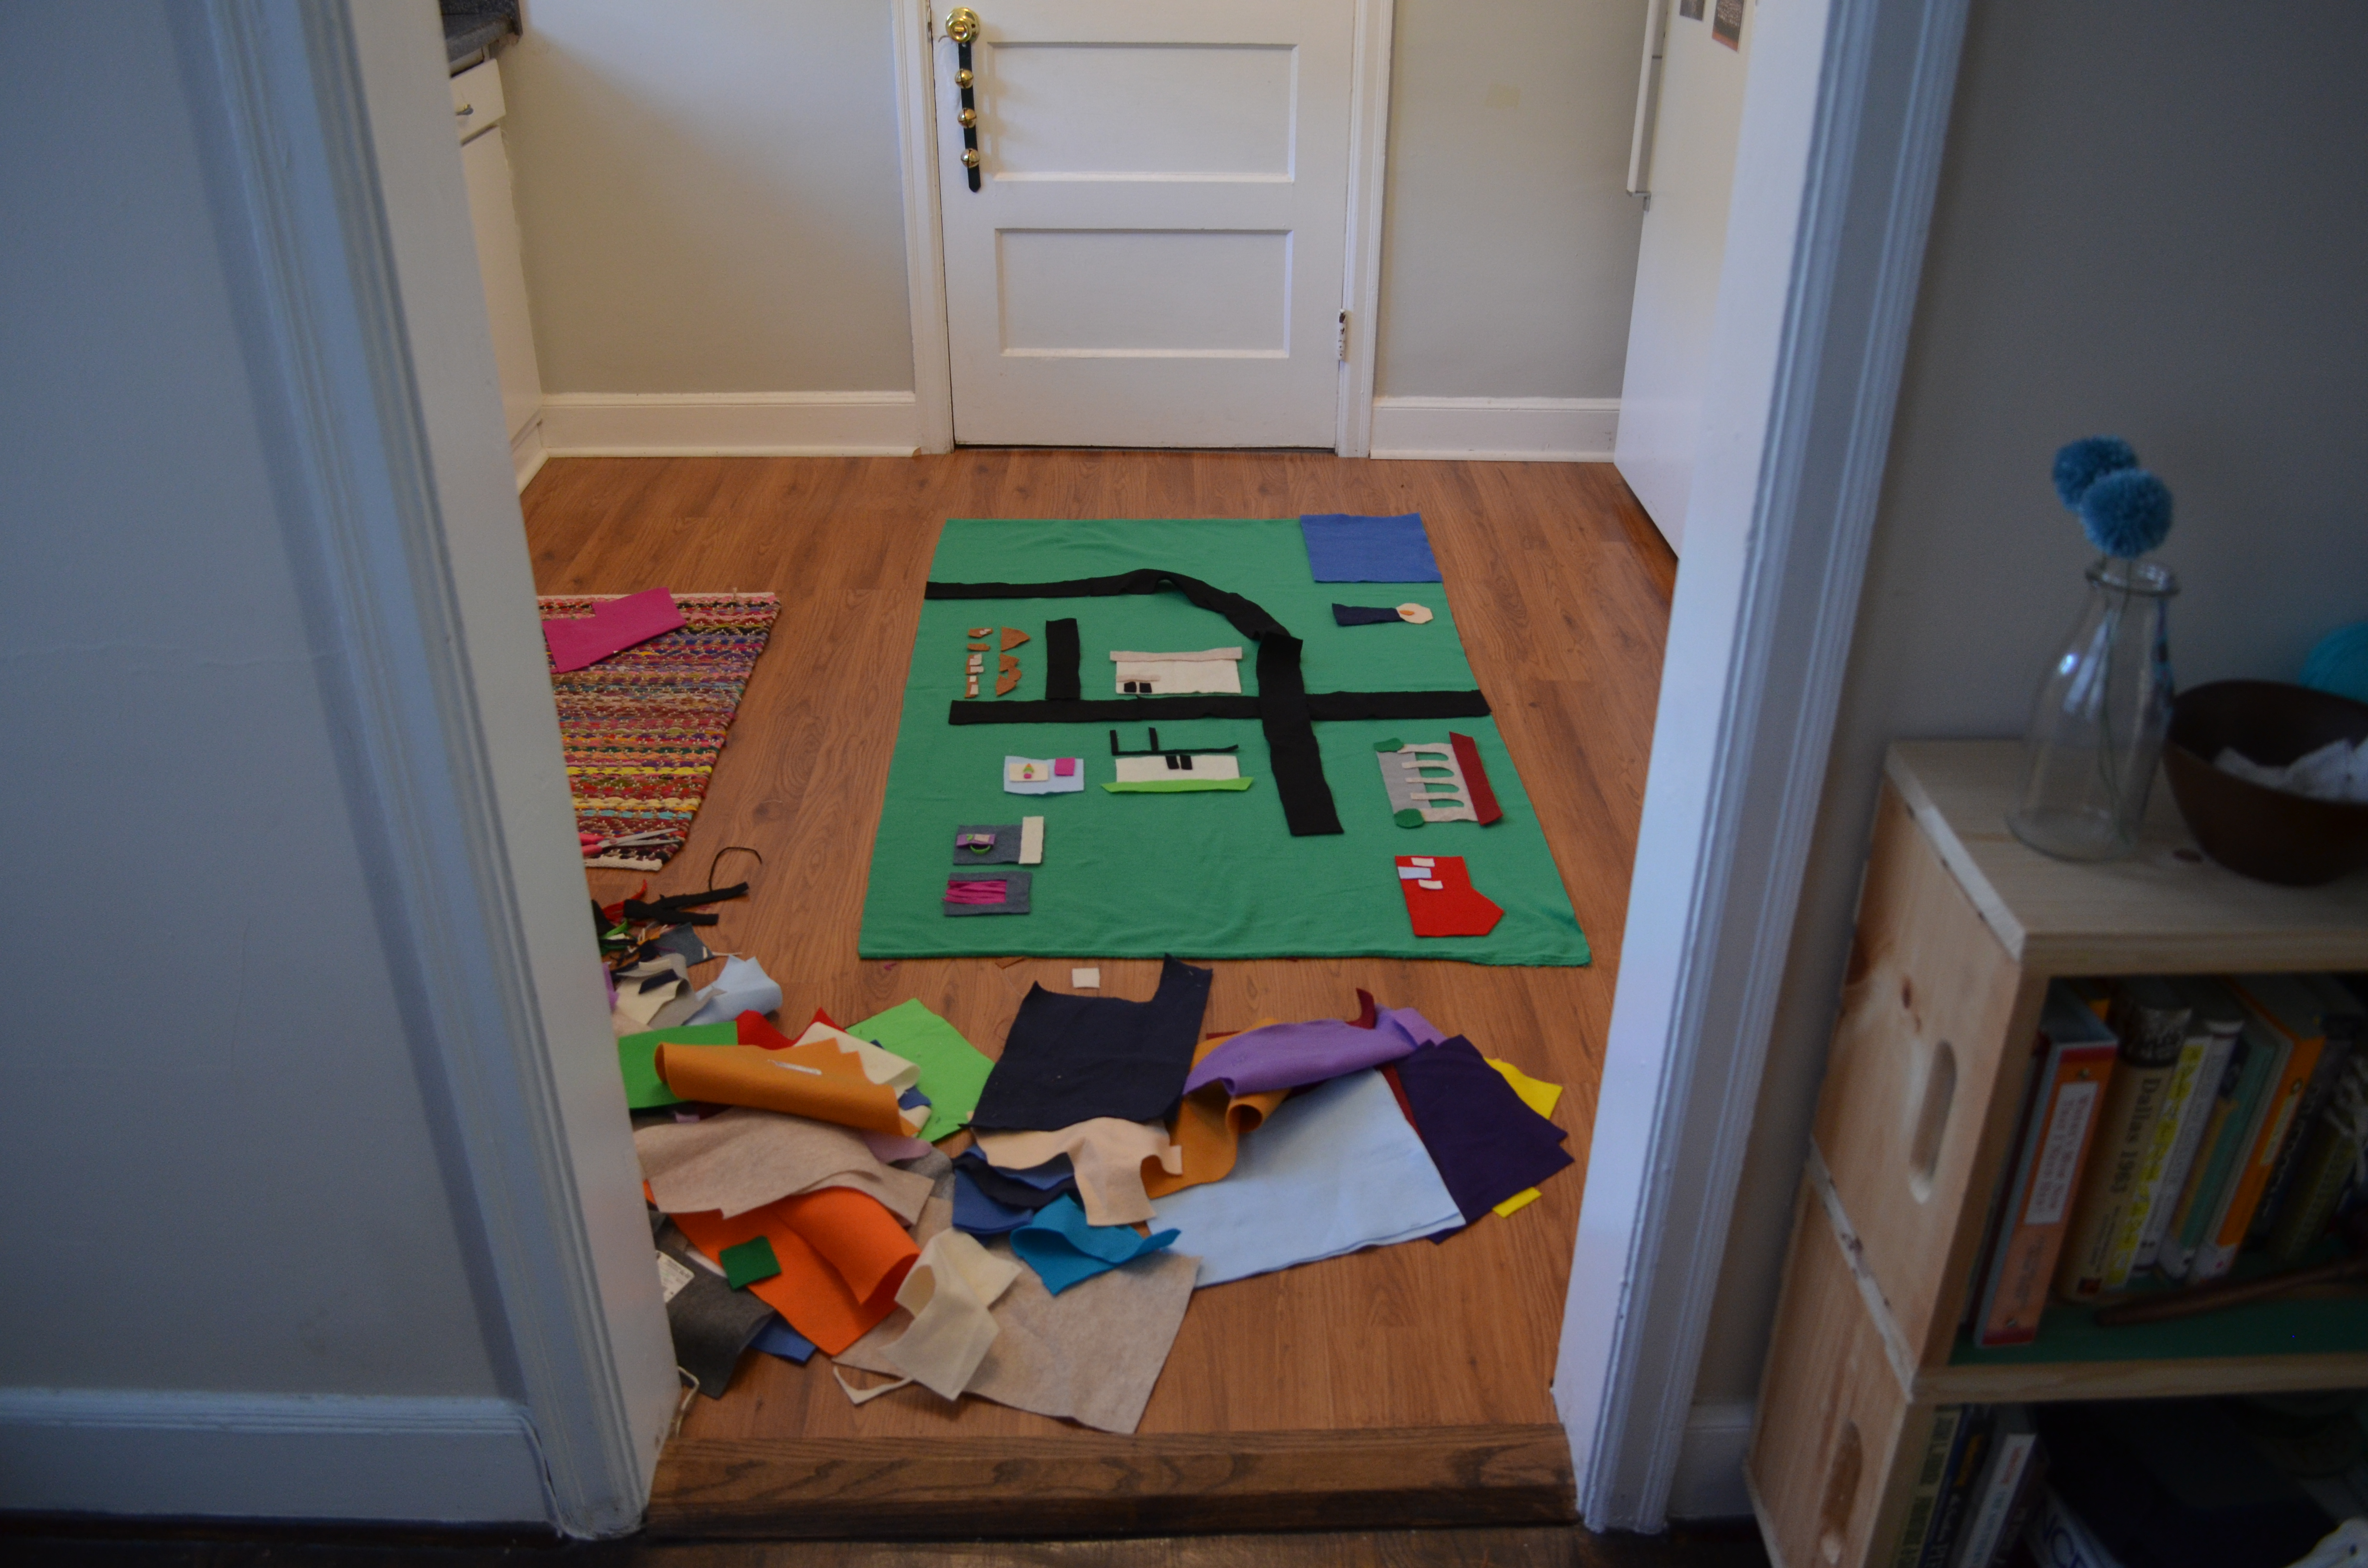
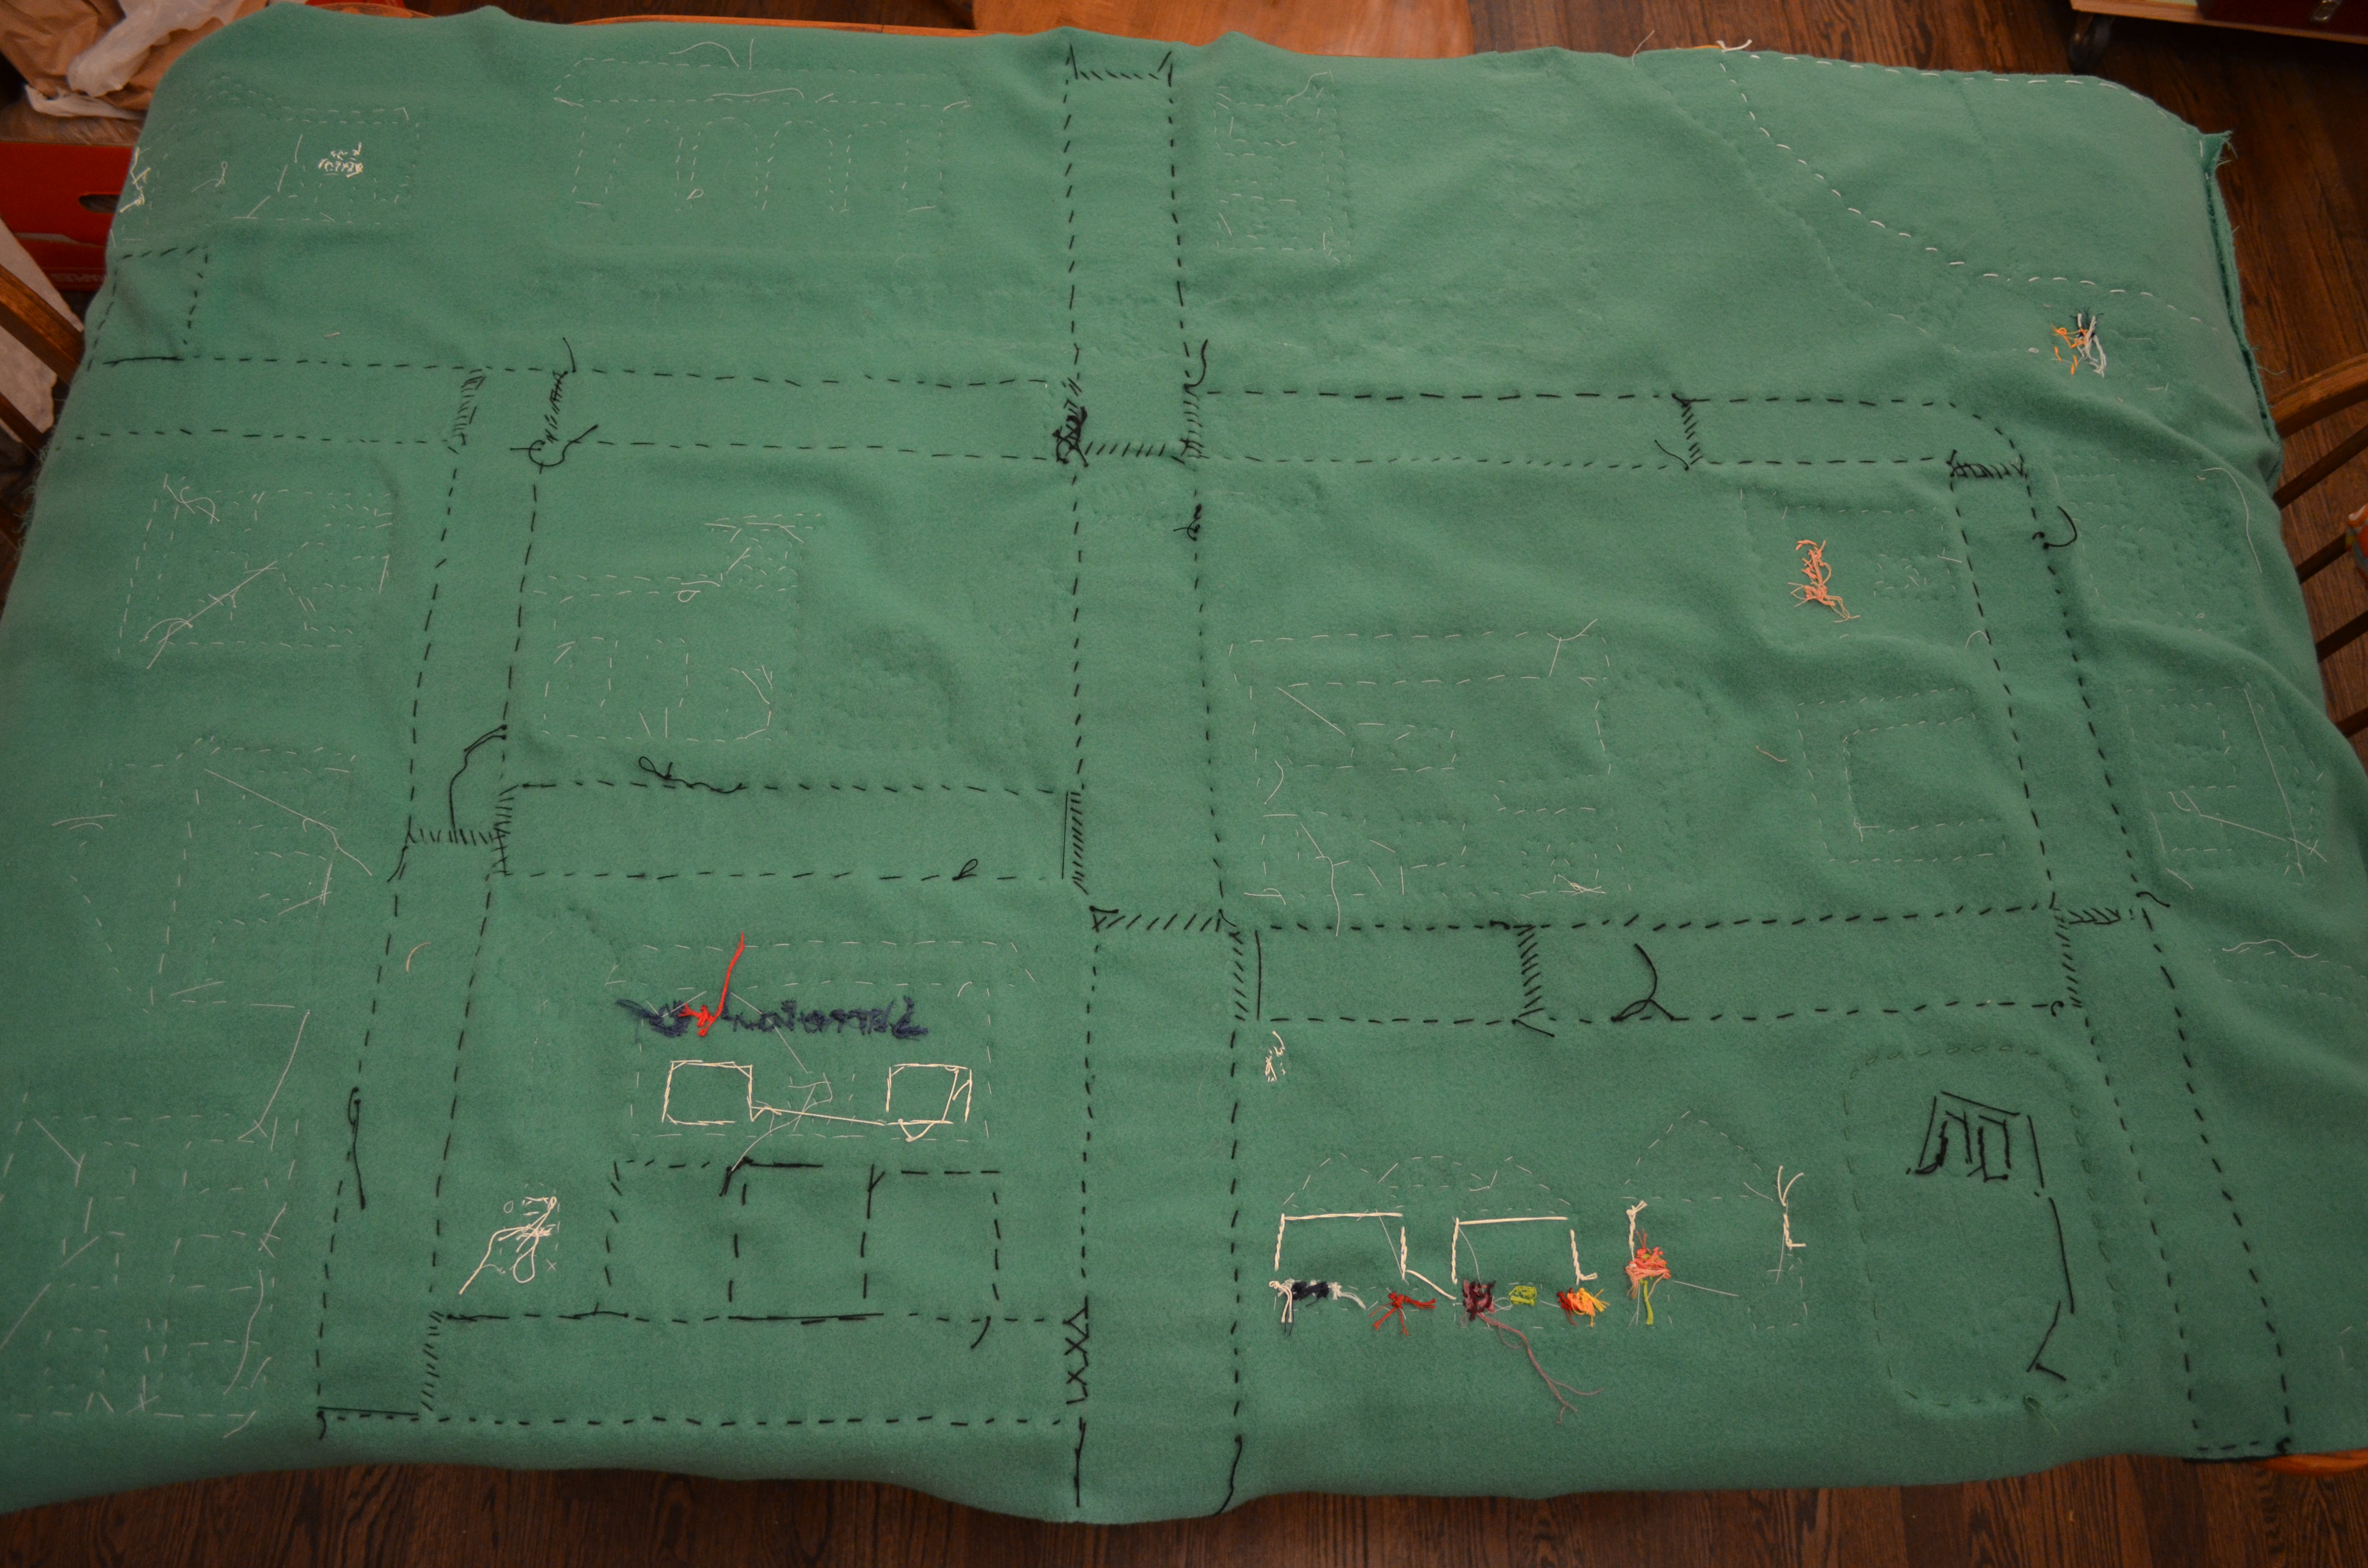
Cutting out the streets and the buildings took a few days. (And as you can see, I let it take over the floor of my kitchen.) I cut everything by freehand, so I did experience some trial and error. Initially, I cut the streets pretty wide, but as I cut out more and more building, I made the streets skinnier to fit everything on the mat. (Plus, I found this cute wood cars that were the perfect size for my smaller roads.)

DSC_0484    DSC_0490

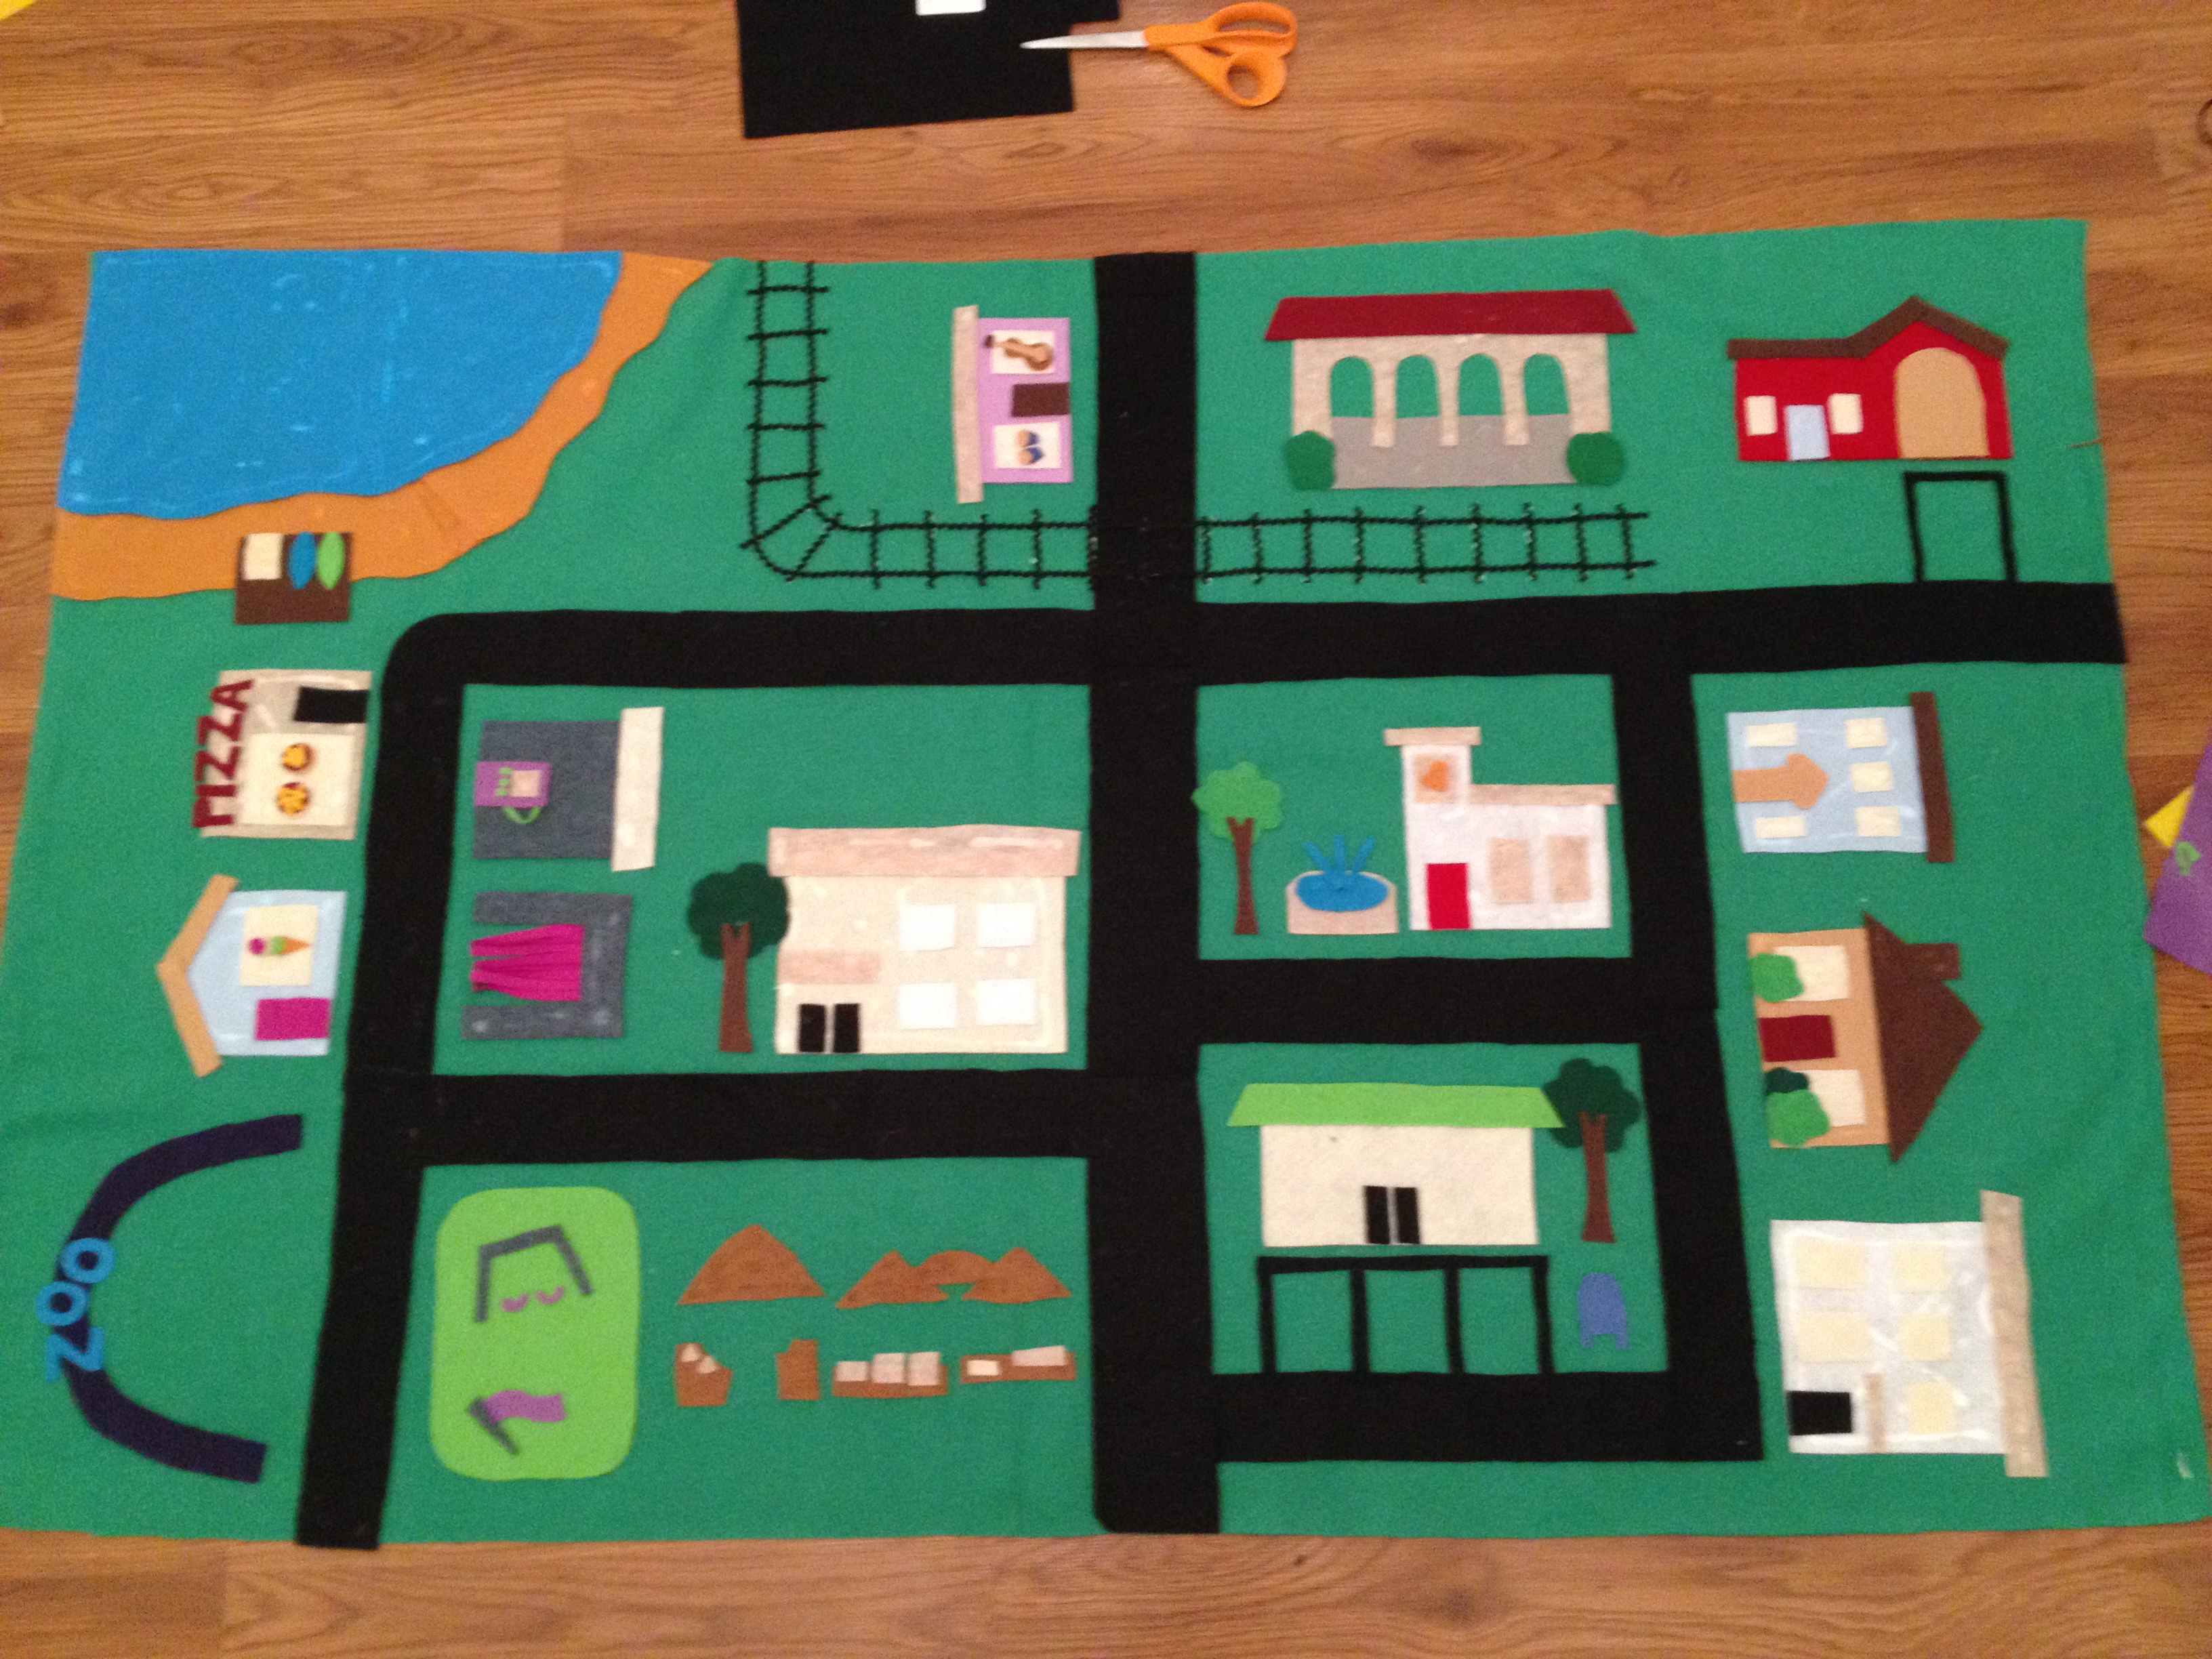
With everything cut out and in place, I used no-heat sewing glue to glue everything down. The glue left marks at first, but they go away as the glue dries.

IMG_4180

Despite everything being glued down, I wanted to secure the felt pieces in place by sewing everything down. (I am giving this to a 2 year old.) I used clear and white thread, and it took about a week to finish since I sewed everything by hand. I also used embroidery floss to add a handful of details – like a sign for the gas station and items for sale at the market.

DSC_0419    DSC_0422

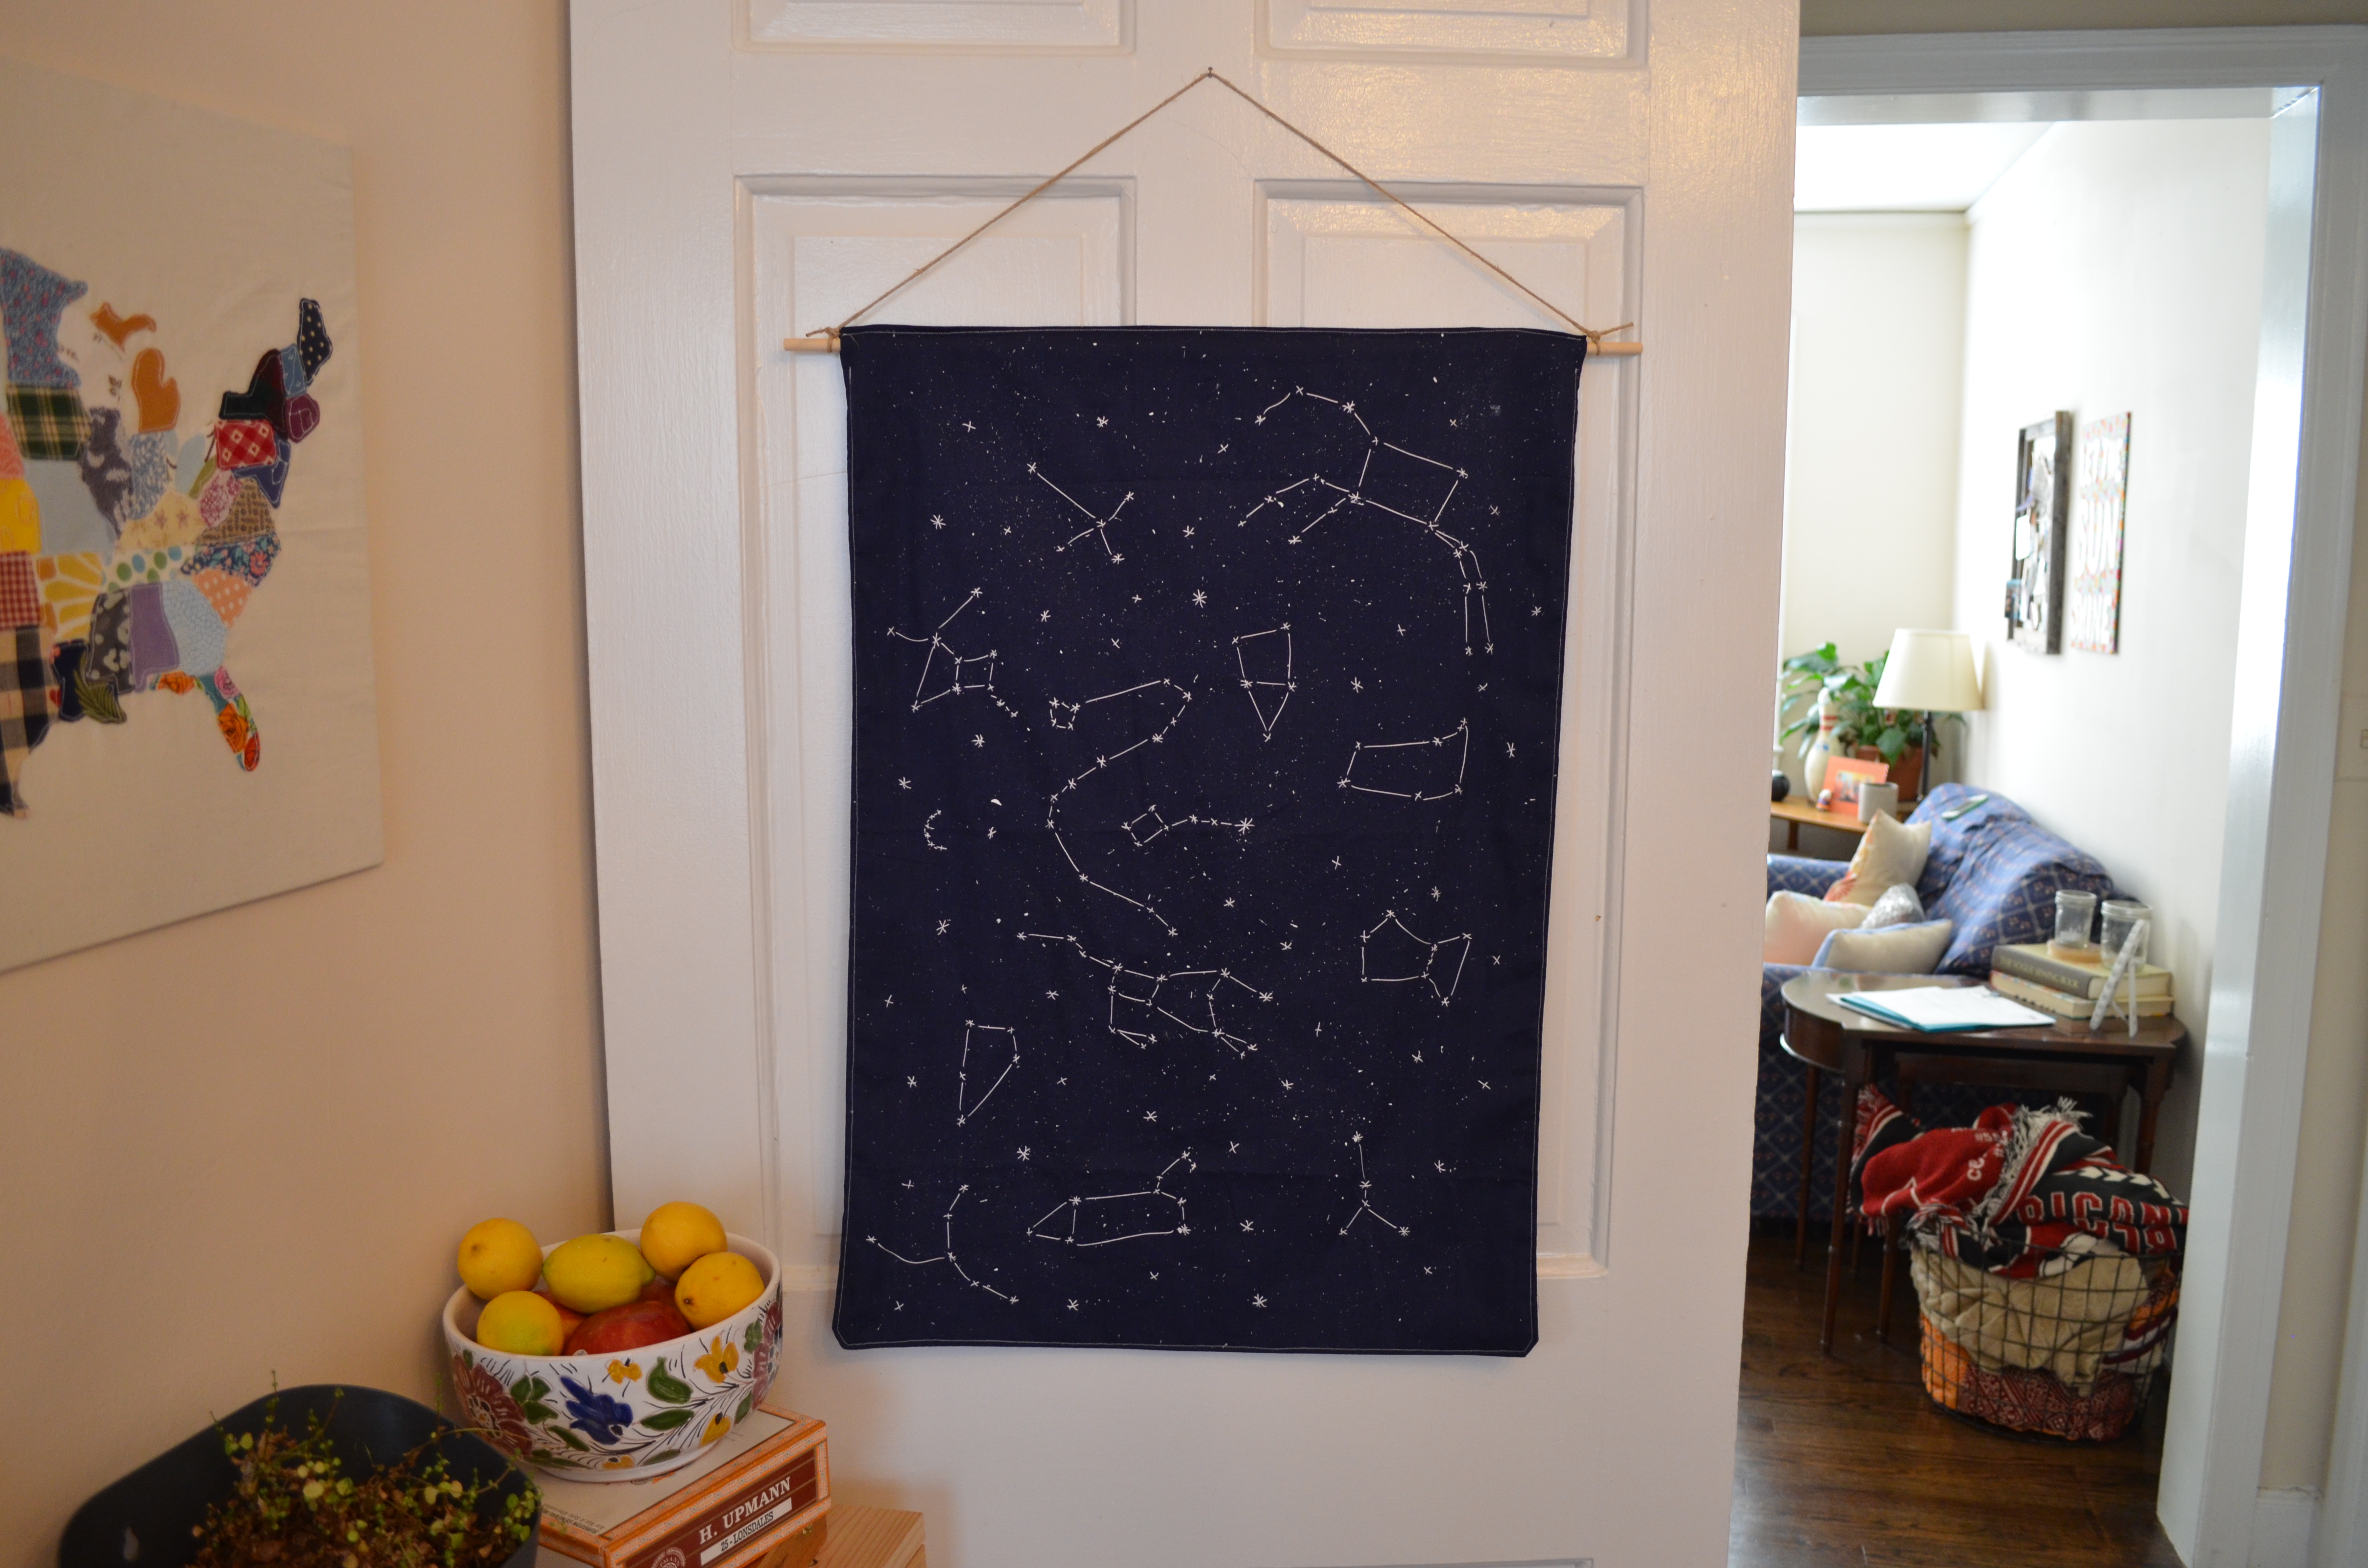
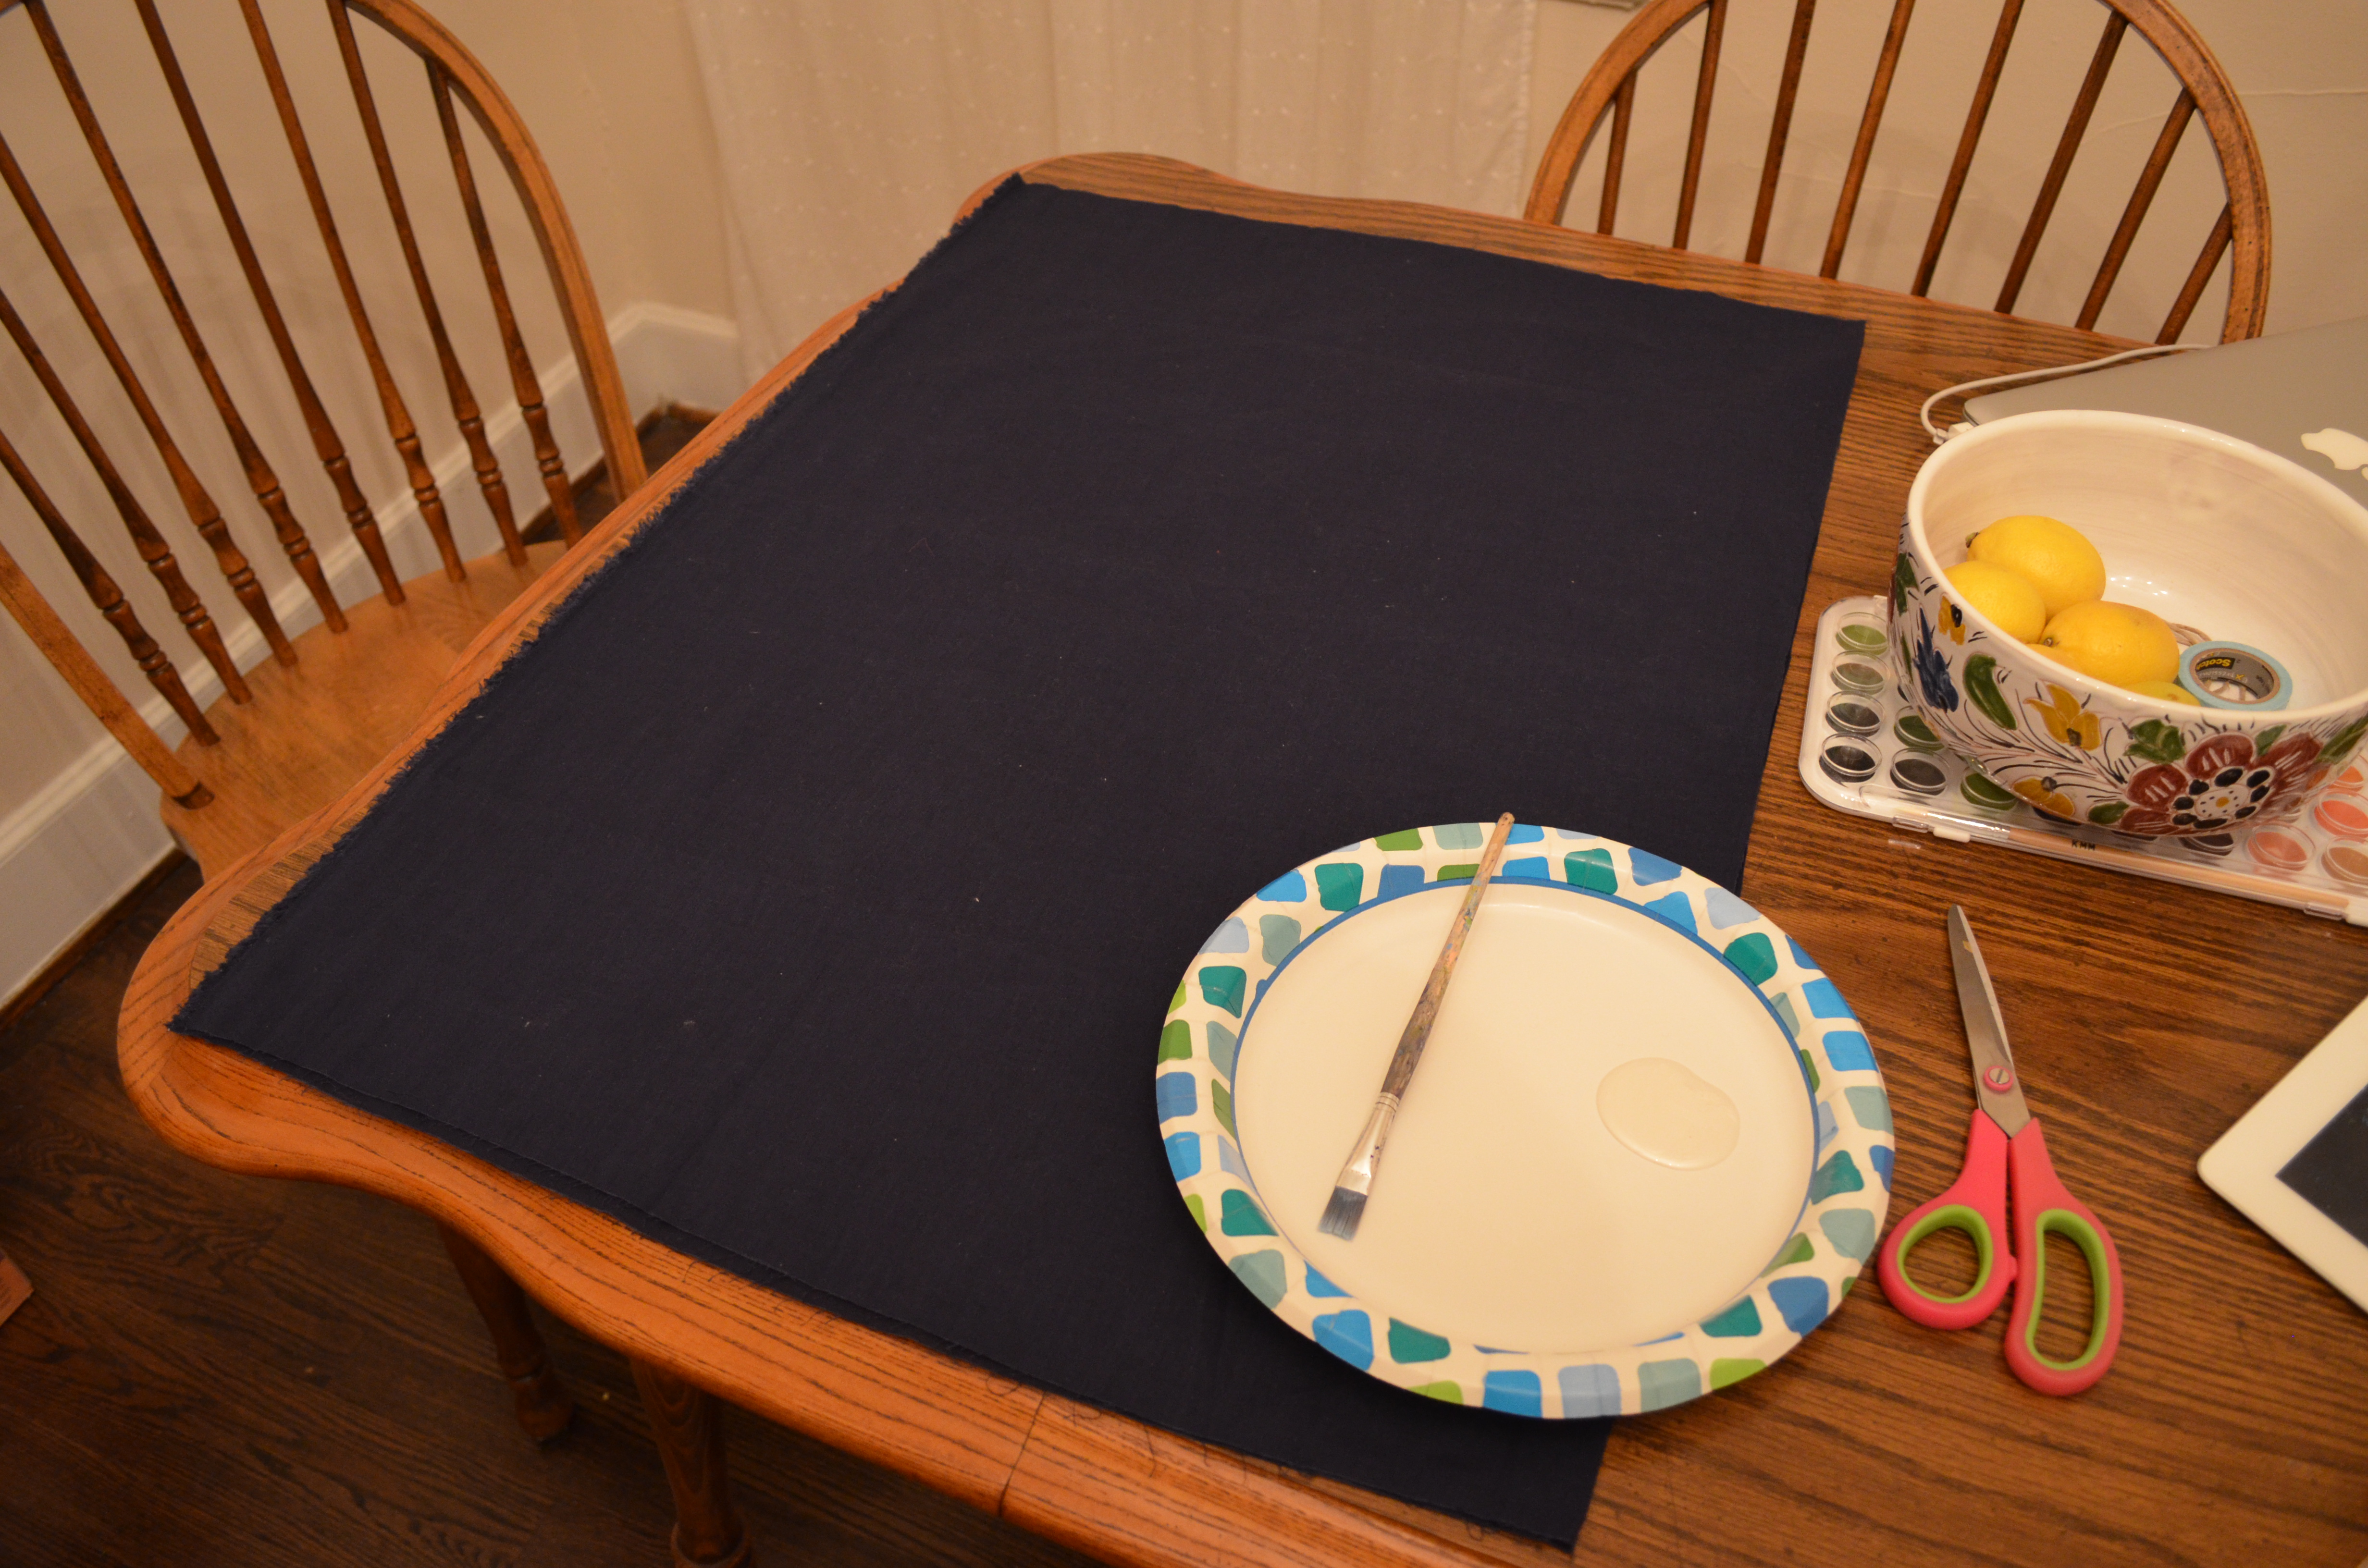
The back side of the fabric shows all of the work, but no one wants to see that. So I found this adorable fabric at Joann Fabric that I used as a back piece.

_DSC0362

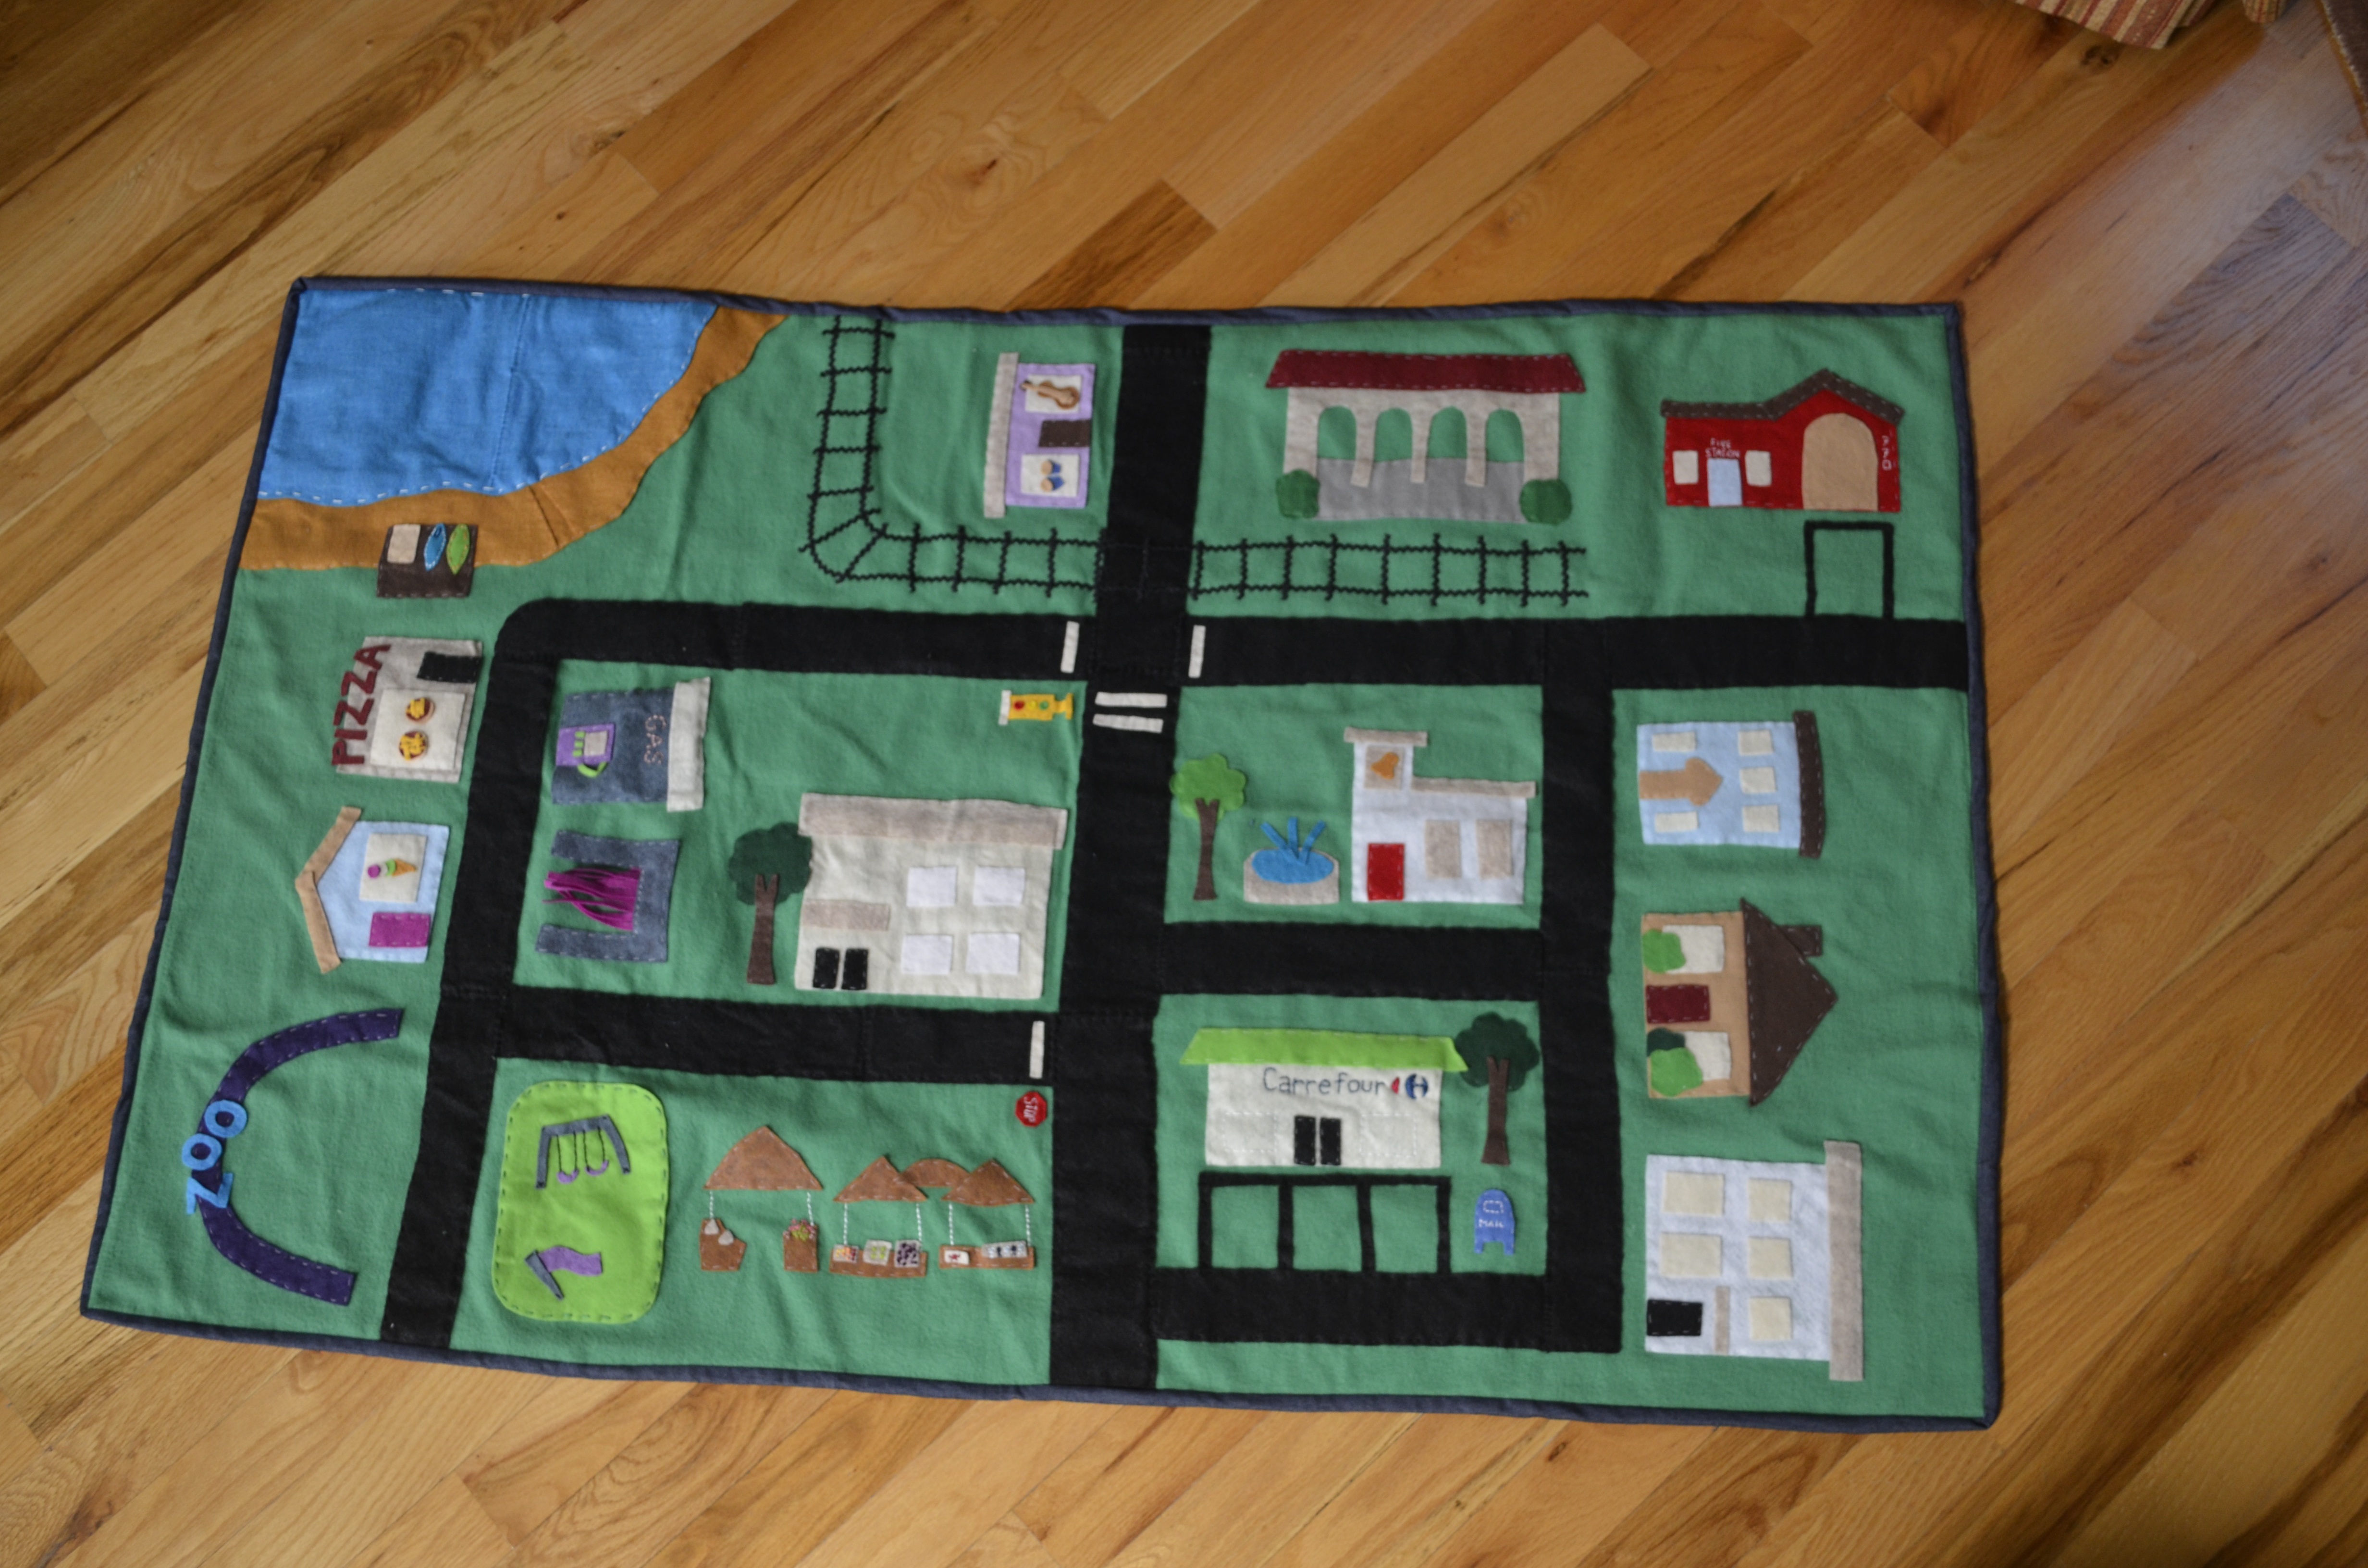
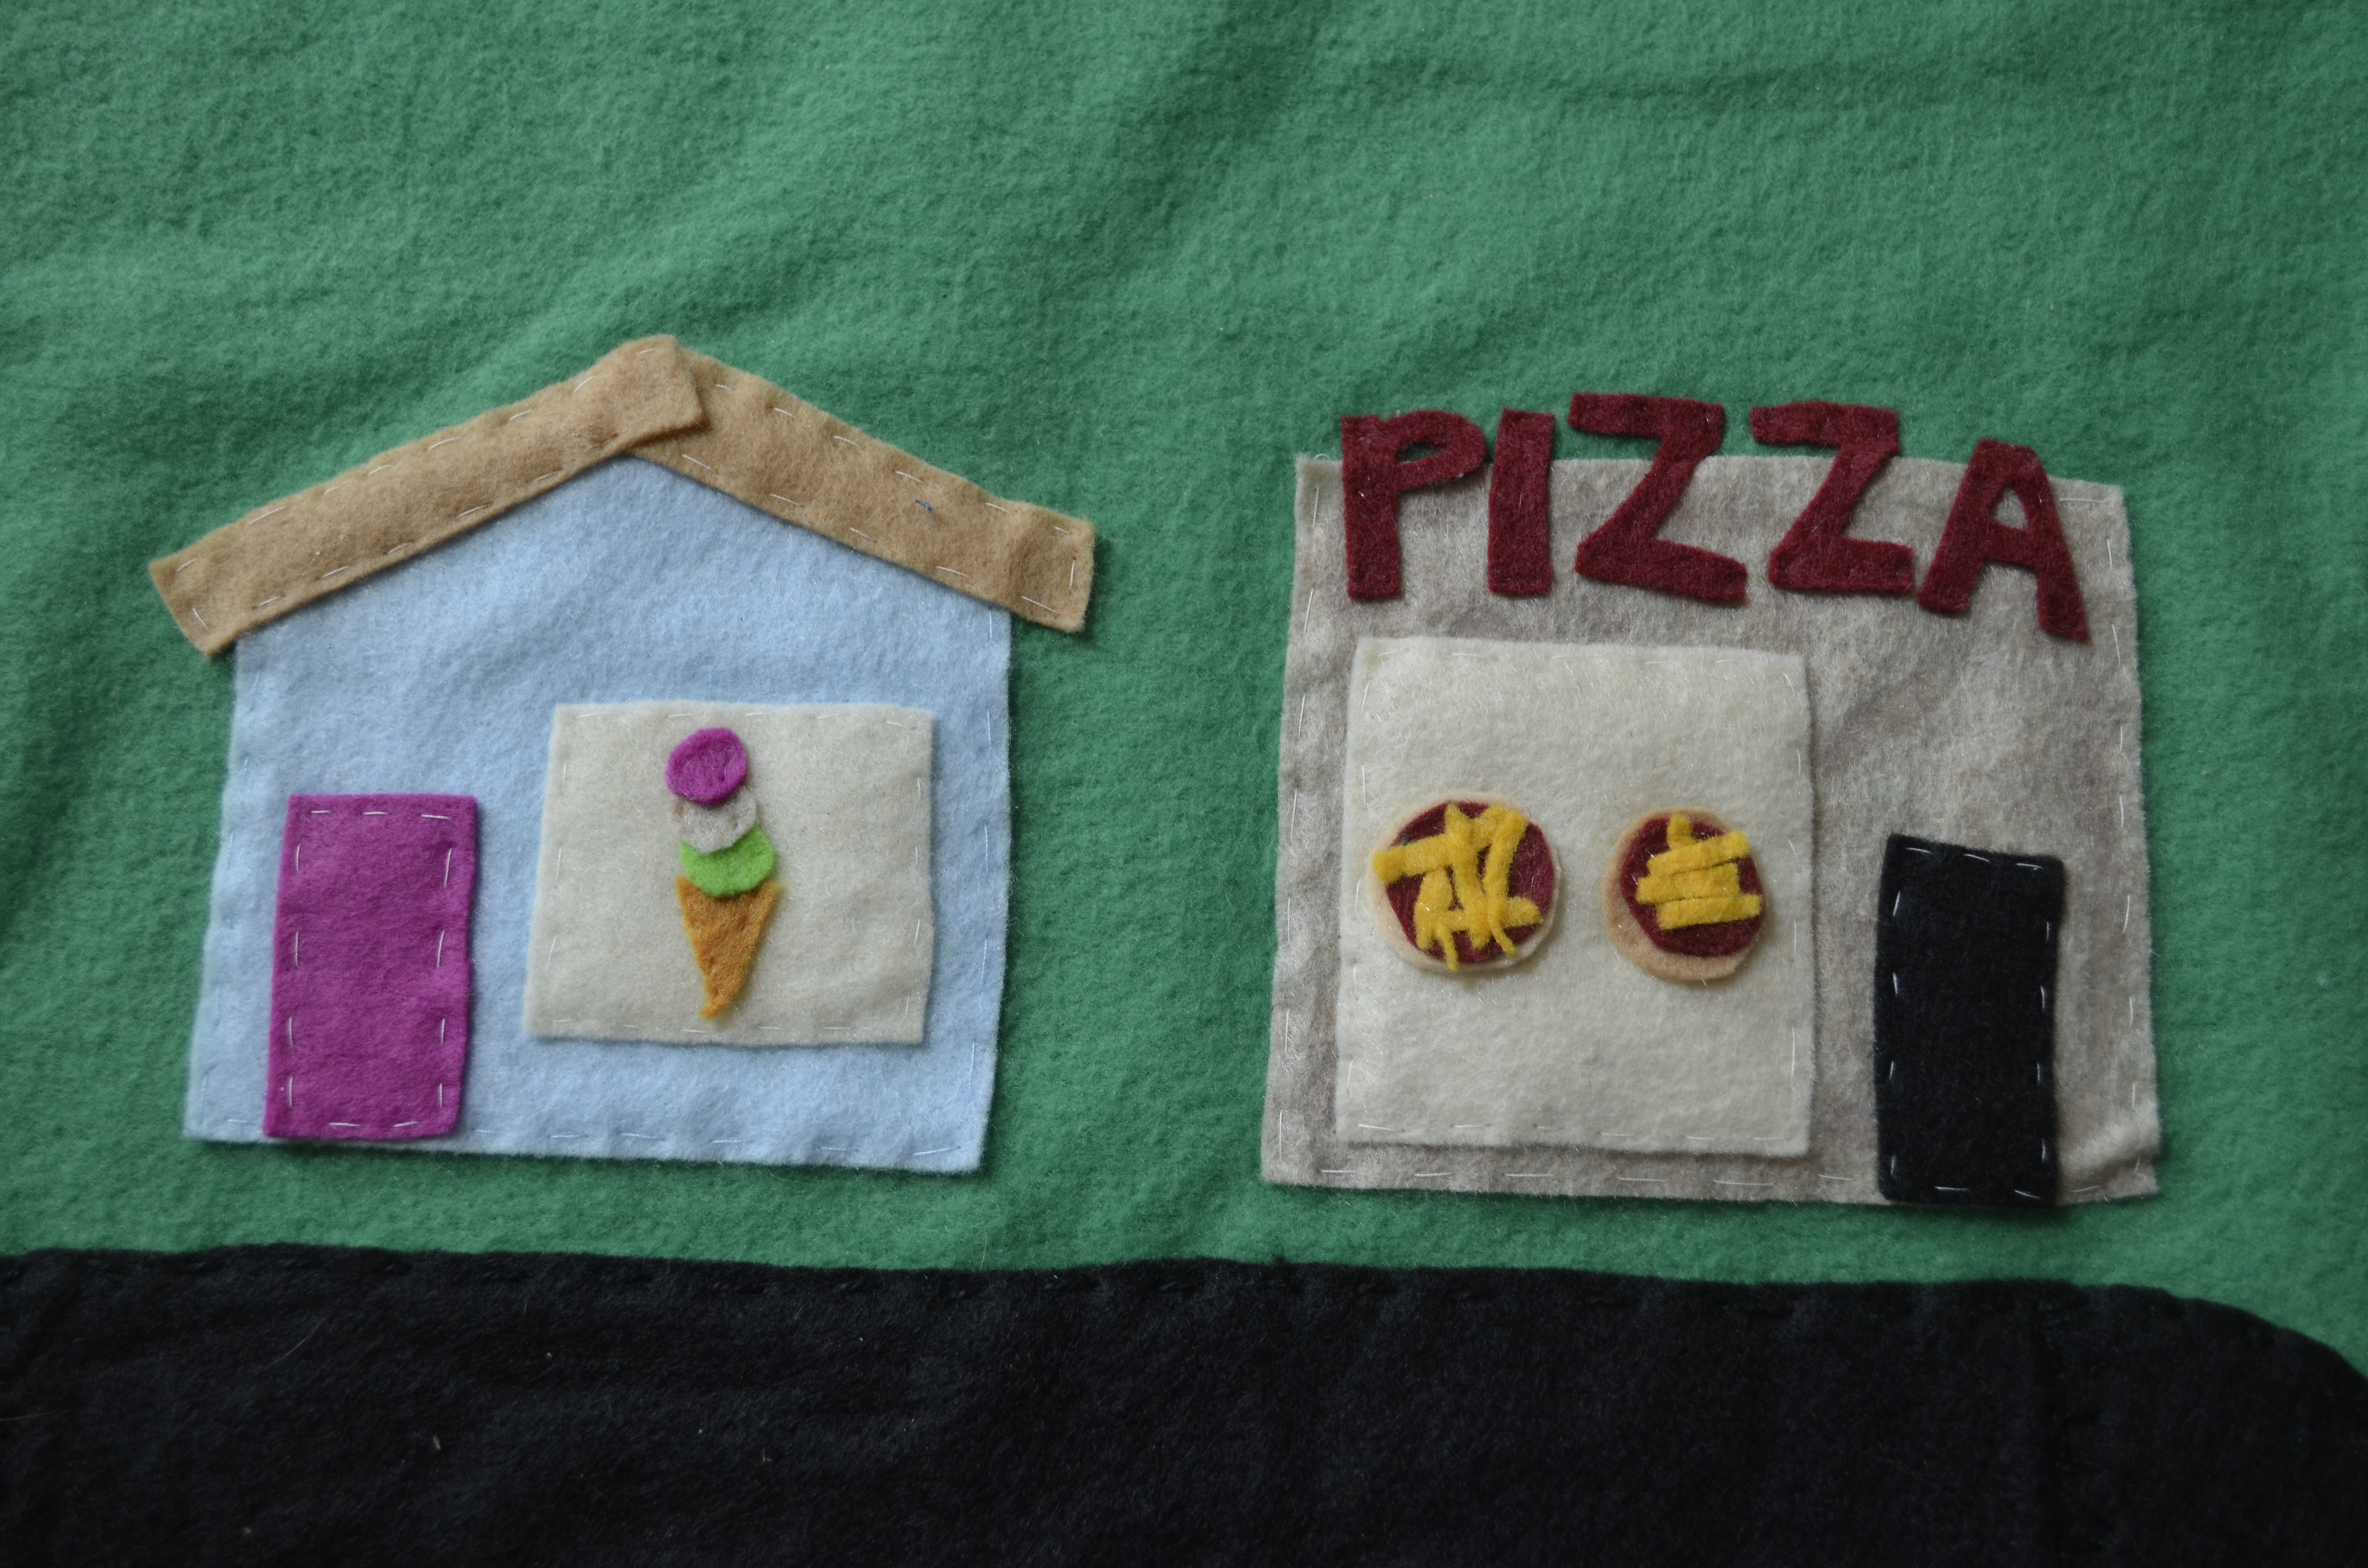
I customized this mat for Josiah, picking places that he would recognize from his everyday life. And from what I’m told, Jo loves some pizza and ice cream.

_DSC0361    _DSC0363

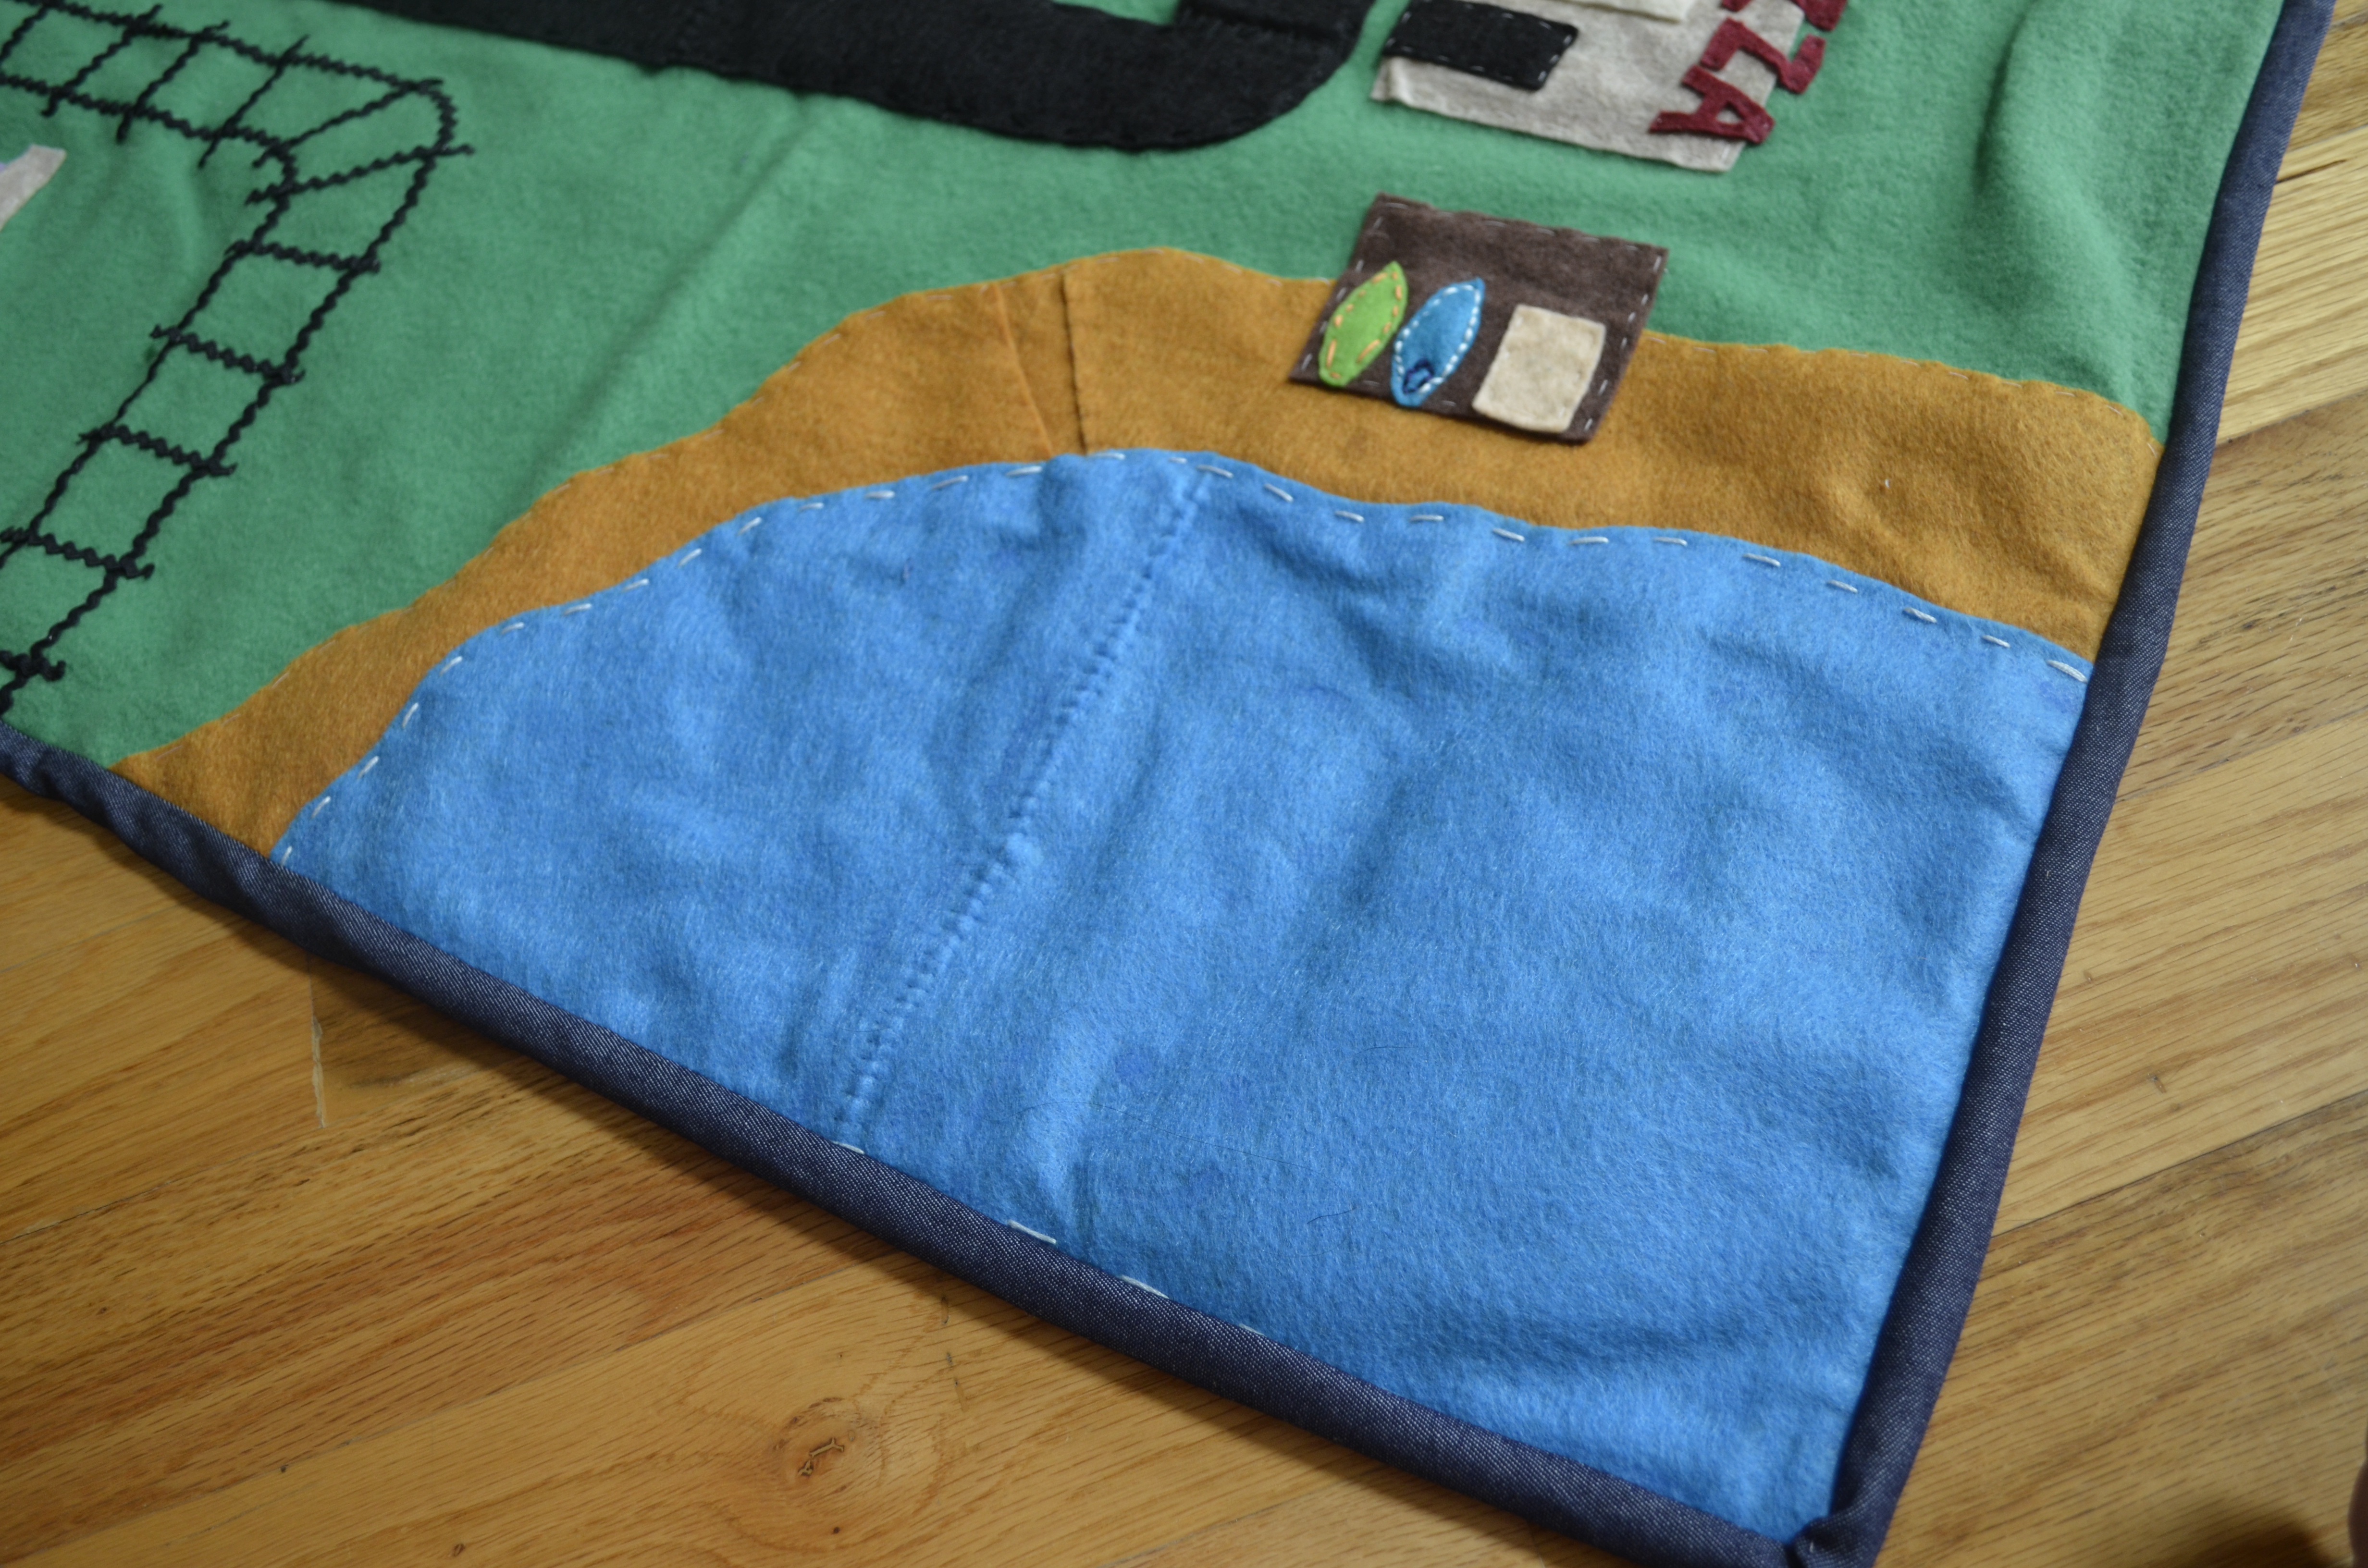
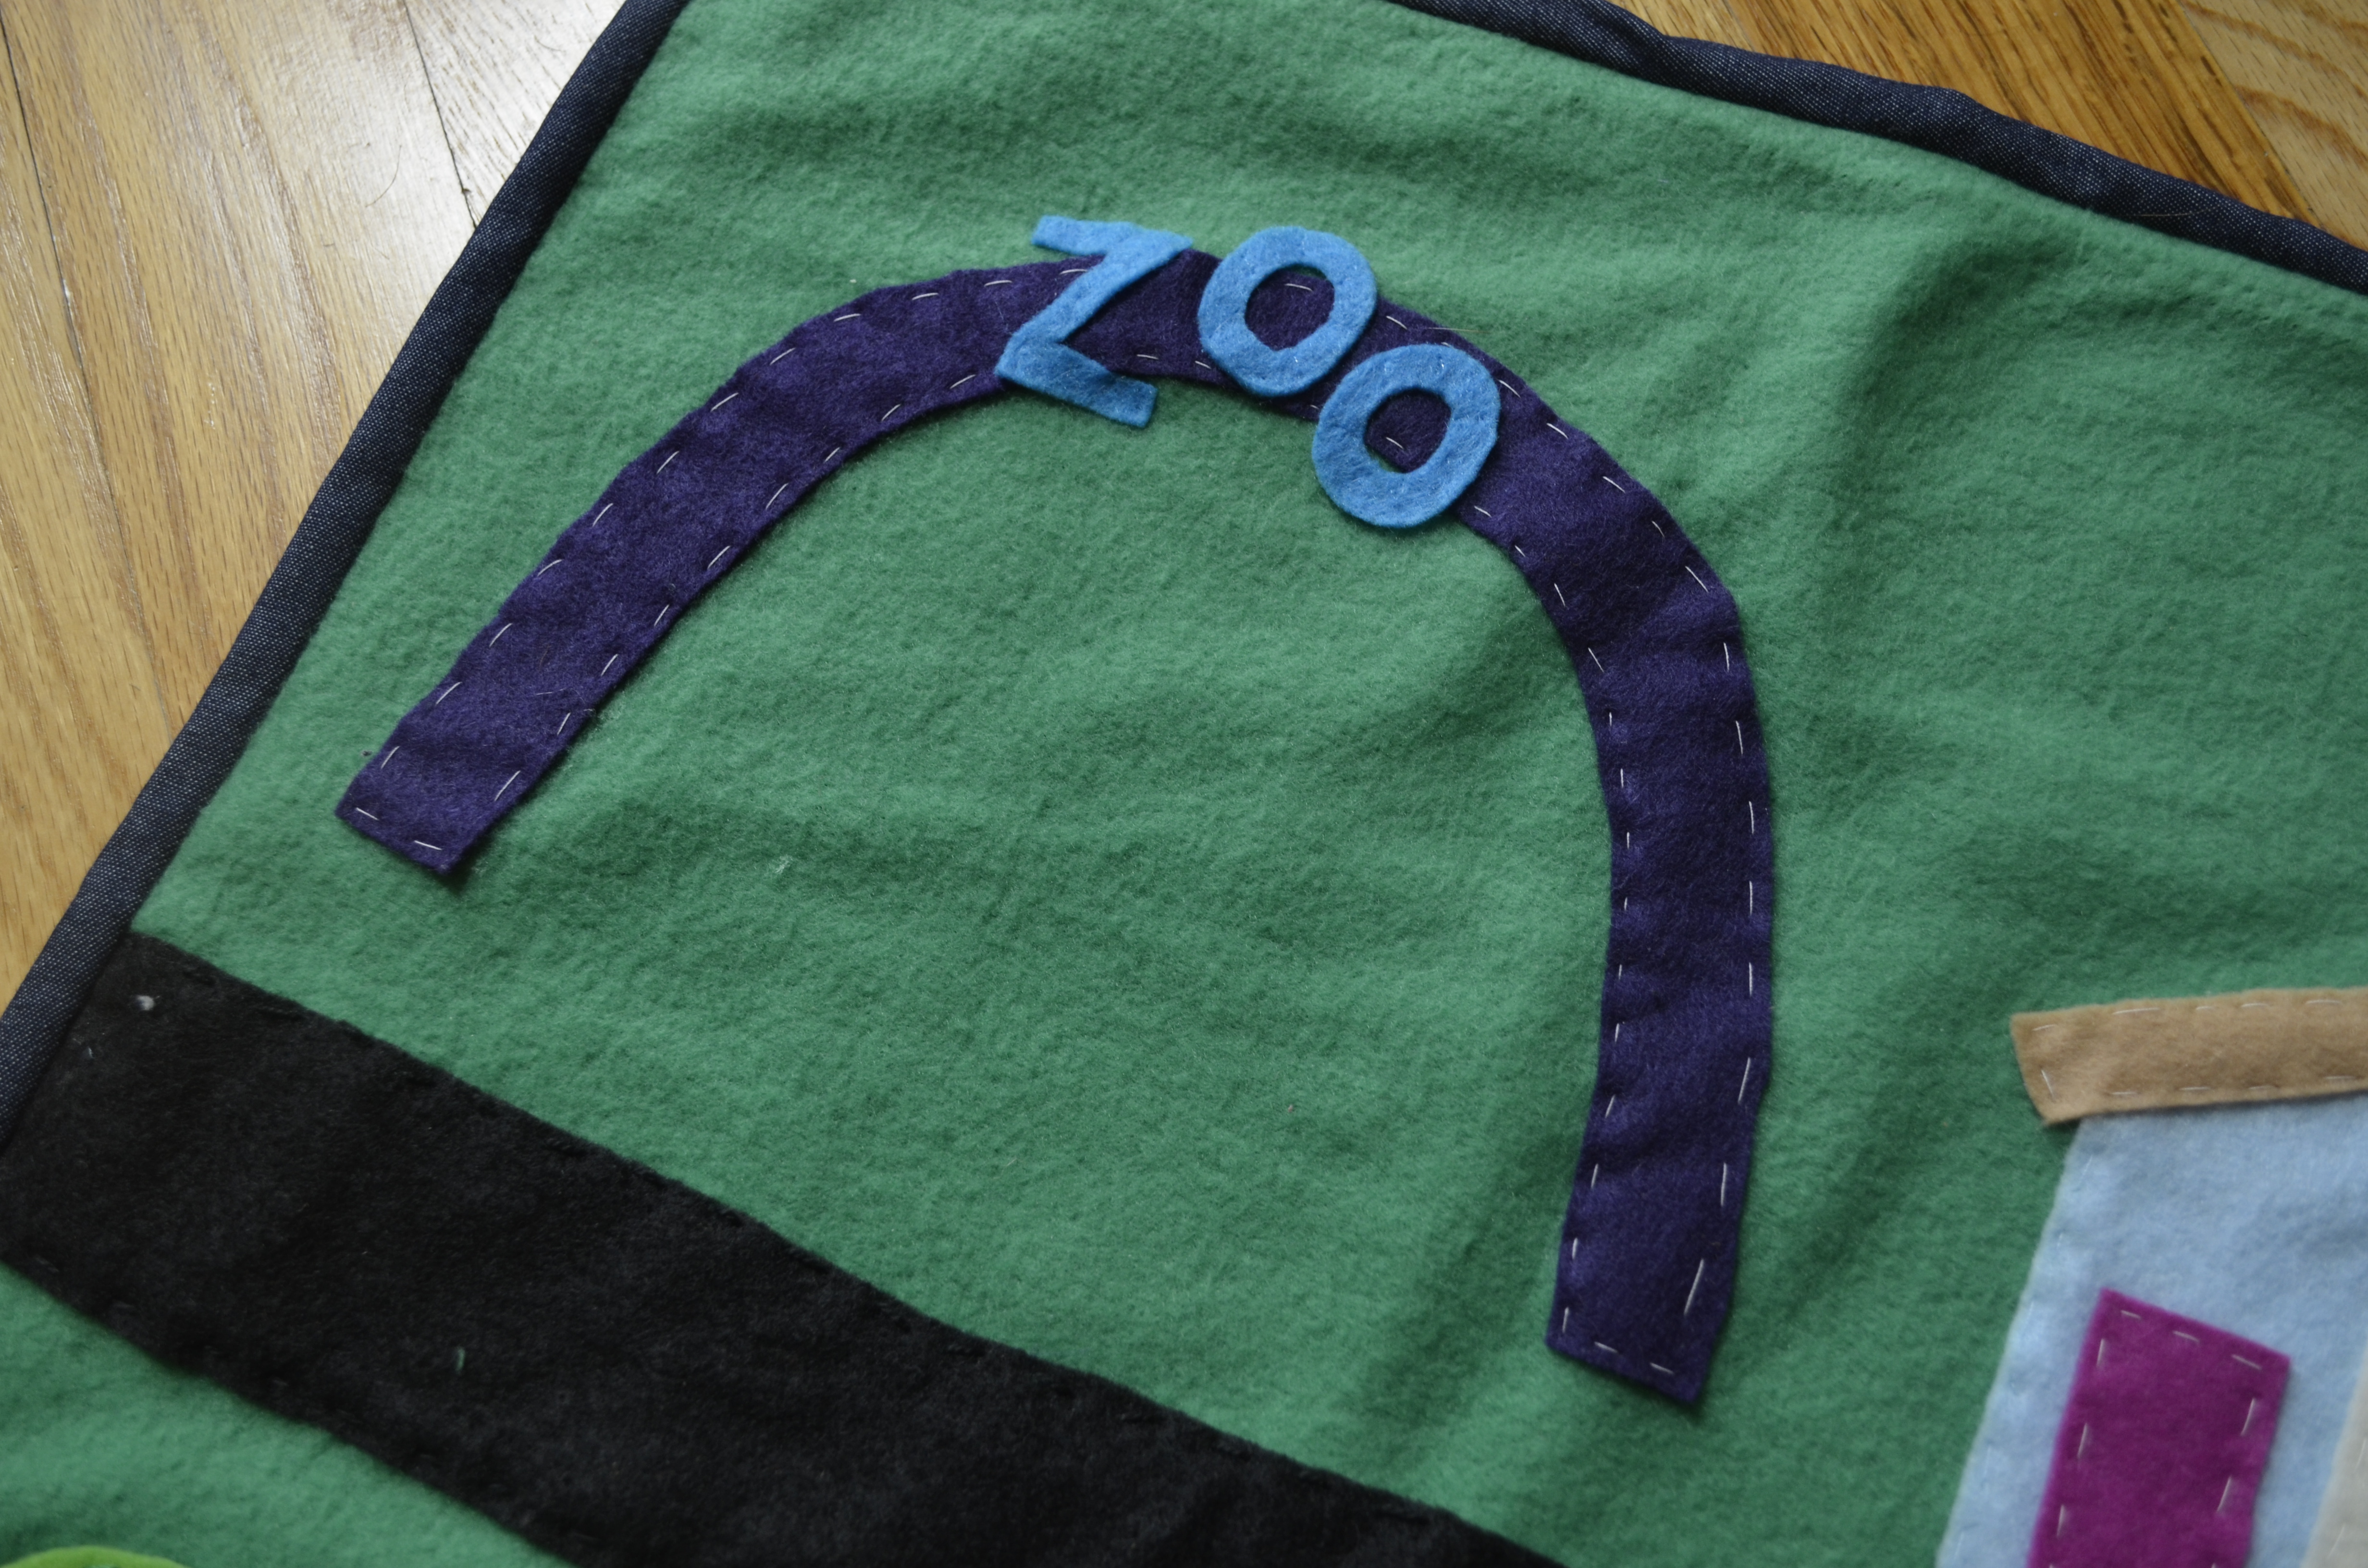
Since they live right on the ocean, I added a beach with the surf club my brother belongs too. For the zoo, I decided to leave the space blank since Josiah has so many small, plush animals he could place there.

_DSC0360

I totally took this gas station/car wash idea from Pinterst. I’m obsessed with the car wash. It’s my favorite element on the whole mat!

_DSC0366    _DSC0369

Dad’s office on the left, and a school on the right.

_DSC0367

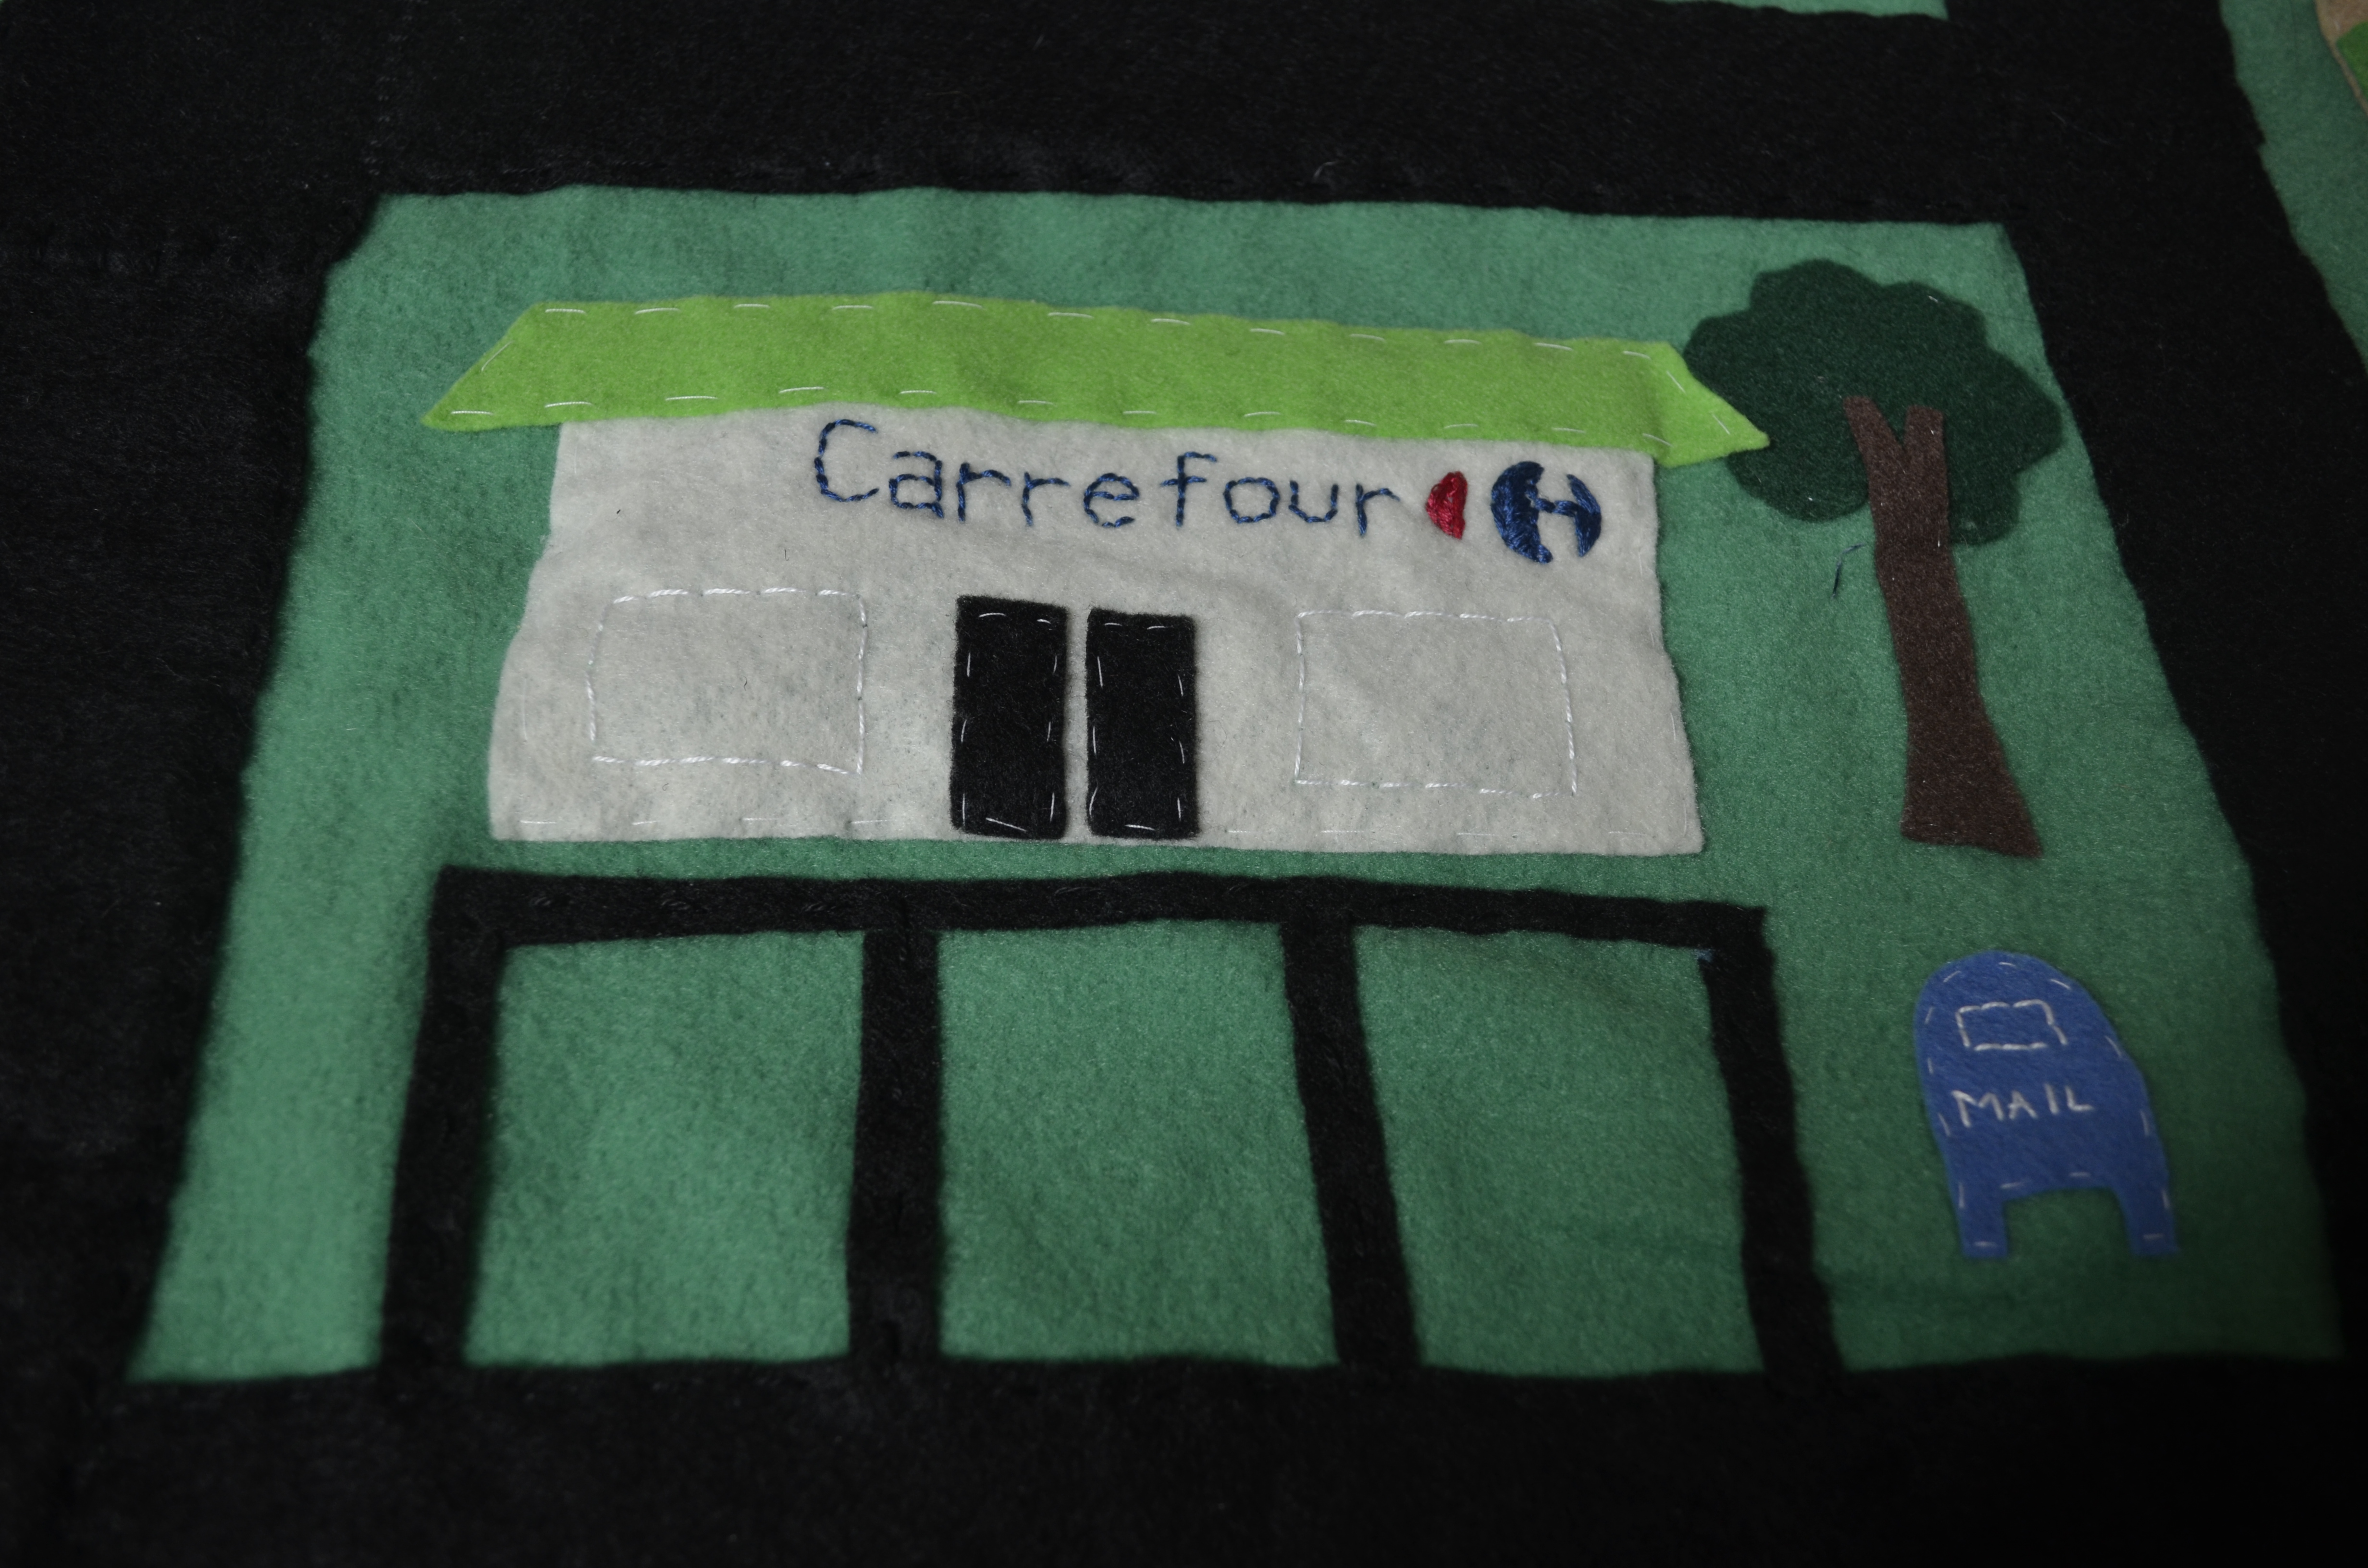
Their local grocery store is Carrefour. I tired to copy the store’s logo. Though looking back, I’m bet I subconsciously picked a green roof because I shop at Publix. And then with a little extra space, I placed a blue U.S. mail box!

_DSC0370

The train station was a must! And this too is an idea I found on Pinterest. I cut rick rack into piece for the railroad tracks, and then used felt to create an accompanying train station.

_DSC0371    _DSC0373

Last time I went to visit my brother and sister-in-law, we walked into the same music shop everytime we walked by it, so it was also a must-have. Plus, I think the little guitar and bongos look super cute in the windows. The fire station was added because I think it’s pretty iconic.

_DSC0376

These three buildings represent Josiah’s apartment on the right. His grandparents’ house is in the middle. And I added a house I thought could represent their good friends, the Wallaces. (Plus, I wanted to use the silhouette of that archway somewhere on the mat since it ties in so closely to where Josiah is growing up.)

_DSC0384

Finally, I added a Medena, or a little market. Of course, this is a lot smaller than the ones Josiah goes too, but I thought it was a needed detail.

_DSC0379

I attached the back piece of fabric the same as if I was making a quilt. I used basting spray to attach the two pieces together, and then I used denim fabric cut into 2-inch wide strips to bind the edges.

DIY Giant Jenga

Let me tell you about a bandwagon you need to jump on asap – Giant Jenga! After playing a couple of rounds at Good People Brewing Company in Birmingham, I created a set for my dad’s birthday (with lots of help from my grandmother). And it proved to be a crowd favorite when a bunch of family came to visit for a weekend in June.

20140619-132236-48156931.jpg
I credit my grandmother for constructing the wooden blocks. When the idea came to me, I faced the set back of not having access to power tools. I knew that if I had a circular saw, the project could come together quickly. When my grandmother heard about my dilemma, she offered up the services of the woodworking shop where she lives, and before I knew it, she had turned my idea into a reality.

Since I didn’t cut the blocks myself, I’m a little vague on a few details, but for the most part, the guys at the woodworking shop used my original instructions:

First, my grandma purchased 2x4x10 pieces of wood. (I believed she purchased white pine, but I could be making that up.) Then, using a circular saw, they cut the wood until 10.5-inch long pieces. Once cut, they sanded the edges, which my grandma said was a pretty laborious step.

They made 72 pieces, so when stacked in rows of 3, the set would be 24 blocks high.

20140619-132234-48154796.jpg

I went back and forth about painting the blocks. (I saw one idea on Pinterest that only painted the ends. Then by creating a corresponding wood dice, it created another version to play the classic game.) But in the end, I decided I liked the look of the untreated wood.

20140619-132242-48162014.jpg

Trust me, this game is a crowd favorite. It’s fun to join into the games’ strategy, and it’s hilarious to watch the huge tower come tumbling down.

Hand-Stitch a Star Chart

DSC_0442

A needle and thread are the only tools you need to recreate the night sky. My love for the stars and their constellation stories are not new. (You might remember my first constellation-themed project with a pair of Toms.) So when I began to brainstorm new projects to help decorate my new desk at work, I ended reverting back to a favorite, creating this hand-stitched star chart banner.

DSC_0418

Like my pair of Toms, I started by splatter-painting the material with silver paint, but this time, I used a piece of navy muslin fabric. (Sorry, I did not make note of dimensions) This process helps create the look of infinite stars, adding a beautiful layer of dimension. Once done with the silver paint, I did splatter on a little white paint too.

DSC_0447

Once the paint dries, I start with my needle and thread. I printed off a a star chart to help with a few constellations, but for the most part, I stitched everything from memory. If you don’t feel comfortable doing this, use an erasable fabric marker to draw the constellations before stitching. Along with the constellations, I stitched several additional starts to help fill in the spaces between constellations.

DSC_0452

To finish, I took a matching piece of navy muslin, and placed the two pieces right sides together. Using my sewing machine, I sewed them together using a 3/4 inch seam. At the top, I skipped over an inch on each side to leave room for the wood rod. After turning the fabric right-sides-out, I ironed it, placed the wood rod, and used hemp string to hang the banner.

Have an Adventure Embroidery Hoop

DSC_0071

I oftentimes find myself picking up a needle and thread when I have no plans after work. And like doodles on a notepad, designs begin to take shape. Many do not turn out – like a lot – but occasionally one will turn into a masterpiece. This is one of those times.

DSC_0068

I stuck with the fabric I love – felt – and I completely freehanded the world. Didn’t even look at a map. (I know, I’m shocked it turned out so well, too).

DSC_0072

With the world completely, I knew the phrase, “Let’s have an adventure” would be the perfect fit.

DSC_0074