Take Heart, I made you a pillow

IMG_3583

With Valentine’s Day right around the corner, I decided to make a few heart-inspired gifts for you love bugs. But let’s face it, I don’t need a holiday to embrace my adoration for hearts. I’m probably going to use the pillow all-year-round.

IMG_3595
Felt is the best fabric for this type of project because it does not fray. I cut the hearts out using the method my elementary school teacher used to teach me about symmetry, and I simply used the first heart as a template for the rest.

DSC_0499
Once pinned in place, I used my sewing machine to stitch the hearts in place. If you have a embroidery foot for your machine, it would be great for this project. I just used the standard foot. Even though my lines are a little “zig zag,” I like the look. (It’s the imperfectness that makes you know it’s homemade.)

DSC_0501
I love a pillow with piping, but for this pillow, I felt like it needed a little ruffle. So after sewing the pillow together (right side together), I flipped the pillow (rights sides out) and ironed it. I then stitched a half-inch border, leaving the same size hole for stuffing the pillow. Next, I stuffed the pillow using a polyfill pillow stuffing, and used my sewing machine to close the hole of the inside border stitch. I used a blind stitch the close up the outside.

DSC_0498
It took me a little over an hour to put this pillow together. And now it’s on sale over at the Etsy shop.

Brown Paper Packages Tied Up with String

From January to November, I am all about using kraft paper for all of my gift wrapping needs. Add in a  cute ribbon, and I have a simple yet adorable package to give out for birthdays, weddings – you name it! But come December, and I can’t help but fall in love with the festive holiday options.

But since life after college has been all about being resourceful, I decided to not invest in the beautiful and very tempting sheets of holiday wrapping (I’m looking at you Paper Source), and instead, use the materials I already have: brown paper, paint and plenty of ribbons!

20131220-120517.jpg

Step 1: Wrap your gift. (Easy enough)

20131215-100604.jpg

Step 2: Paint your design. (My flowers are a mixture of white paint with touches grey and red and black centers.)

20131220-120506.jpg

Step 3: Tie it all up with a bow.

(Sadly, it appears that I got so into gift giving that I forgot to take pictures of this step and onward.) But just imagine it in mind – the beauty of a simple, wrapped gift.

My Love Letter to Paper Source

Birmingham has seen so much growth since I moved here in 2009 – new music venues, restaurants and a baseball stadium. But if I were to list my top five favorite businesses that have moved to the Magic City in the past 4 years, Paper Source is definitely one them.

20131213-192930.jpg
Why do I love this place? Not only do they have a wonderful selection of cards and stationary, but they also sell sheets of wrapping paper that I use as posters. For less than $5 a sheet, they make for easy decor (seen here in my bedroom).

20131213-192140.jpg
20131213-192120.jpg
Now Paper Source is not paying for me to write this post, but if anyone from the company is reading this, I would happily endorse you more in return for gift cards and stationary!

An Apartment Christmas

I debated for a week whether I wanted to get a real Christmas tree. Pro – A Christmas tree is magical. Con – It’s a big set up for someone who’s going out of town for the holidays. Plus I would have to clean it up afterwards. In my mind, the cons outweighed the pros, so I did not get a Christmas tree this year. But that didn’t stop me from decorating elsewhere.

20131212-232329.jpg
My parents brought me my great grandmother’s chest of drawers to use as my TV stand (and craft supply storage), but for Christmas, I decided to let it display my felt ornaments I made last year.

20131212-232347.jpg
Who needs a tree! I think these ornaments look better here because they are easily displayed (and not stuck behind any branches). Maybe one Christmas I’ll invest in a real Christmas tree, but for now, I’ll be festive in other ways.

20131212-232428.jpg  20131212-232420.jpg

Holiday Yarn Pom Pom Garland

_DSC0182

As you know, I love a good pom pom made (See: Pom Pom Flowers), so when it came time to decorate for Christmas, I thought I would whip up an easy pom pom garland. And though I have already posted a tutorial, I figured it would a refresher wouldn’t hurt. And this time, instead of telling you, I thought I would show you!

Need it now? You can buy the garland on Etsy today for $15.50.

What’s in a Name: Creating my Etsy shop

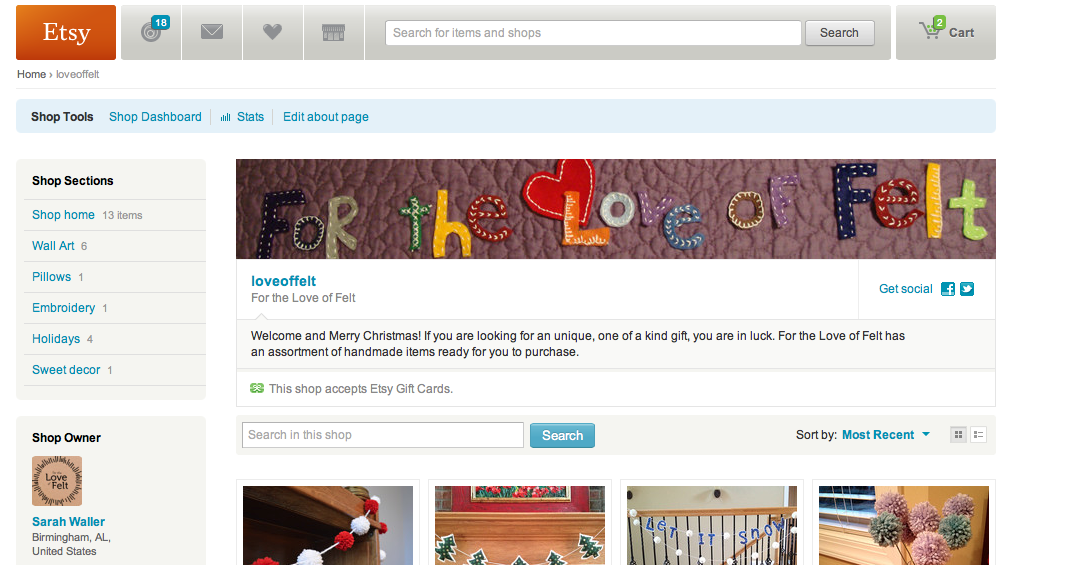
As this blog approaches its third birthday (celebration soon to come), I figured it was about to time to expand – enter Etsy from stage left.

Screen Shot 2013-12-02 at 7.21.22 PM

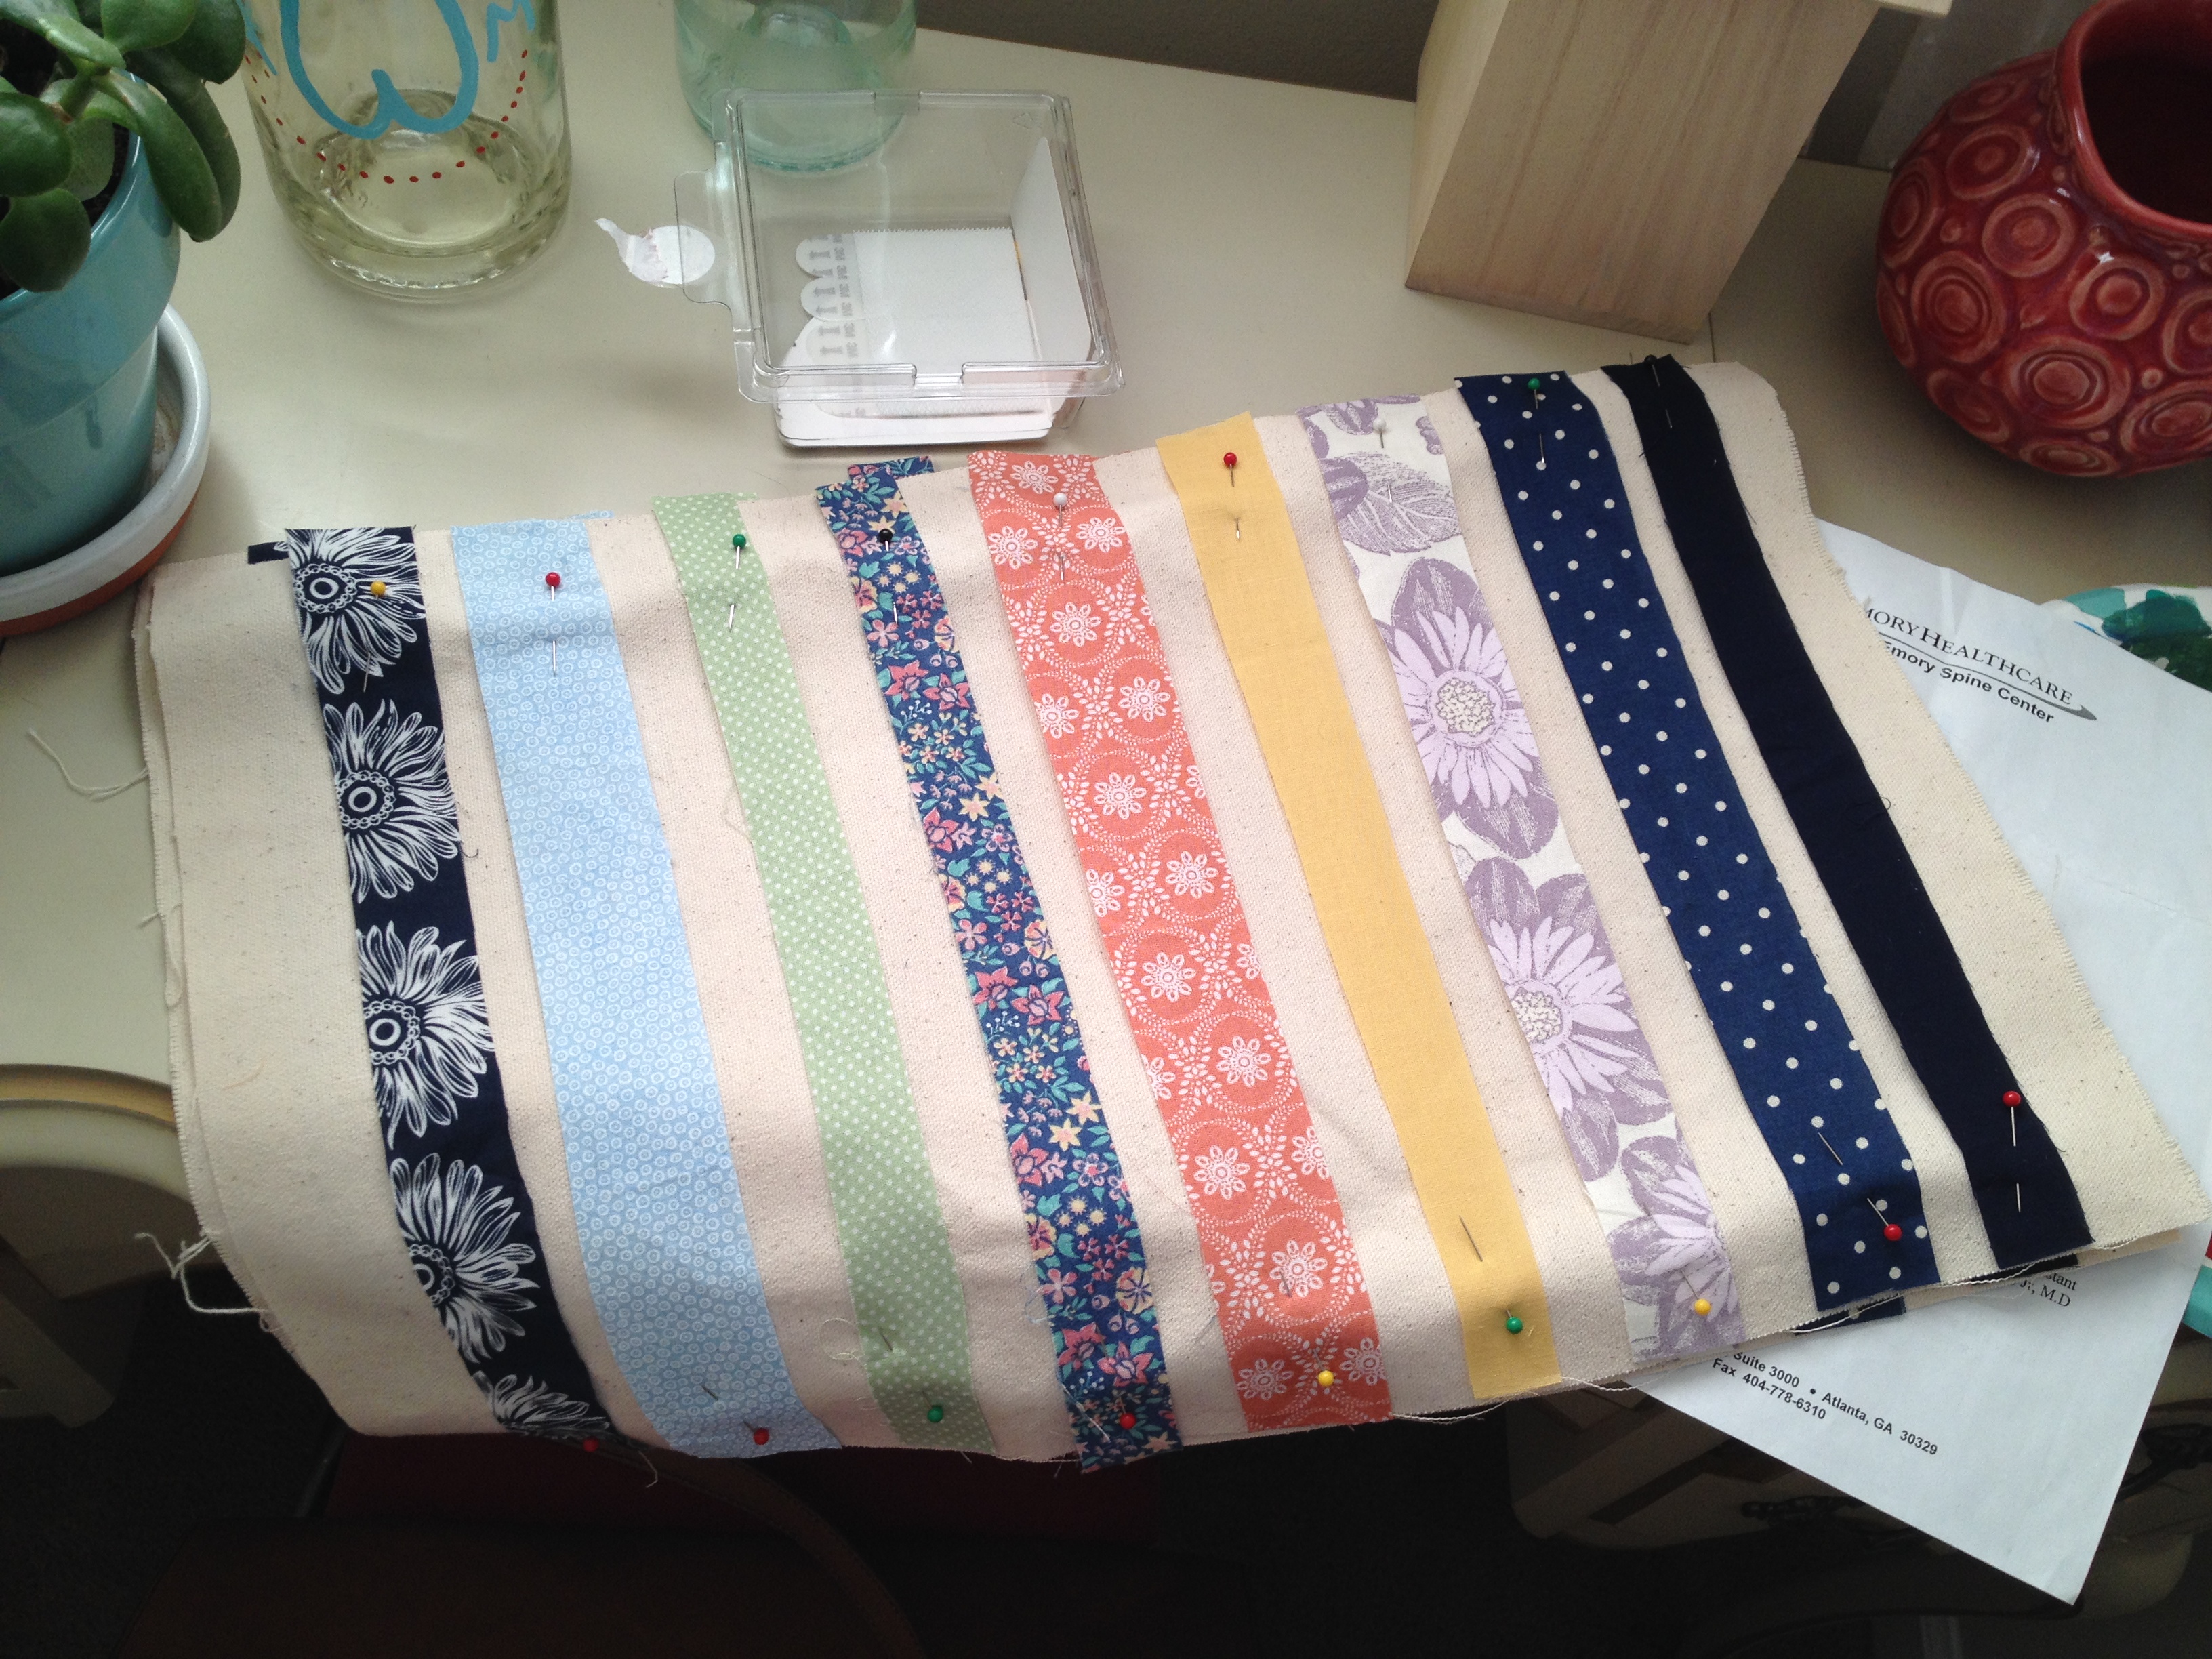
This Etsy shop has been a long time coming. People kept asking me why I didn’t sell the items I made. And the fact is, I’m not very good at production. Crafting is no longer fun for me when I feel like I have to do it. Once I make something, I want to move on to the next, new and exciting thing!

So I created a shop that works for me. I want my shop to be an extension of this blog – hence the shared name. I’ll keep posting projects and tutorials here, hopefully providing you the inspiration to create wonderful things. But for those who love the idea but don’t have the time to make it themselves, they can now skip the steps and buy the final product by clicking the link at the end of the post.

The shop has been open for about a month now, and I know I still have so much to learn about Etsy. It’s a big marketplace, and I’ll admit, I haven’t found my niche. But this is what I have learned so far and am still trying to figure out.

(1) Amazon has taught us to expect free shipping. 

Now Etsy doesn’t tell you this, but I realized it after spending quite a bit of time shopping on Etsy myself. For my mom’s birthday, I found this amazing pie plate for a reasonable price, but I didn’t buy it because shipping was going to cost an additional $20. It takes away the confidence of an impulse buy. So I’m offering free shipping on all my products. And so far, my items are small/light enough to not cost that much to ship. But we’ll see how it goes with future purchases.

(2) Price point is a hard thing to figure out.

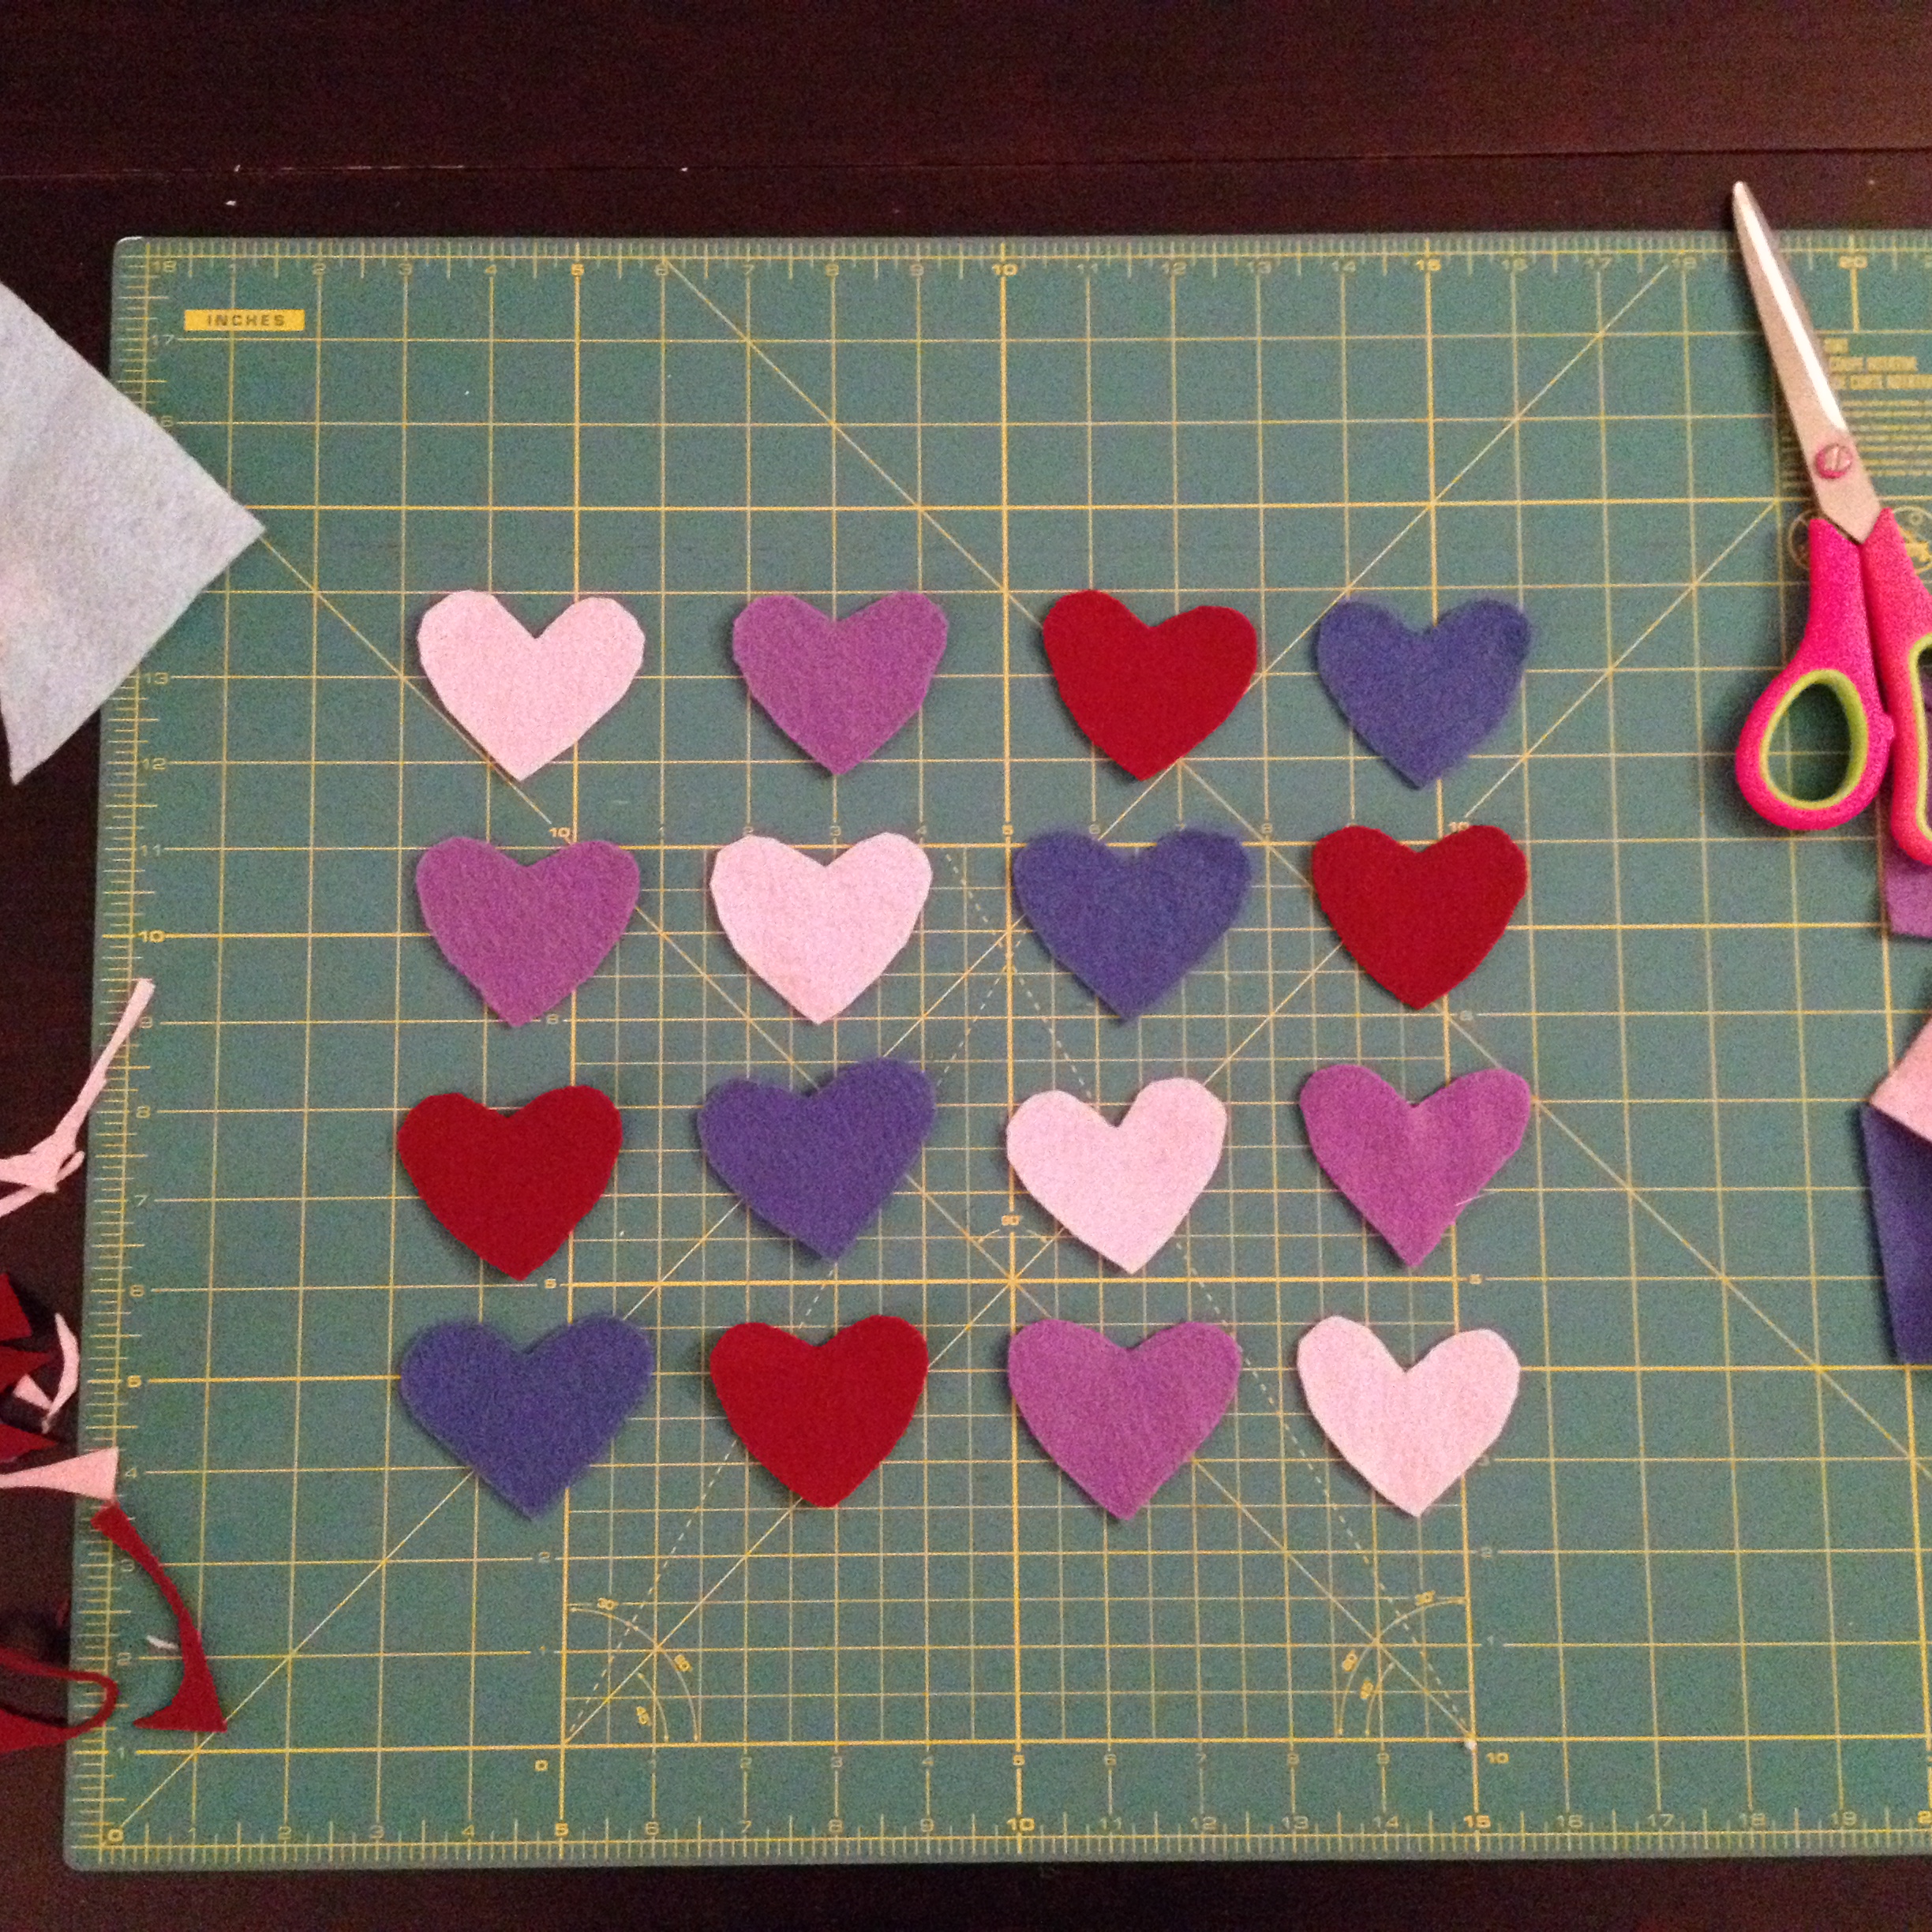
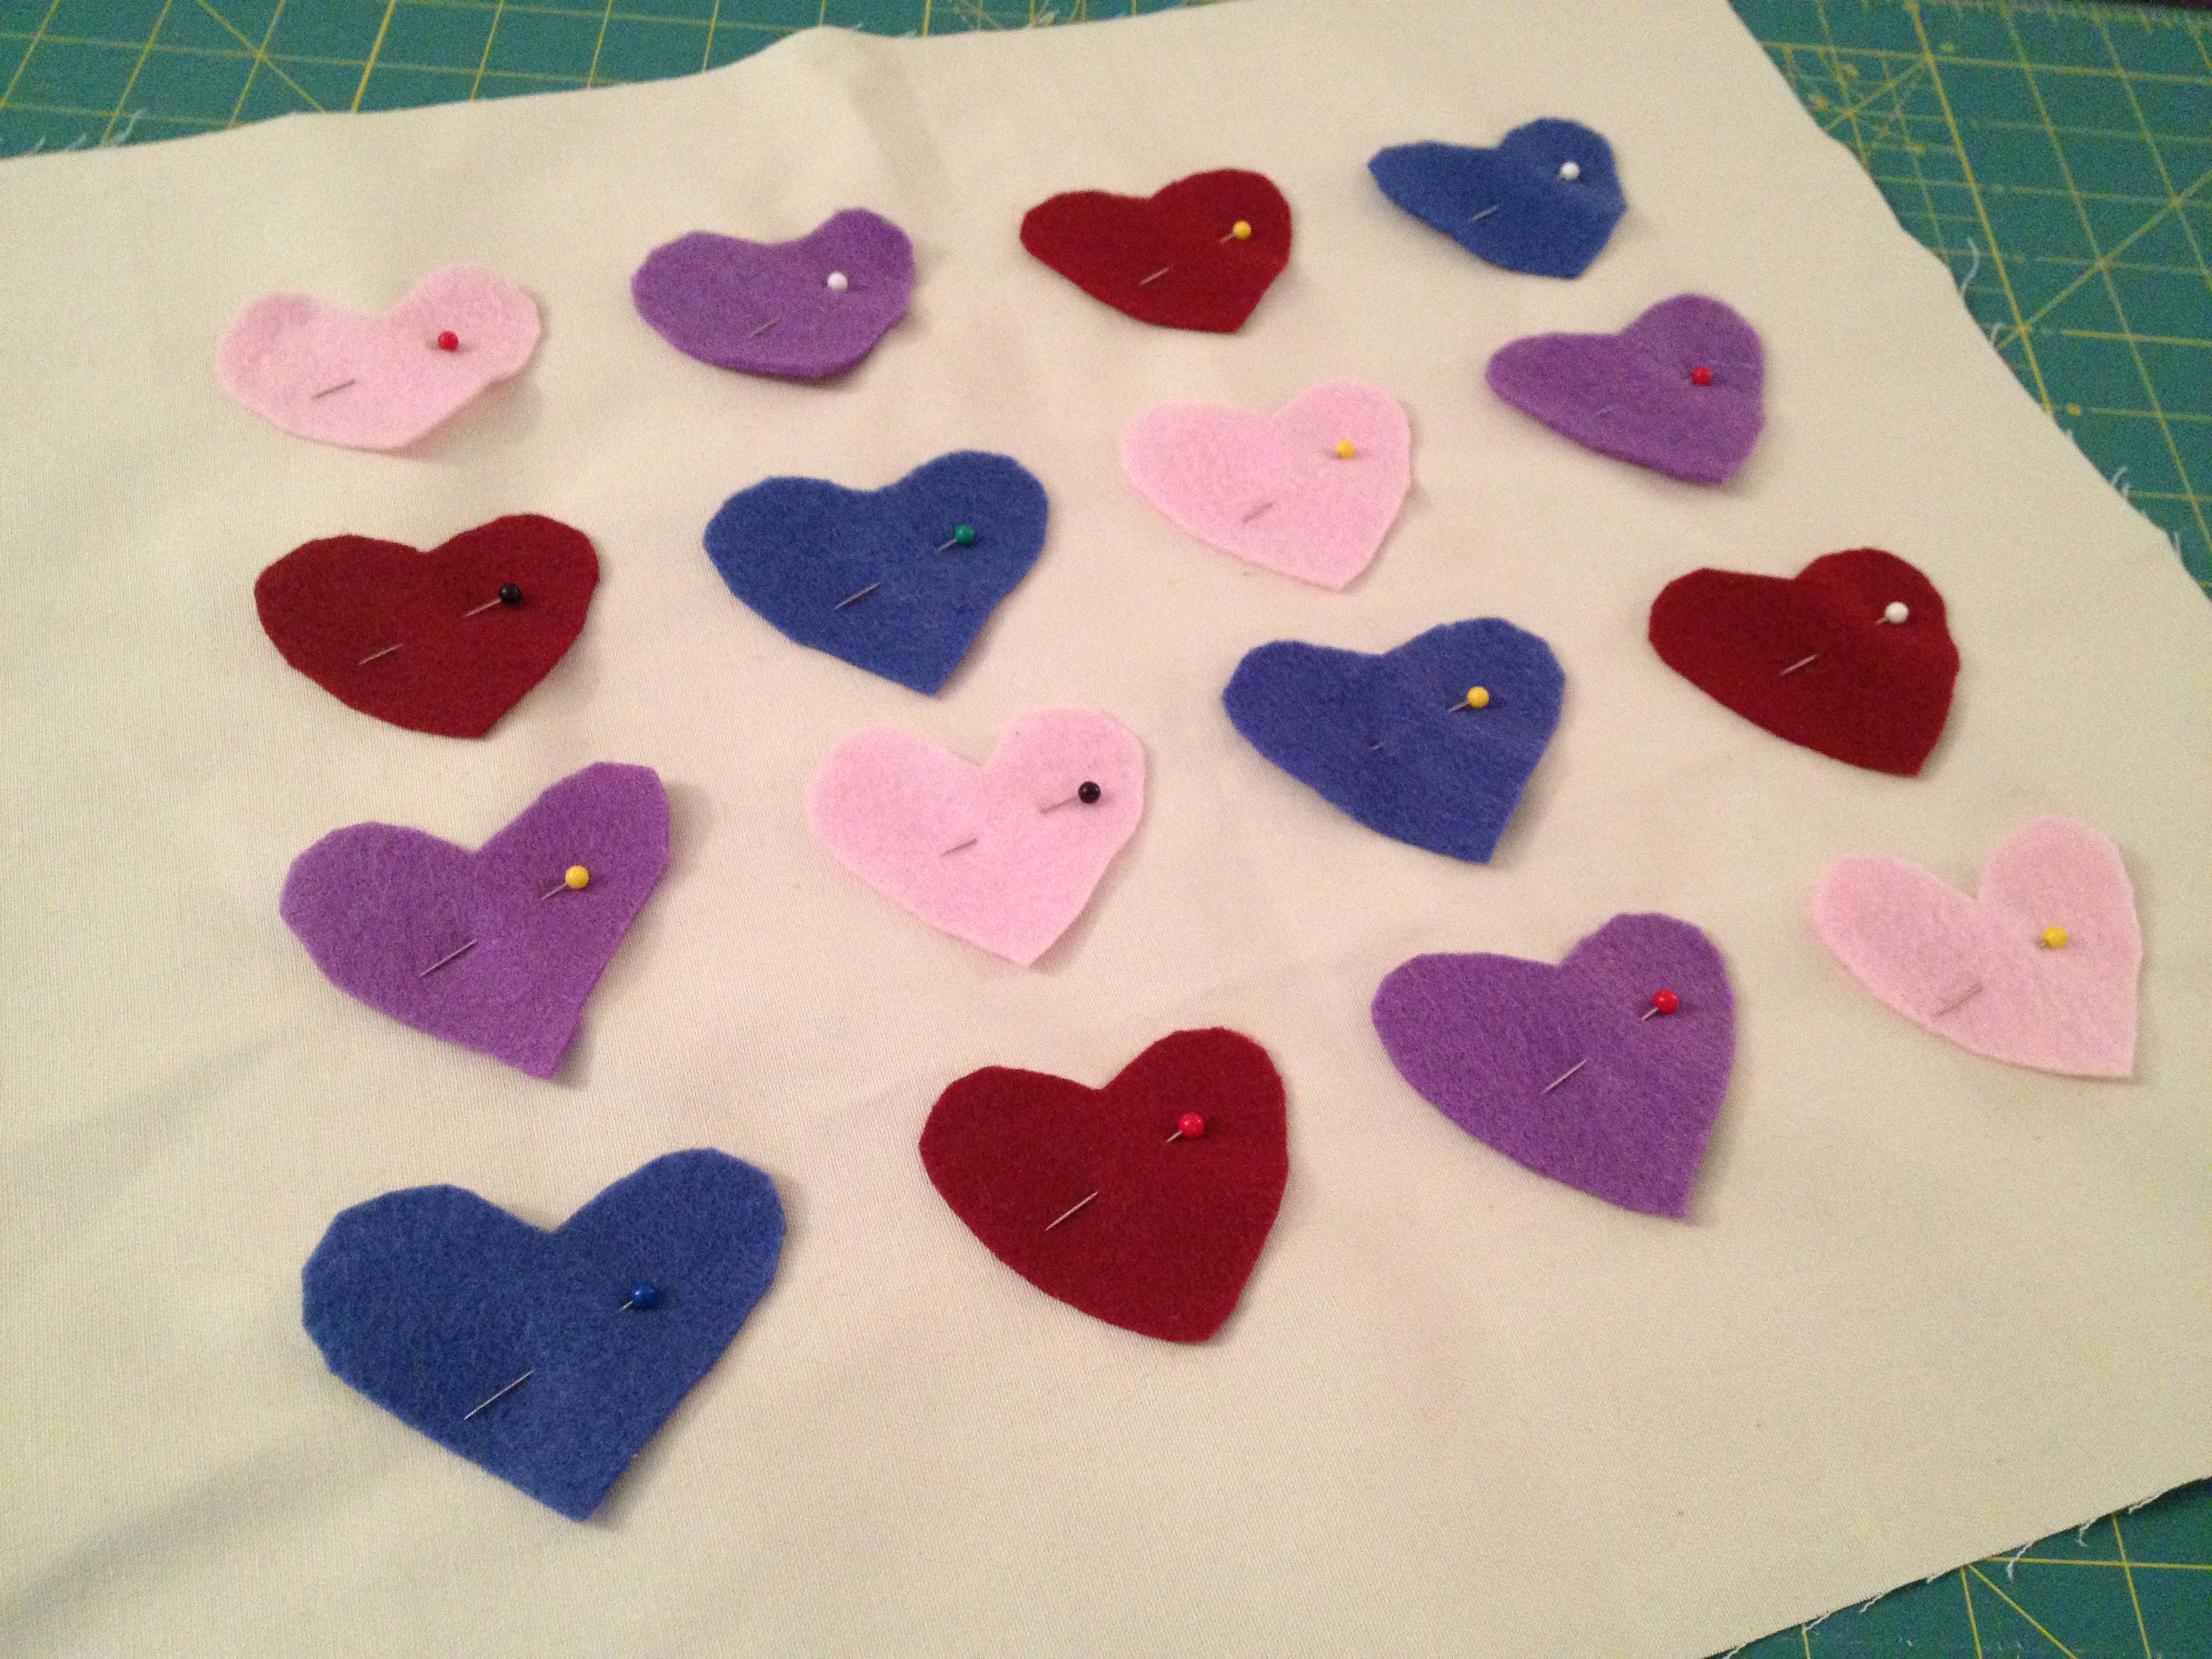
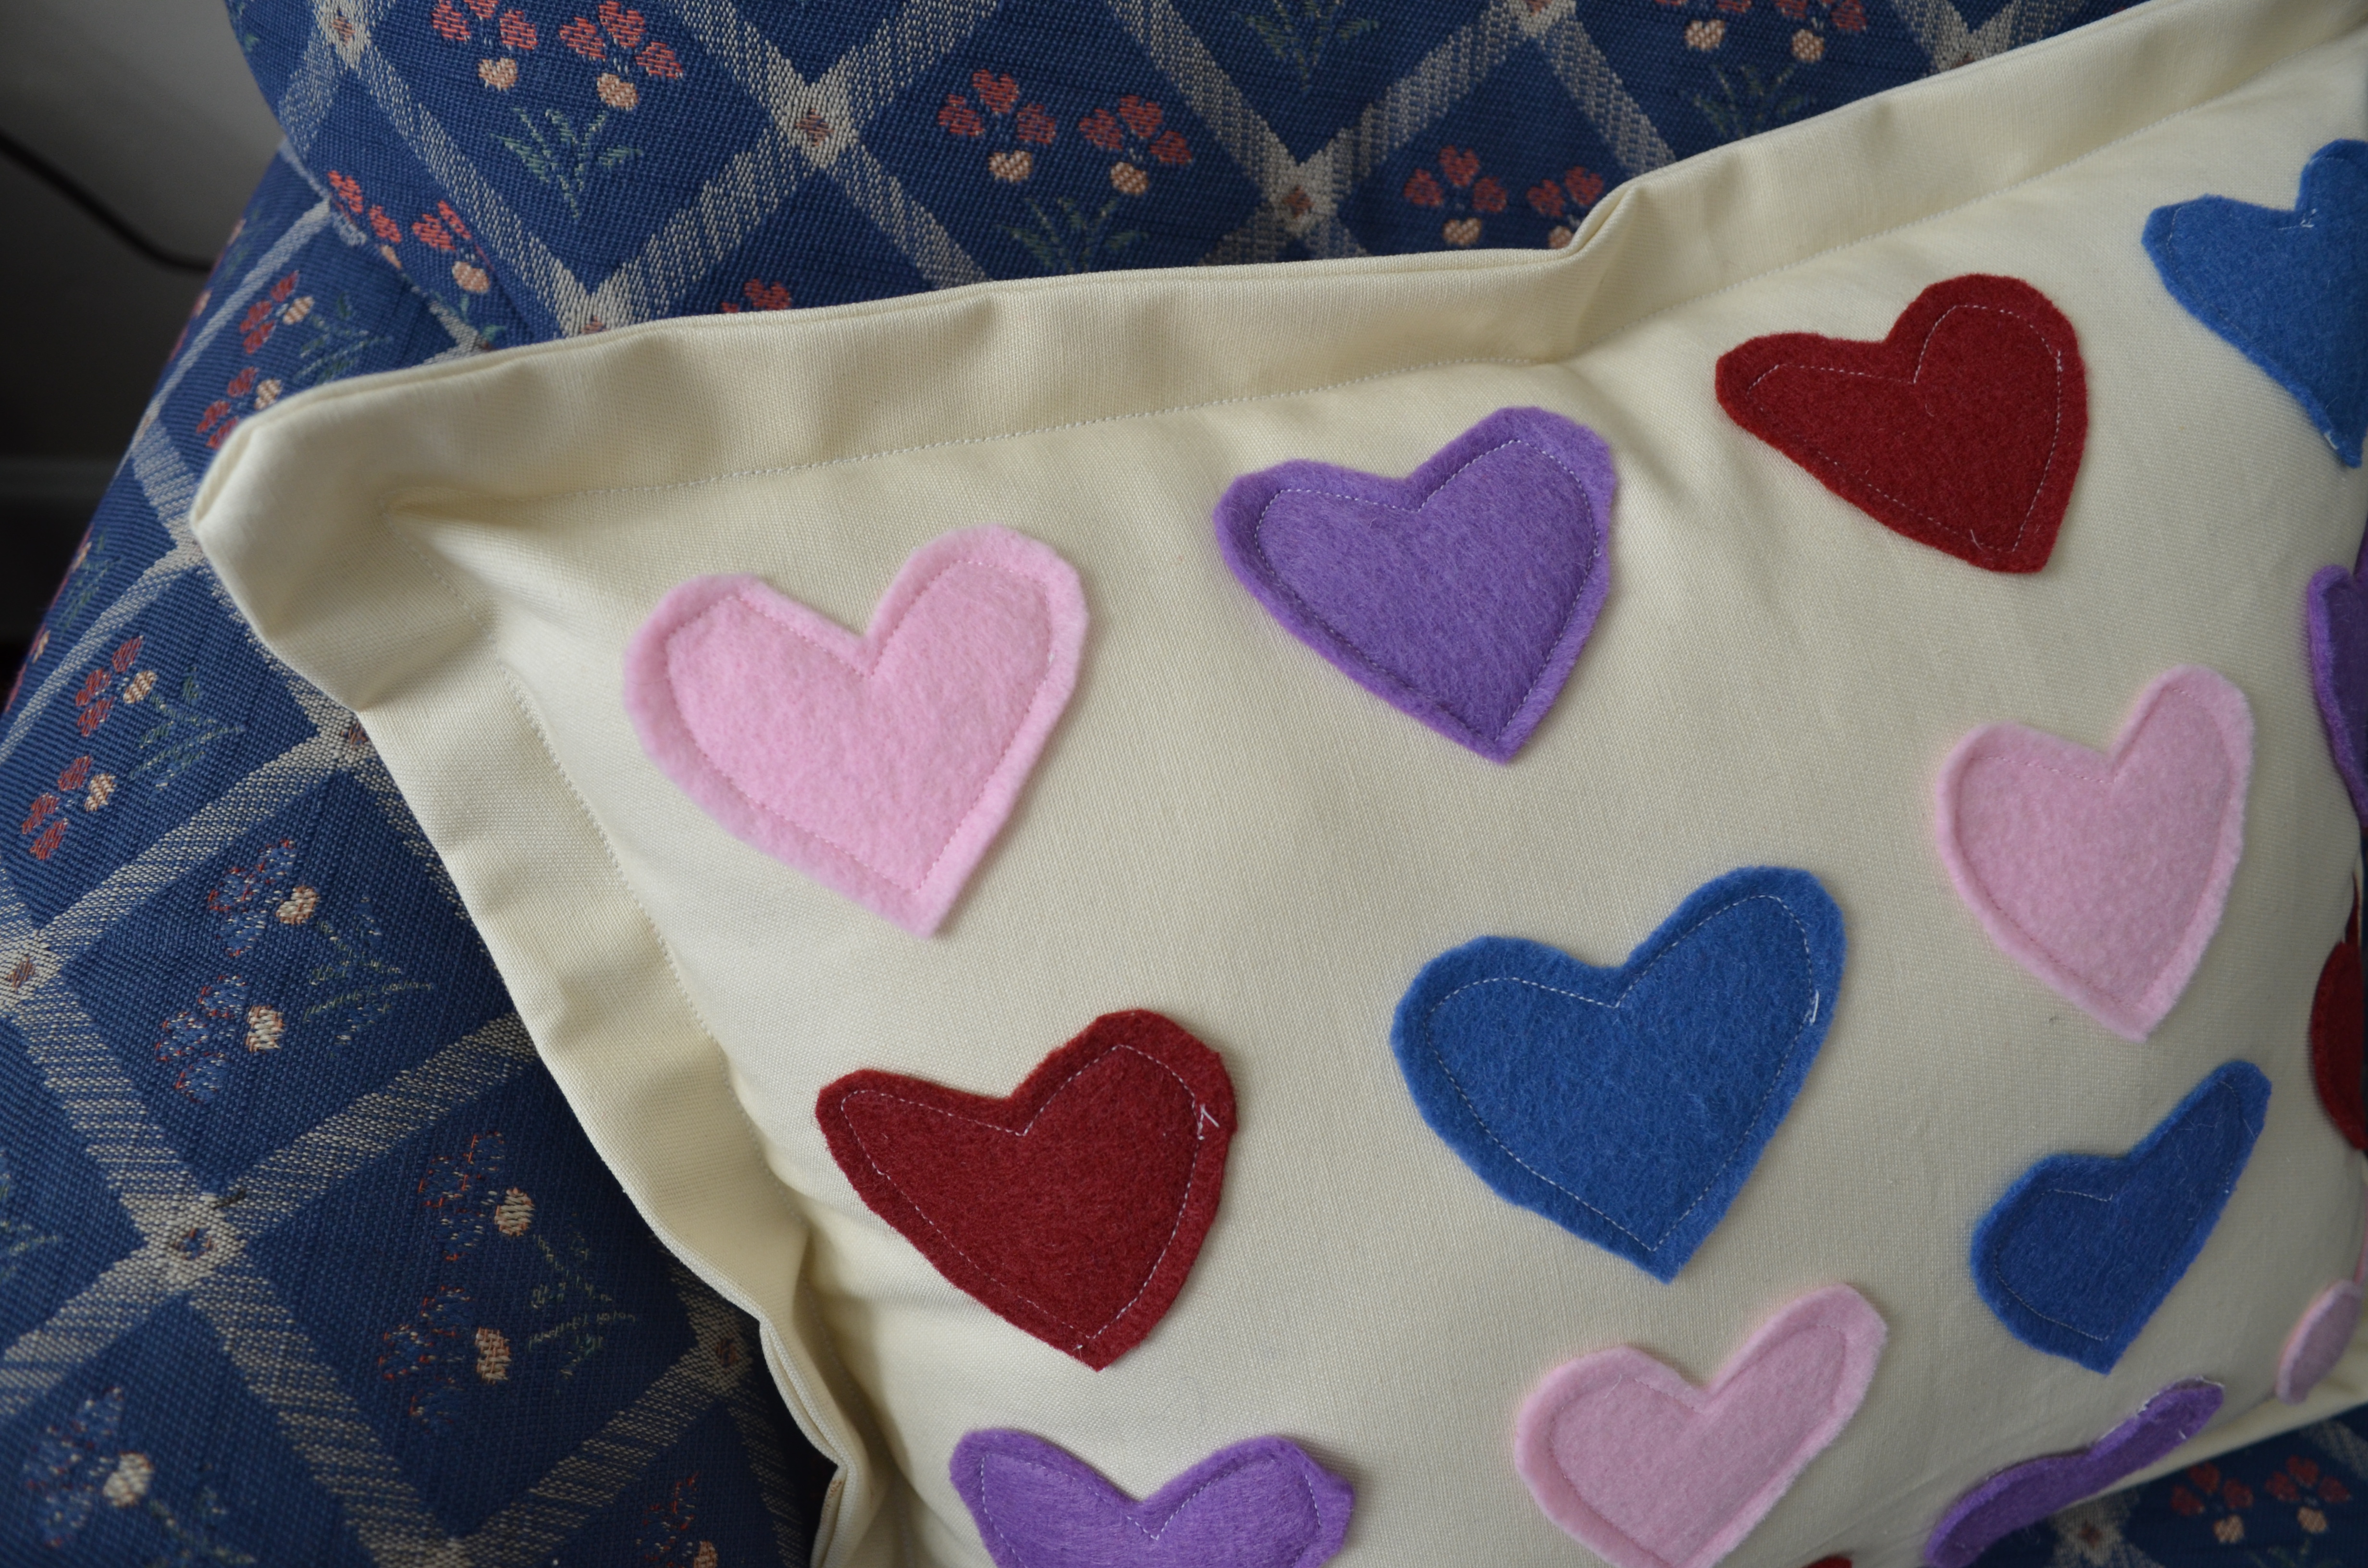
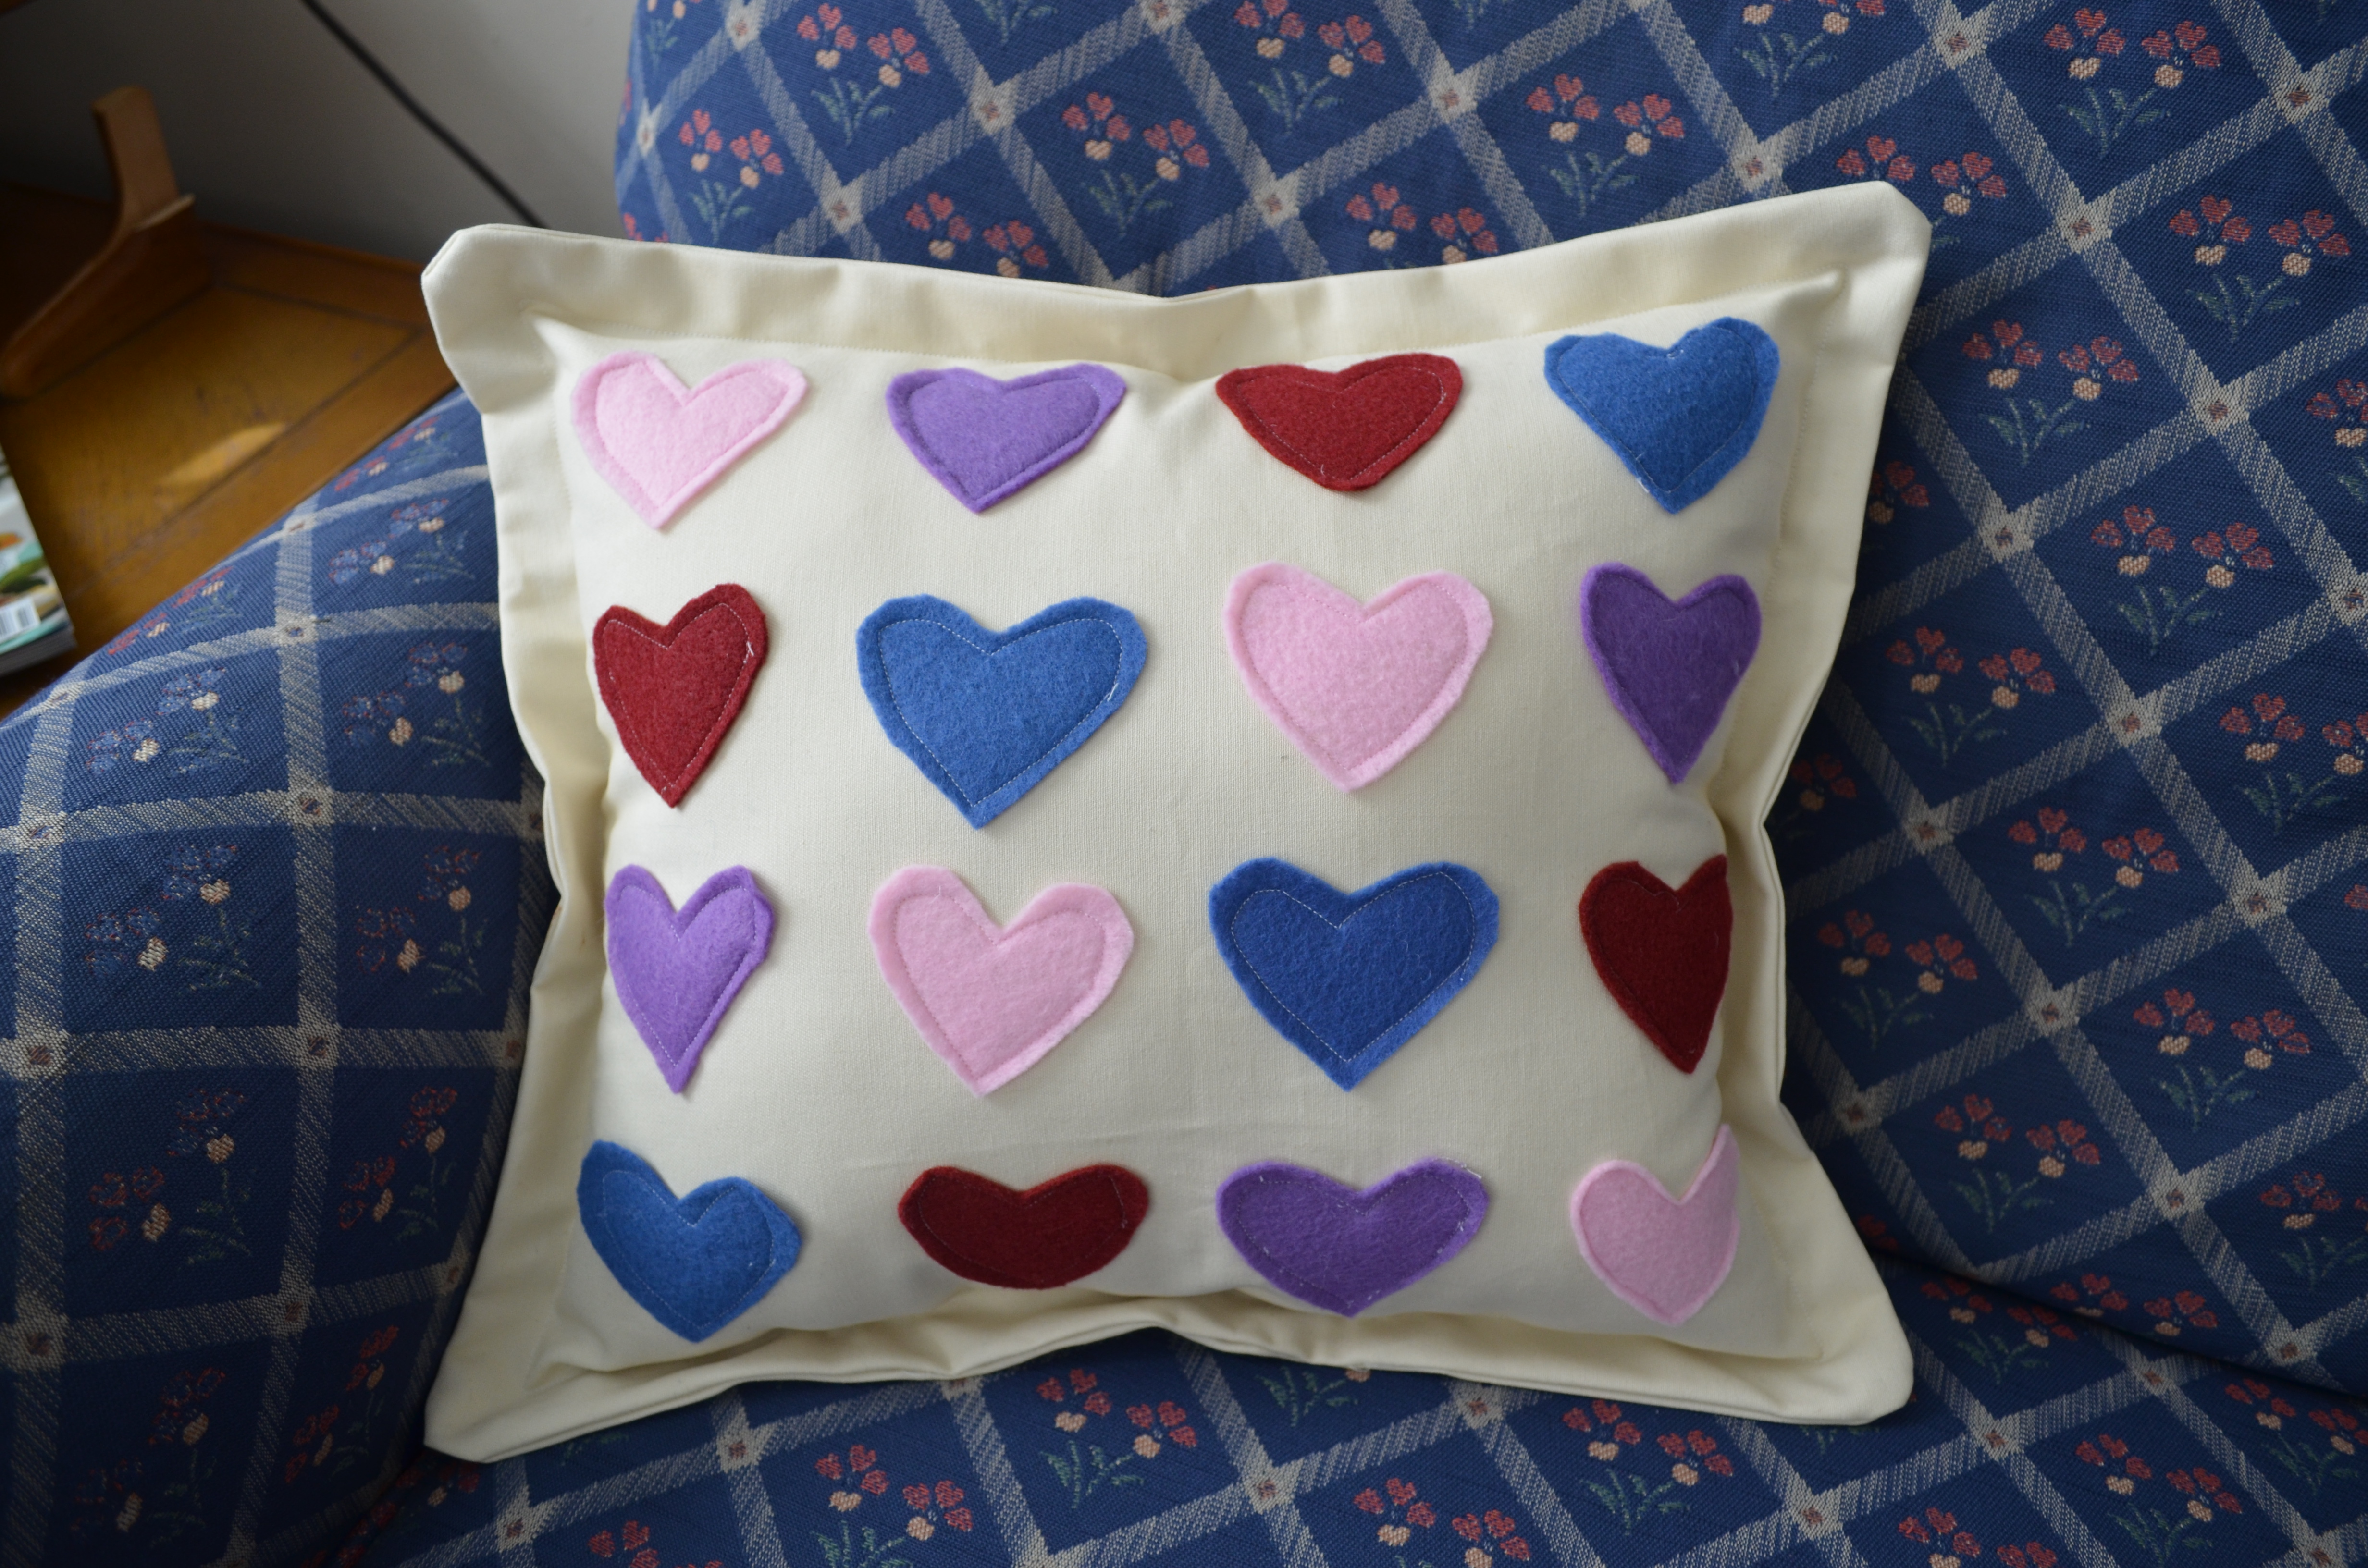
Of course, before I opened the shop, I did a little bit of research, and I found that items similar to the ones I will be selling go for several different prices. One pillow with a felt appliqué was on sale for $75, another on sale for $20. And there wasn’t much of a difference between them. So I decided to pick a price on the low end – $25. Then a friend suggested a start with an even lower price to encourage the first few sales, so I bumped the price down to $20. That same friend said she builds the Etsy fees into her prices. I like the idea but didn’t like the uneven number, so I just added 50 cents.

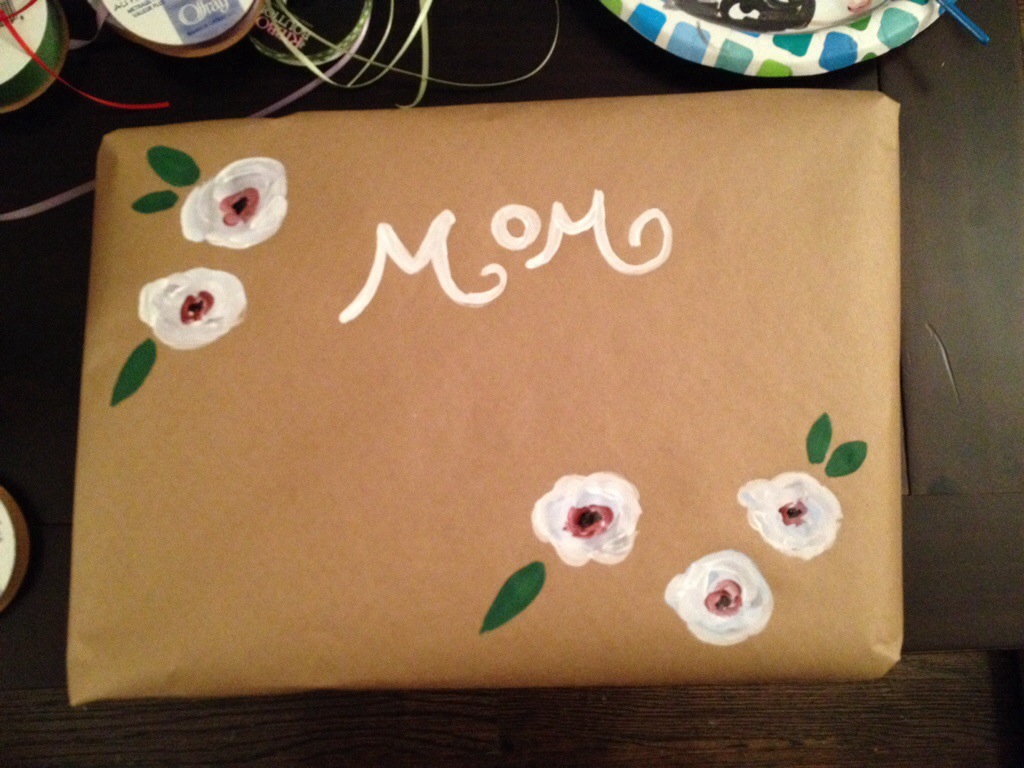
So to review, a felt appliqué pillow at For the Love of Felt costs $20.50. (For now, at least. You should get it while the prices are low.)

(3) Making those first few purchases are hard.

I’ll admit, when I opened my Etsy shop and posted a link on my Facebook page, I thought I would sell a good amount of items to friends and family. But instead, I sat there and watched the stats increase as 50.. 60… 90 people “viewed” my shop, but didn’t buy anything. I guess you are never a prophet in your own hometown. Though after two weeks, my sweet mother proved she is the best, and purchased a pillow! My first purchase – I was stoked. I have only made one more purchase since, and I’ll still trying to figure out how to turn my shop’s viewers into buyers. (If you read this before midnight, the entire shop is 25% off for Cyber Monday.)

I still have lots to figure out and learn about running a shop on Etsy, but I’m taking the first steps. By all means, check the shop out for yourself, and if you feel compelled, share it with others. And hopefully one day I can call this endeavor a success.

Flowers through a Window

IMG_3146

Several months back, I purchased this old window at a savage sale, and finally, I decided to do something with it. I found an image online of similar-styled flowers, and I was inspired!

I find it rather annoying to paint on windows. I just use acrylic paint, but if you know of short cut or trick, I would love to know! Though I do like that if you make a mistake, you can easily wipe it off and start again.

IMG_3120

Scrap Fabric Pillow

Inspiration can strike anywhere. I first saw this pillow in an Instagram photo. The pillow was in the background and very out of focus, but I was able to get the idea. It was a simple pillow with what looked like strips of different fabrics. And with my overflowing baskets of scrap fabric, I knew I could easily pull it off.

IMG_3151

I used canvas as the base fabric, cutting two 12×19-inch rectangles. And then, after selecting the fabrics I wanted to use, I cut 1×12-inch strips of those fabrics.

IMG_3154

I liked the idea of the pillow having an “imperfect” quality. (I mean, Anthropologie pulls it off all the time.) So I didn’t worry about unfinished edges with the strips of fabric. I simply stitched the stripes in place with my sewing machine.

IMG_3201

With the strips in place, I sewed the two rectangle pieces together with right sides together and a 1/2-inch seam allowance, leaving a couple inches open to stuff the pillow. Once the stuffing was in, I whipped stitched the pillow closed.

IMG_3202

So quick and easy! But of course, if you don’t have time to make it now, you can simply buy the finish project at my Etsy shop!

As the [Felt] Leaves Fall

Despite the fact that it’s snowing in Ohio, it’s still autumn in this part of the world! And why not celebrate it with this easy-to-make garland of felt leaves.

IMG_3083

I apologize for not taking more step-by-step photography, but I kind of whipped these together while watching a movie one night. But the process is simple. Cut out two pieces of felt into a leaf-shape. Feel free to go online and find a template to help. I stitched the veins into one piece of the leaf with embroidery floss.

I put a layer of batting between the two layers of felt and used thread to blanket stitch the pieces together.

IMG_3076

I strung my leaves onto a garland, but you could also use them individually as gift tags or ornaments.

Don’t have time to make this yourself. Then feel free to buy this garland at my Etsy shop!

IMG_3030